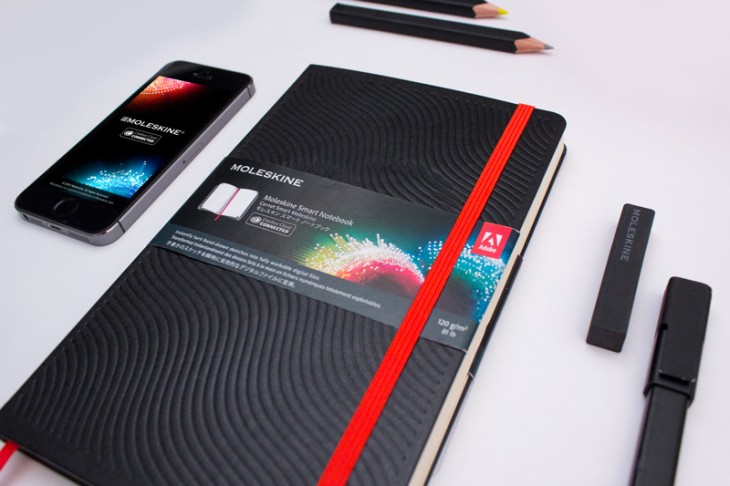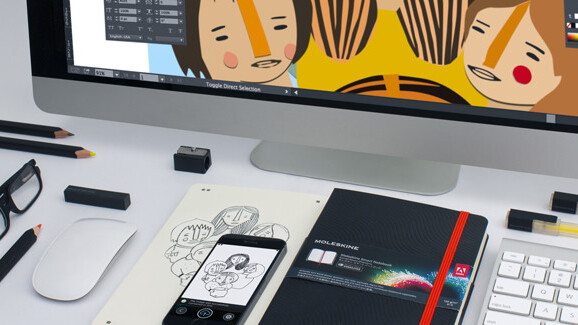
Even graphic designers who grew up in the digital age cannot help but be enamored by the tactile power of the pen-meets-paper workflow. Moleskine gets that, and in response, has teamed up with Adobe to launch a custom Moleskine Smart Notebook, that directly connects to Adobe’s Creative Cloud service.
Targeted to creative professionals in the graphic arts and designed to turn hand-drawn sketches into Photoshop or Illustrator files on Adobe’s Creative Cloud platform, the Moleskine notebook is an actual paper notebook, but with a digital twist.
It doesn’t just imitate the process of sketching on paper, it is sketching on paper — on the same principle as Livescribe. Though unlike Livescribe, which is for capturing handwritten notes, Adobe/Moleskine captures sketches and turns them into workable vector files.
Thus, just like any other sketchpad, you can pull the notebook out of your bag and jot down an idea or draw a full-scale model anywhere you want — in the park, on the train, wherever.
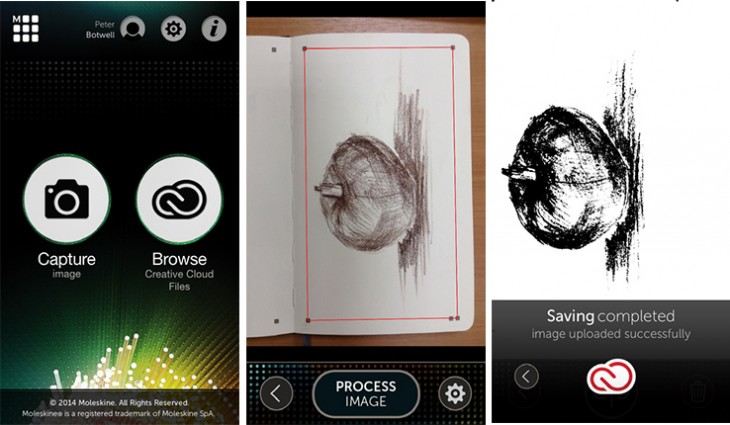
Artists draw in a connected Moleskine Smart Notebook and then capture their creations using a free Moleskine iOS companion app, so they they can continue working as soon as they get into the studio. There’s no Android app and right now the company says it has no plans for an Android version at the moment.
The page markers in the corners of the notebook assist the pre-processing and the optimization of the image. The image is then synced to Adobe Creative Cloud in two different file formats (JPG and SVG) and can be opened and edited in Adobe Photoshop CC or Adobe Illustrator CC for further tweaking.
First introduced at Adobe’s Max conference, and powered by Adobe’s new Creative SDK, using the Moleskine Smart Notebook and connected app requires an Adobe ID for login. You do not have to be a dues paying member of Creative Cloud to use this product; the ID is free.
Here are some general usage tips.
1. Draw using broad strokes (no shading) on any page in the notebook, preferably with black ink or markers.
2. Use the Moleskine Creative Cloud connected app to take a picture of your drawing.
3. The settings are specifically designed to detect the orientation of the page and to correct perspective and alignment distortions. The app uses the special page markings to process and optimize the image.
4. Sync with Creative Cloud to store both files formats (JPG and SVG) in your CC Assets folder.
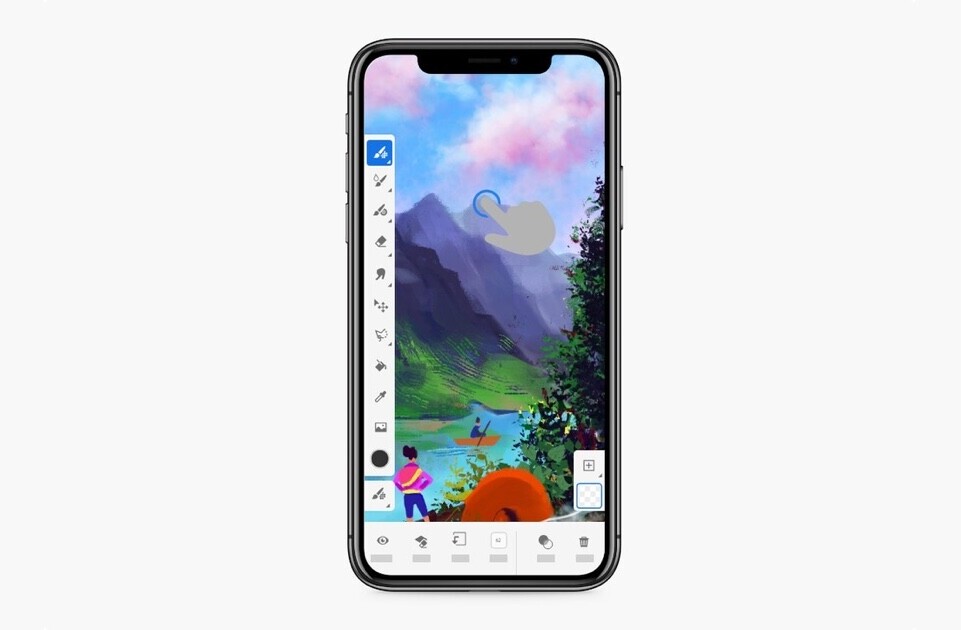
5. After you’ve synced your files, open and edit them in Adobe Illustrator and Adobe Photoshop—or use the JPG files in other Creative Cloud desktop and mobile apps.
To get the best shot, be sure to prep your notebook by laying it flat and straightening the pages. Use daylight, or bright, evenly distributed light. If you’re shooting indoors, set up two light sources to avoid shadows and glare. Then capture images one page at a time.
Hold your iPhone parallel so that the page edge is aligned with the edge of the viewfinder. The entire page (including page markers) should be visible within the viewfinder. Tap to focus and take your shot.
The notebook, which costs $32.95, is available for pre-order today, and will ship in December.
Get the TNW newsletter
Get the most important tech news in your inbox each week.
