Welcome to TNW Basics, a collection of tips, guides, and advice on how to easily get the most out of your gadgets, apps, and other stuff.
Anyone can produce and record music. Perhaps you and a buddy from work have been jamming in the break room and you want to record it, or maybe you just want to sit under a tree in the quad with headphones on and make beats during your free period. Whatever the reason, this guide should help you to build a portable music studio suitable for hobbyists and demo recordings.
First a disclaimer: if you’re going for a professional quality, full studio experience, move along — there’s nothing to see here. This guide focuses on portability, ease-of-use, and gear that combines features you’d normally want dedicated pieces of equipment for.
You might want a hobby studio for the same reason someone would buy a specialty travel guitar that folds in half for transport. Despite the fact that neither are up to the task of laying down professional tracks, they’re perfect for honing your craft and general stress-relief.
You’ll need a decent laptop with plenty of USB ports and a decent battery life (if you plan on using your studio in places without power outlets). You’ll also need a carrying case – this guide is designed for people who want to toss all their gear in an adult-sized backpack. The rest all depends on what you’re using the studio for.
If you’ll be recording vocals or acoustic instruments you’ll need at least one microphone. And if you intend on recording any other external instruments – keyboard, electric guitars, electronic drums, beat machines – you’ll need an interface. For brevity, let’s assume you want to be flexible enough to record vocals and instruments and build your own beats or electronic music.
Software
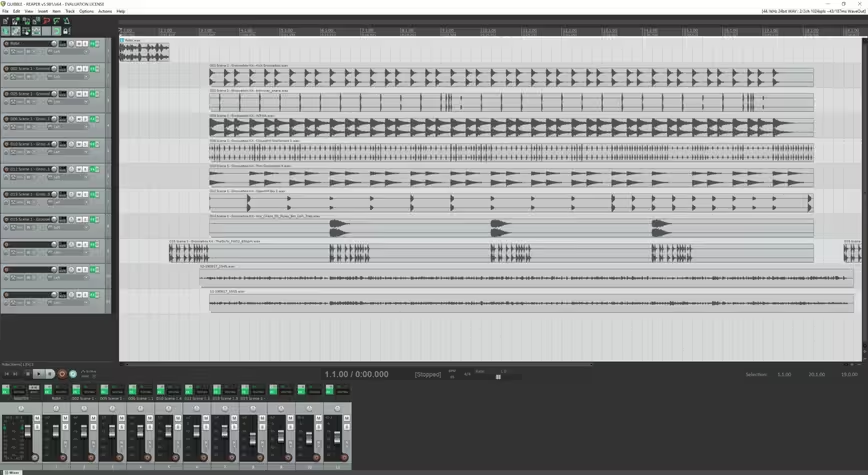
You’ll need a digital audio workstation (DAW). This is the software you’ll use to arrange, edit, and mix your tracks. I suggest Audacity or Reaper. Audacity is open-source, which means it’s completely free. Reaper’s a bit more powerful and easier to use (plus it comes with a lot more plugins built-in), but it’s only free-to-try for 60 days, afterwards it’s only $60. Don’t worry if you have no clue how to use a DAW, there’s a million tutorials you can read online or watch on YouTube.
If you don’t plan on making your own beats or electronica, you can get away with plugging your instruments and mics into an interface and recording directly into your DAW. From there you’ll use plugins – digital effects and editing tools – to make your recordings sound the way you want them to.
Production gear
For those of us who want to make our own drum tracks, electronica, or other MIDI-powered music, things get a bit more complicated. You’ll have to decide if you’re going to be using a strictly-software solution, like programming beats in a DAW – these let you make beats using your mouse and keyboard or touch screen interface – or if you’ll be using hardware.
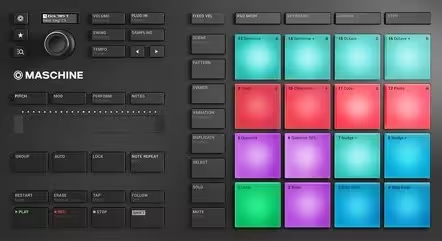
Personally, I prefer having the option to do both so I use hardware. Any MIDI controller should work. You can buy keyboard controllers, pad controllers, and even specialty controllers. I use Native Instruments’ Maschine Mikro because it’s small enough to fit in my backpack with all my other gear and I really enjoy the Maschine 2 production interface.
Sensel’s Morph is another fantastic option for producers who want it all, and want it portable. It’s a tablet-sized touch interface that you can place specialized rubber overlays on.
You can use it like a touchpad for your computer, but it’s also a MIDI controller that comes with overlays for drum pads, piano keys, and standard audio pads. These can be hot-swapped in and out and the Morph is resilient enough to handle the same kind of pounding that a full-on drum machine can. This means you can play your melodies on piano keys, tap out your bass lines on regular pads, and then break out a pair of actual drum sticks to lay down snares and hi-hats. None of this requires you to push buttons, change settings, or even click the mouse – of course, you’ll have to change instruments in your DAW or production suite, but the Morph features seamless transition and recognition.
Microphone
Here’s where you need to think outside of the box. You can’t fit half a dozen mics in a backpack, and most decent cardioid condenser mics require a pre-amp, bulky cables, a microphone stand with specialty mount, a pop-filter, and a solid case to keep it from getting bumped around. You probably don’t want to be slinging your $500 microphone around loose inside of your backpack.
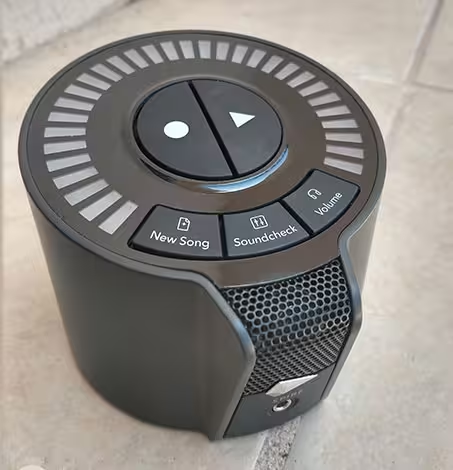
Instead of carrying a studio-quality mic around to record in places where you likely won’t be able to control the ambient noise or guarantee proper acoustic resonance, you can use a “jam station” style recording solution like Izotope’s Spire Studio or simply use less expensive handheld microphones like the Shure SM58. You probably won’t capture the complete nuances of an R&B singer’s mid frequencies with such a setup, but you can record your whole jam session with the Spire Studio, and even track it out before you send it to your DAW. And you can record individual vocal or acoustic guitar tracks with something like the Shure SM58 (vocals) or the Shure SM57 (acoustic instruments).
Interface
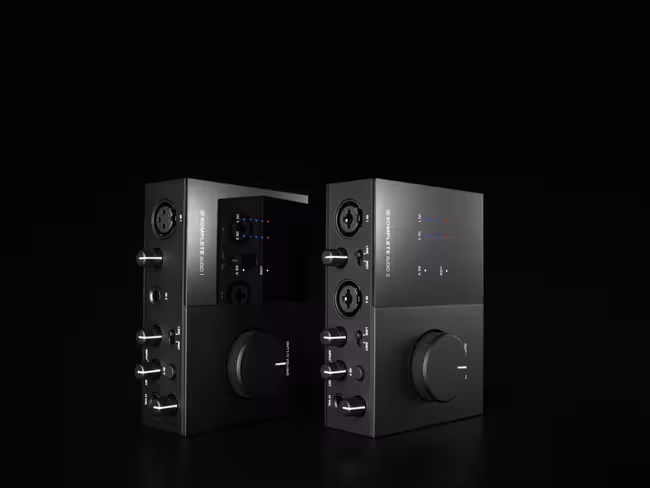
This is the easy part. Your MIDI controller should plug directly into your laptop, but for electric guitars, keyboards, electronic drums, and most microphones you’ll need and interface. While some interfaces are huge, rack-mounted pieces of gear, you can easily find an interface that supports between 2 and 4 inputs for relatively cheap and they typically don’t take up much more space than a Bluetooth speaker would. I use a Roland Go:Mixer PRO because it’s tiny, can run on battery power, and is super easy to use. I also recommend Native Instruments’ Komplete Audio 1 and 2, but just about any interface will do – I’ve got a 10-year-old M-Audio Fast Track that still functions perfectly for my needs.
Extras
What else you need is up to you. I keep guitar picks, drumsticks, extra USB cords, batteries, and a few memory sticks in my backpack. I also have a pop-filter because I do travel with a condenser mic and a cobbled-together mini-microphone stand that fits in my backpack. But if you’ve got a computer to record to, the right instruments and mics for your project, and all the MIDI-controllers you need (if any), you should be good to go. Be sure to research and read reviews of any product you’re unsure of. The rest comes with practice, experience, and reading/watching hundreds upon hundreds of hours of tutorials.
This post is not sponsored, but it includes affiliate links to products that you can buy online. If you purchase them through our links, we get a small cut of the revenue.
Get the TNW newsletter
Get the most important tech news in your inbox each week.