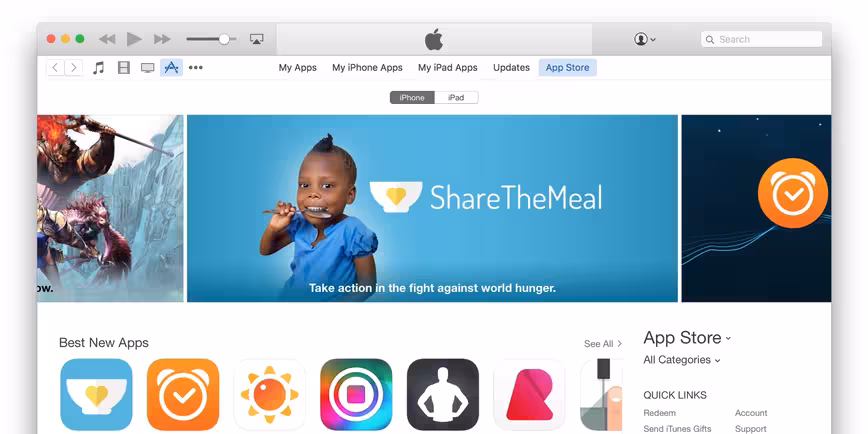
Two weeks ago we were privileged enough for our 6Tribes app to be selected by Apple for being featured in the Best News Apps in the US App Store.
But, feedback from Apple’s best practises design team was that we needed to do two things:
- Create a 30-second App Store preview video
- Because our app requires login, Apple’s recommendation was to provide an in-app video, playable from the very first screen, that explains the app and lets people know why they need to log in.
Our team were flat out getting our next release finished and we didn’t have the time or budget for two separate videos, we decided to go with one video that would have to both explain the app to people before they downloaded it and be a tutorial video for those who had.
The whole thing took us longer than it should have, and so I thought it worth sharing our learnings, it could save you days creating your App Store / in-app video (which BTW I recommend you do, particularly if you want to be considered for App Store promotion).
1. Start by storyboarding your key messages
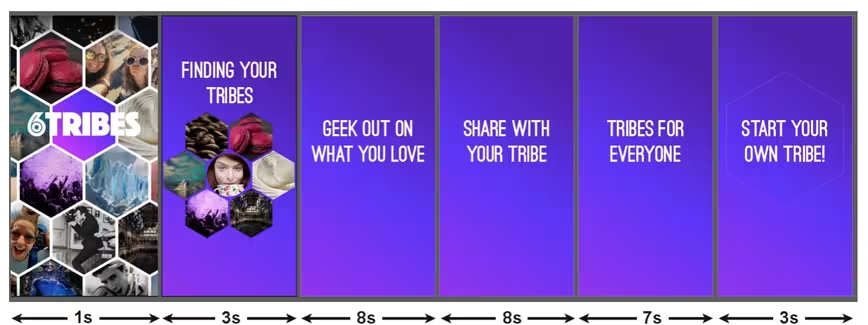
Apple App Store videos are strictly limited to 30 seconds, so your entire message needs to fit into that. We wanted to tell people about signing up, their Social DNA, tribe matching, posting messages, real-time chat, editing your profile… So many things to say, so little time.
We made the mistake of getting stuck into putting together those individual video segments first with a view to editing them later. That was a mistake and we threw away a lot of work. Take two, we went back to the whiteboard and made a clear timeline of the key messages we wanted to make, and how long to devote to each:
2. Capture your video
Given the limited time, we decided to not go down the road of trying to create a clever / witty brand video – that could be brilliant or it could be embarrassingly bad – and instead just do a set of animated app screen captures.
Capturing video from your iPhone doesn’t require any fancy software, simply plug your iPhone into your computer, run QuickTime and start recording from your iPhone. Easy.
Important tip: Use an iPhone 6 or 6s for this, you’ll see why below.
3. Edit the video segments together, add those storyboard screens
We used Adobe AfterEffects to edit the video, no doubt you’ll have your preferred software.
4. Add music
Apple’s review team would be checking our video so using Hey Jude as the video soundtrack would be a really bad move. We wanted to be sure we could answer a “Confirm you have music rights” question affirmatively. So we used SoundCloud, and limited our search to royalty-free tracks.
5. Format your video for App Store upload
The App Store is very particular about validating video uploads, one pixel out, or use of non-square pixels, and your video will be rejected for upload with no reason given. This alone drove us crazy enough to write this post.
It’s also at this point you’ll spot the fact that you need to upload your video in at least two different formats:
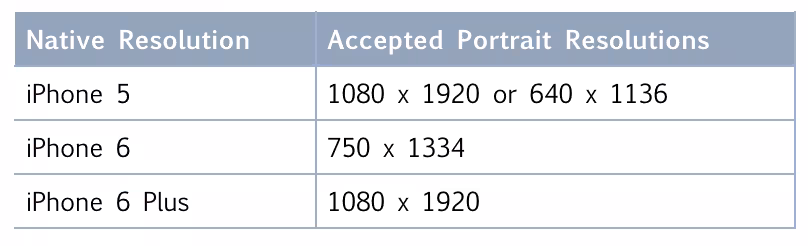
A moment of panic sets in… do you need to record everything all over again, this time from an iPhone 5 and 6 Plus?
The good news is that you can easily reformat the video you created, but there’s a trick to it. All attempts to reformat the video as 1080 x 1920 from AfterEffects and other video editing packages failed, they were all rejected by the App Store. It turns out that the App Store checks for non-square pixels, and since the aspect ratios aren’t identical you’ll have those by default.
Here’s the trick:
Get FFMPEG
http://ffmpegmac.net (Mac)
http://ffmpeg.zeranoe.com/builds (PC)
Execute the following command line to change video resolution:
iPhone 5 & 6 Plus ffmpeg -i final00.mov -strict -2 -vf scale=1080:1920 iPhone5.mp4
iPhone 6 ffmpeg -i final00.mov -strict -2 -vf scale=750:1334 iPhone6.mp4
Using FFMPEG with these parameters will force square pixels and will let you create both the needed outputs from any input resolution. And score you geek status in the team.
6. Upload your videos to the App Store
At this point I have to admit that I’m a PC guy, and if you try to upload videos to the App Store from a PC (or even from Chrome on a Mac) you get an error message saying that you need to use Safari.
It turns out that’s not necessary at all, someone is being a bit naughty here. If you use Chrome, simply change your user agent (get the free User Agent Switcher plugin) and set your user agent to:
Mozilla/5.0 (Macintosh; Intel Mac OS X 10_10) AppleWebKit/538.34.48 (KHTML, like Gecko) Version/8.0 Safari/538.35.8
Finally, the result
I hope this saves you time making your next App Store video, it was a good learning exercise for us.
Get the TNW newsletter
Get the most important tech news in your inbox each week.