This article is available in other languages:
Even if you aren’t quite ready to load replace your trusty Windows Server with ESXi just yet, you can try it out on almost any piece of hardware right now for free. It may sound ironic, but we’re going to virtualize our virtual host; meaning you’ll be able to try it for yourself on almost any modern PC.
You’ll need a computer that supports hardware virtualization, and it’ll also need to have at least 4GB of RAM and 40GB of storage space free to allow a virtual machine to be stored on top of the hypervisor we’ll create.
Here’s what you need to do:
1. Download VMware Workstation 9 Evaluation edition from here. Install it on your PC.
2. Download the free version of ESXi 5.1 (VMware’s solution) from here.
3. Open VMware Workstation, click “Create a new Virtual Machine” and step through the process. Select the ISO image for the ESXi installer you downloaded and be sure to pick “ESX” as the operating system type. Give the virtual machine enough RAM to host at least one VM – 2GB with 30-40GB of disk space would be the bare minimum.
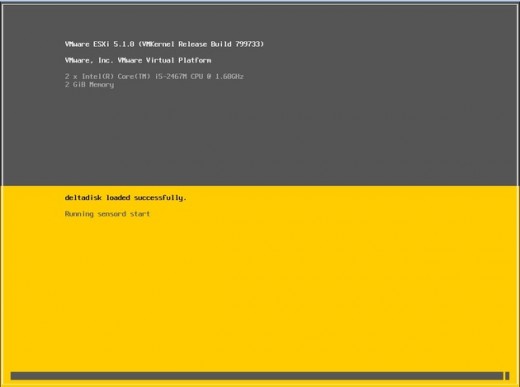
4. Power on the new VM and select “Install ESXi.” Wait a few minutes for the CD to boot.

5. The setup wizard will show up, step through the steps for setup. Accept the agreement, partition the disk as required and make sure to set a memorable password when prompted, otherwise you wont be able to access the install.
6. Once the install is done, the VM will automatically reboot into the ESXi Hypervisor. When it boots, note the IP address on the screen, and on your desktop, navigate to it in the browser. For example, enter http://192.168.206.128. You may receive a certificate warning, but click ‘proceed anyway.’ This is where you’ll download the graphical interface for using ESXi remotely.
7. Download and install the vSphere VI client from the page that’s shown and install it. The VI client is your window into the ESXi host. Once ready, open it, type in the IP address you used in the last step and the credentials that you set in the setup stage. It’ll take a few minutes to connect, and will warn you the certificate is wrong. Just hit ignore.

We made it! You’ve now got your own virtualization platform! From here, you can build virtual machines in the VI client and get started on your journey. For more reading about ESXi, go here. If you’re looking for an even more advanced configuration to learn about, you should consider using vCenter in addition to ESXi to unlock the software’s advanced features.
Get the TNW newsletter
Get the most important tech news in your inbox each week.


