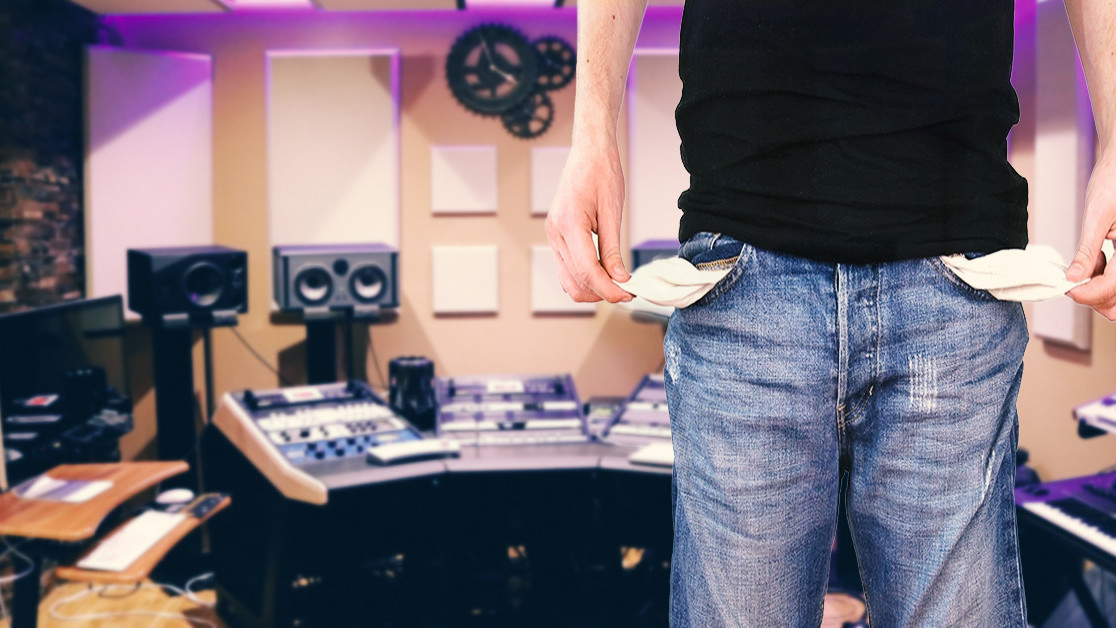
Giant recording studios with millions of dollars worth of gear and gold records lining the walls incite a certain nostalgia in those of us who grew up in a time when Berry Gordy and Rick Rubin were as well known as the stars they produced.
But those days are long gone, and those big studios no longer do much you can’t do at home.
It’s 2019 now and it has never been easier or cheaper to build a home recording studio. Don’t get me wrong — it’s never been easier to spend a boatload of money on gear either.
So, with that in mind, here are some tips on setting up your home recording studio without spending a lot of cash.
Forget all that hardware
First, figure out what you need. Scratch that. Figure out what you want, put all that in a column on its own, and label it “don’t buy.” Then, figure out what you need.
For recording music or podcasts, you’ll need at least an iPad — preferably a laptop made in the last three or four years. If you’ve got this already, you’ve got the brains of your studio.
In my experience there’s a temptation to talk yourself into (or let yourself be talked into by a studio partner) purchasing some wicked, brand-new Apple powerhouse or building some PC monstrosity capable of processing 8K video without breaking a sweat.
You don’t need that. Even if you’re Beyonce, you really don’t. Just get a sensible laptop or an iPad.
You can build an analog studio if you want to, eschewing computers and software entirely. But you’ll either need a lot of money, or the kind of antique gear-hunting skills that the History Channel likes making TV shows about.
The quicker and cheaper route is to use software for everything you possibly can, only adding hardware if it’s crucial to your studio.
Get a DAW
You should start your software collection with a digital audio workstation (DAW). If you Google “What’s the best DAW,” you’ll have days worth of reading material, none of which will bring you any closer to answering your query.
There is no “best” DAW. Ten years ago everyone seemed to swear by Logic, ProTools, and Cakewalk. Now, FL studio and GarageBand are legitimate DAW’s being used to produce some of the music you’re hearing on playlists featuring today’s hits.
If you’re new to DAWs, or you don’t have a favorite, check out some of these programs featuring free demos:
There are also free DAWs:
I suggest trying the free ones first, then the demos, and if for some reason you’re still not happy… shell out some cash for Logic or the full version of FL Studio. Plus there are hundreds of others out there, so don’t spend a dime until you’ve spent some time… downloading and evaluating free software.
Just remember: whatever money you save here you can spend on plug-ins.
Get a microphone
Once you have a DAW, the next thing you’ll need is a microphone. This is one area where, if you’re going to be recording live music or vocals, you can’t rely on crap. Don’t try to use your computer or phone’s built in microphone.
However, purists will point you in the direction of microphones that cost thousands of dollars. You should ignore them.
Get a microphone that’s in your budget. We all want to buy a Neumann microphone for our studio. Don’t do it unless money isn’t an object. You’ll know you’re ready for it when money isn’t an object.
Instead, read the reviews on the Shure SM-58 (or the Blue Yeti Nano, if you’re a podcaster) and choose it or a comparable $100 microphone to start with. You’ll be amazed at what you can do with $20 worth of plug-in software to bridge the gap between a $100 microphone and a $1,000 one.
If you’re sure you need something more than that, start looking at $200 or $300 microphones from companies such as AKG and Sennheiser.
Get an interface
Finally, you’re going to need some way to connect your input devices (microphones, guitars, keyboards, drum machines, etc.) to your laptop or iPad so you can record and edit in your DAW. This is called an interface.
More specifically, you’ll be looking for a USB audio-interface. There are other ways to connect gear to a computer, iPad, or phone, but you can either spend hours researching “balanced inputs” and “what is XLR” or just buy an interface specifically designed for recording music/vocals from a reputable music company. Just make sure it has enough holes in it to support all the stuff you’re going to jam in it.
We reviewed Roland’s Rubix44 (great for recording music) and GO:Mixer Pro (great for podcasts and YouTubers). I like PreSonus and Behringer’s interfaces too. These will set you back somewhere between $75 and $500 (depending on how many inputs/outputs you need), but you’ll probably get more use out of this than any other piece of music gear in a home studio environment.
Get creative with your accessories
Aside from these core components – iPad or laptop, DAW software, microphones, and interface – you’ll want to get the right plug-ins, microphone stands, cables, and adapters (for some reason you always end up needing an adapter for something). And, of course, you’re going to want a booth (or soundproofing on your walls, at a minimum).
Unfortunately, you’ll have to figure out most of that on your own: every studio is unique once you start moving things around. We suggest duct tape.
As you can see, even a cheap-and-dirty studio relying on free or low-cost software to do most of the heavy lifting costs some money to put together. But, if you’re shrewd (and you don’t mind recording only one or two inputs at a time) you can start banging out fair-quality demo cuts for under $200.
This post includes affiliate links to products that you can buy online. If you purchase them through our links, we get a small cut of the revenue.
Get the TNW newsletter
Get the most important tech news in your inbox each week.
