
When businesses are choosing a form app, there seems to be a perception that Google Forms is too simple. This is unfortunate, because it’s a pretty robust tool—if you know how to find all the options.
Here are a bunch of settings that make Google Forms much more powerful. Go ahead and make a new form, and then click the gear icon in the top-right corner.
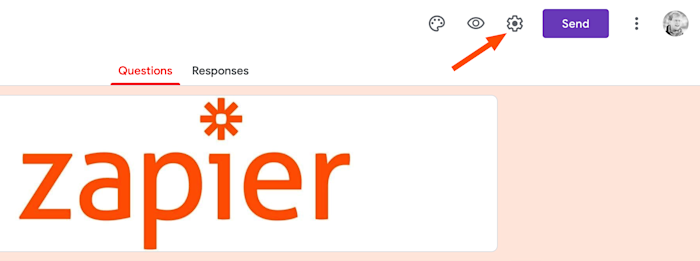
We’ll go over a few of the best features hidden inside that icon, then move on to a few other things you should know about.
For a more comprehensive overview of Google Forms, check out our Google Forms guide. Want to learn about the alternatives? Have a look at our list of the best free form builders.
Make sure everyone only submits one entry
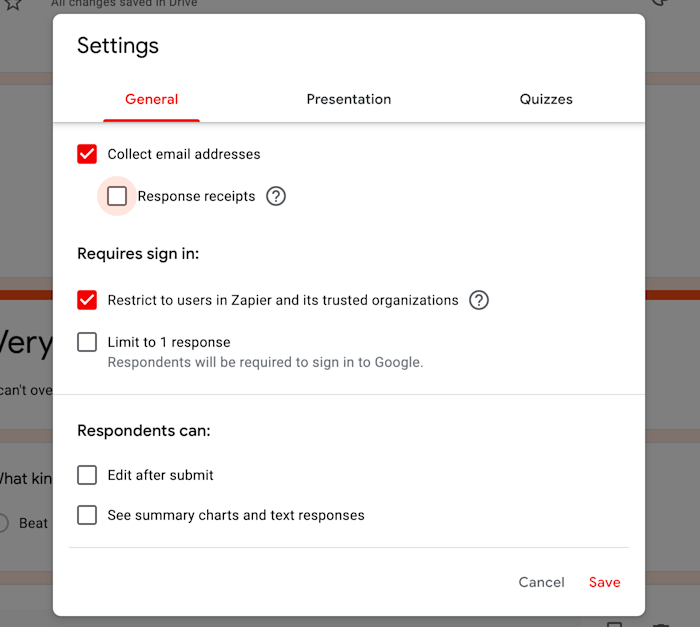
By default, Google Forms don’t collect email addresses. This is useful because people can respond anonymously and because people don’t need a Google account to fill out your form. The downside: you can’t confirm who provided which answers, and people could in theory submit the form multiple times.
You can prevent this in the General tab of the settings. Just make sure Limit to 1 response is checked, and you’re done.

Note that users will have to be signed in using a Google account for this to work, so it’s probably better for internal usage than it is for anything customer-facing (unless you’re absolutely certain that all of your customers are Google users, I guess, but I wouldn’t assume that in most cases).
Want to see which email address is connected to which form responses? Make sure Collect email addresses is checked.
Turn a Google Form into a quiz, complete with grades
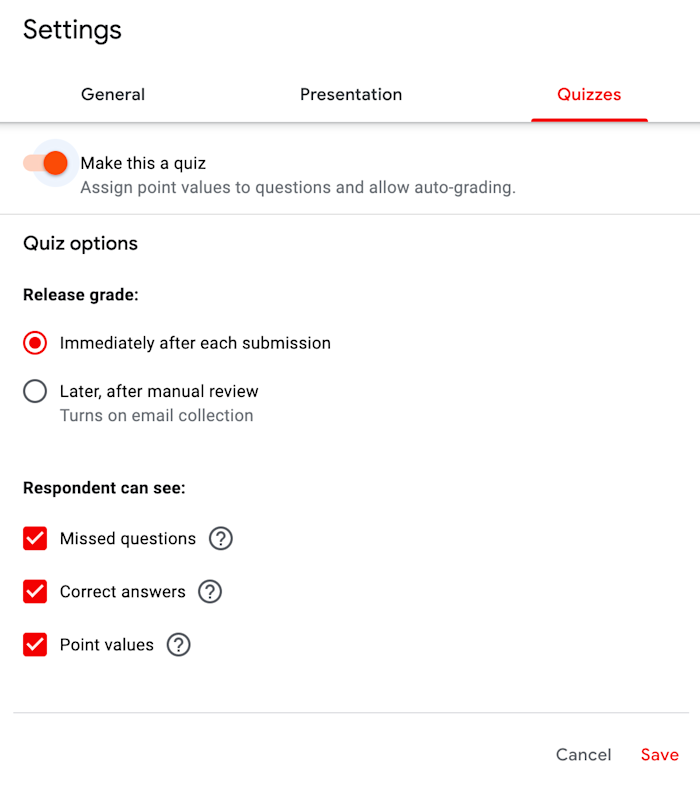
You can turn any Google Form into a multiple-choice quiz, allowing you to grade tests and quizzes automatically. Just head to the Quizzes section in the settings for your form.
Multiple-choice questions can be graded in real time—just point out the correct answer, and Google Forms will take care of the grading for you.
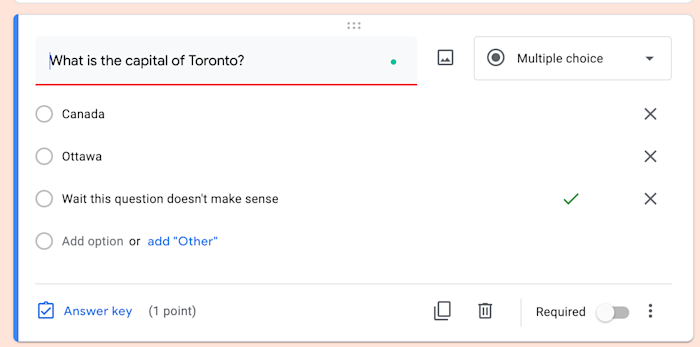
You can also include short or long responses in a quiz, though in these cases, grading will have to be manual.
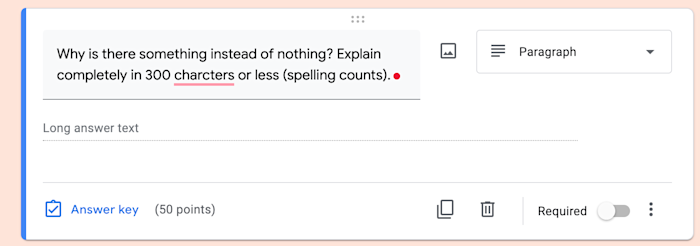
This option turns Google Forms into a very customizable testing tool, so be sure to give it a shot if you’ve been considering other tools for this purpose.
Check out how a geology professor used Google Forms to enhance online learning by creating an elaborate scenario involving earthquakes, sheep, and a city in peril.
Add a custom header image and colors to Google Forms
Google Forms, by default, is extremely purple. Maybe you love that, think it’s perfect, don’t want to change it at all, and honestly, I respect you—purple is great. But if you want to change things up, you should learn how to make the perfect Google Forms header image. Start by clicking the paint palette icon.
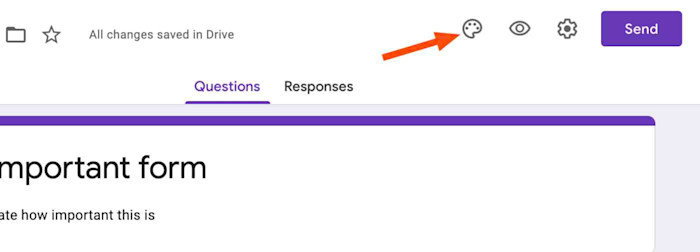
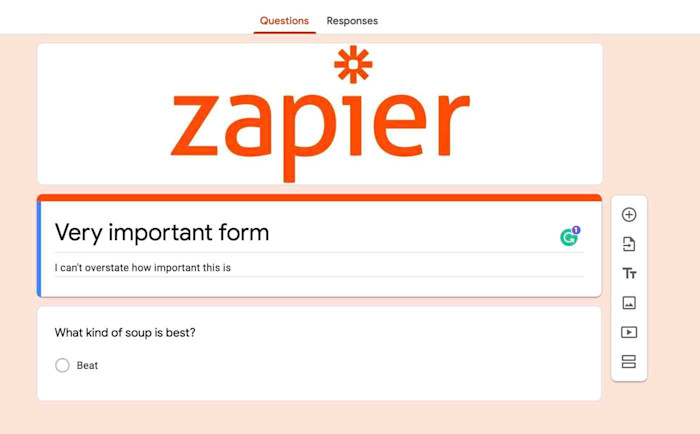
From here, you can upload an image. Google will match the color scheme from that picture (which you can then adjust if you want).
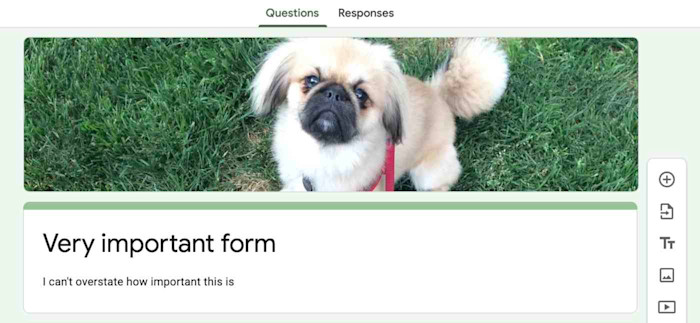
Take a look at our full tutorial to learn how to properly size your logo or anything else for your header image.
Use form sections and logic in Google Forms
Want your form to spread over multiple pages, or for some questions to only show up depending on earlier answers? You need to create form sections and logic in Google Forms.
Form sections are simple: just click the Add section button on any question.
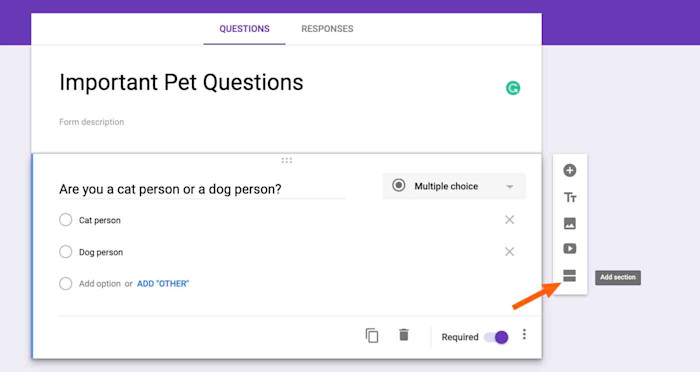
Just like that, you’ve split your form into multiple sections.
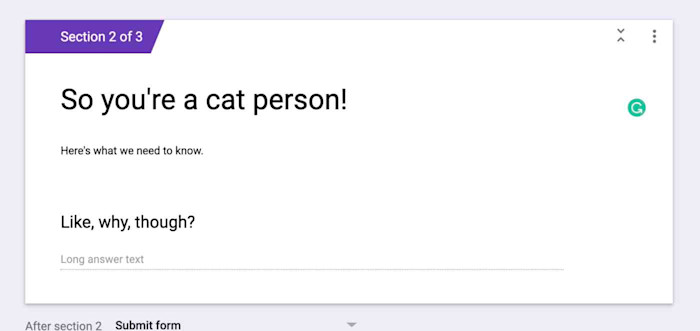
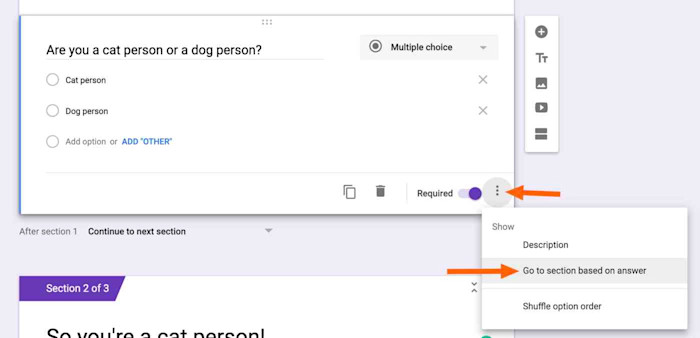
You can also send respondents to different sections depending on their answers. This could allow people to skip entire portions of the form that aren’t relevant to them, or it could allow you to ask different people different questions entirely. To get started, click the three dots at the bottom-right of a multiple-choice question.
See our full tutorial for more details.
Use a Google Forms template
Building a template from scratch isn’t hard, but in many cases, you don’t have to: Google offers pre-built templates for all kinds of obvious use cases.
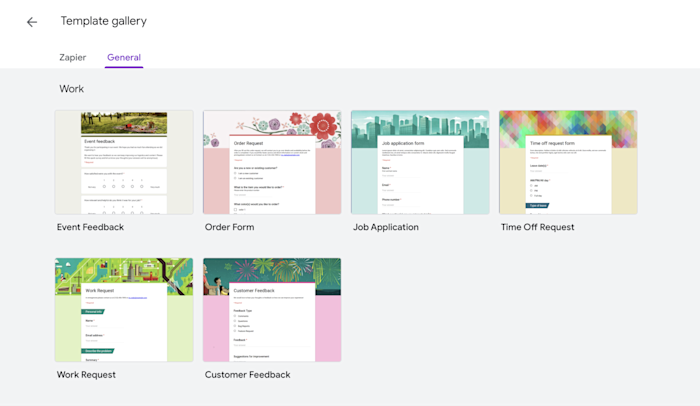
You can find this collection by heading to Google Forms, then clicking the Template gallery.

If you’re using Google Workspace (formerly G Suite), you can create templates that your entire company can use. If you tend to make many similar forms, there’s no need to start from scratch each time.
Store Google Forms responses in Google Sheets
By default, responses to Google Forms questions live in Google Forms itself, but you can automatically send all responses to a Google Sheet if you want. Just head to the Responses section.
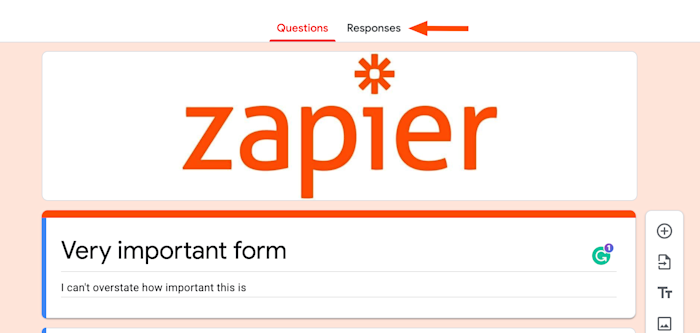
From here, click the Google Sheets icon.
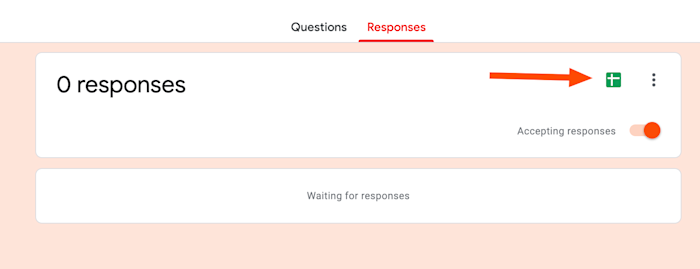
Just like that, all of your responses will be sent to a Google spreadsheet in your Google Drive.
This article by Justin Pot was originally published on the Zapier blog and is republished here with permission. You can read the original article here.
Get the TNW newsletter
Get the most important tech news in your inbox each week.


