Welcome to TNW Basics, a collection of tips, guides, and advice on how to easily get the most out of your gadgets, apps, and other stuff.
Mobile keyboards have come a long way over the years, but it’s still a pain to edit text if you’ve misspelled a word or need to make other changes after you’ve typed up a storm.
You typically have to tap on the text in question on your little screen, then hold for a bit, and then move your finger to the right spot to make your changes. That’s awfully difficult with your finger obstructing your view. Thankfully, select keyboards on Android and iOS let you move the text cursor without having to tap on the text at all, making it much easier to edit what you’ve typed. Here’s how to do that.
Android
You’ll need to use either Google’s Gboard or Microsoft’s SwiftKey for this.
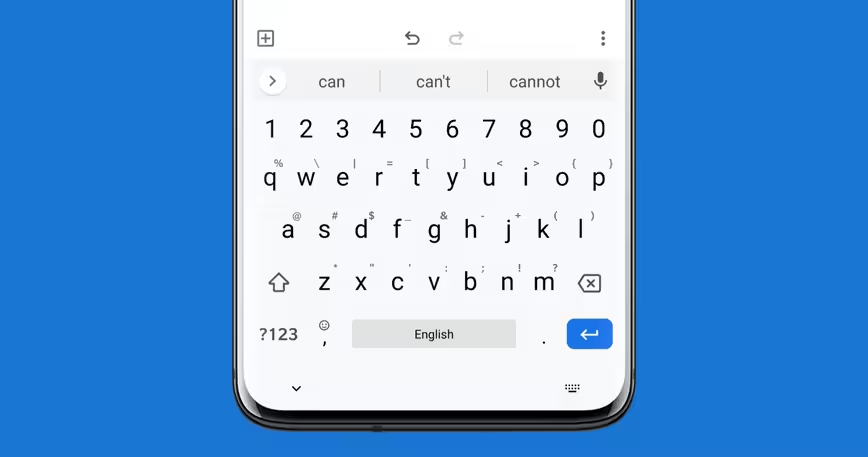
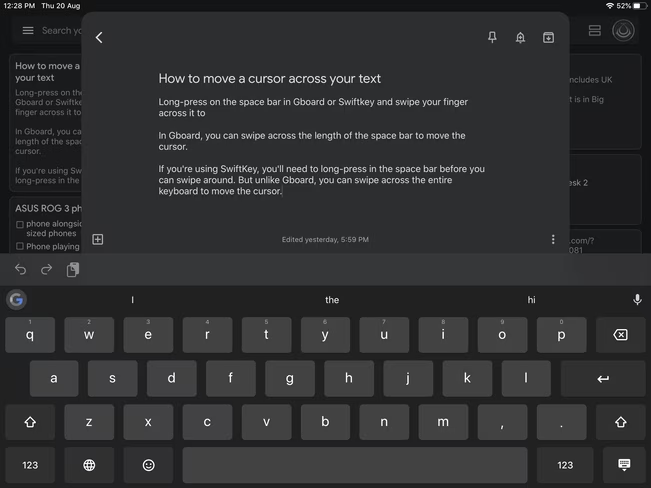
When you’re typing with Gboard, simply swipe along the length of the space bar to move the cursor left or right.
If you’re using SwiftKey, you’ll need to long-press and hold on the space bar, and then swipe along anywhere on the keyboard to move the cursor. Unlike Gboard, you can drag your finger up or down to move between lines of text quickly.
Alternatively, you can add a row of arrow buttons to SwiftKey to move your cursor around. You can see these buttons in the screenshot above, at the bottom of the keyboard on the right.
To enable these buttons, open the SwiftKey app, or tap the Settings button on the SwiftKey keyboard (found in the toolbar at the top of the keyboard). Then, select Layout & keys, and enable the Arrow keys option in the menu there. Exit the menu, and you’ll be good to go.
iOS
iPhone and iPad users already have this feature in the built-in keyboard on iOS; to use it, simply hold down on the space bar and swipe along its length to move the text cursor.
If you’re using Gboard, swipe along the length of the space bar to move the cursor left or right.
If you’re using SwiftKey, long-press and hold on the space bar, and then swipe along anywhere on the keyboard to move the cursor. You can drag your finger up or down to move between lines of text.
Update (September 15, 2020): On Android, the cursor control feature was previously only available in Gboard and the SwiftKey beta app (and we featured these in the article). Microsoft has now updated its the mainstream release version of SwiftKey to include this feature, so you don’t need the beta to use it. We’ve updated this post to reflect that.
Get the TNW newsletter
Get the most important tech news in your inbox each week.