Welcome to TNW Basics, a collection of tips, guides, and advice on how to easily get the most out of your gadgets, apps, and other stuff.
If you’ve ever tried to use Microsoft’s built-in virtual assistant for Windows 10, Cortana, thinking it would function like Amazon’s Alexa, you were probably disappointed. That’s not to say Cortana doesn’t have its strong suits, but the experiences are vastly different. Luckily, Amazon’s made it quite easy to use Alexa with your PC.
First off: point your browser here to get Alexa for free on the Microsoft store. You’ll likely have to log into your Microsoft account, but once you’ve arrived click on “get”.
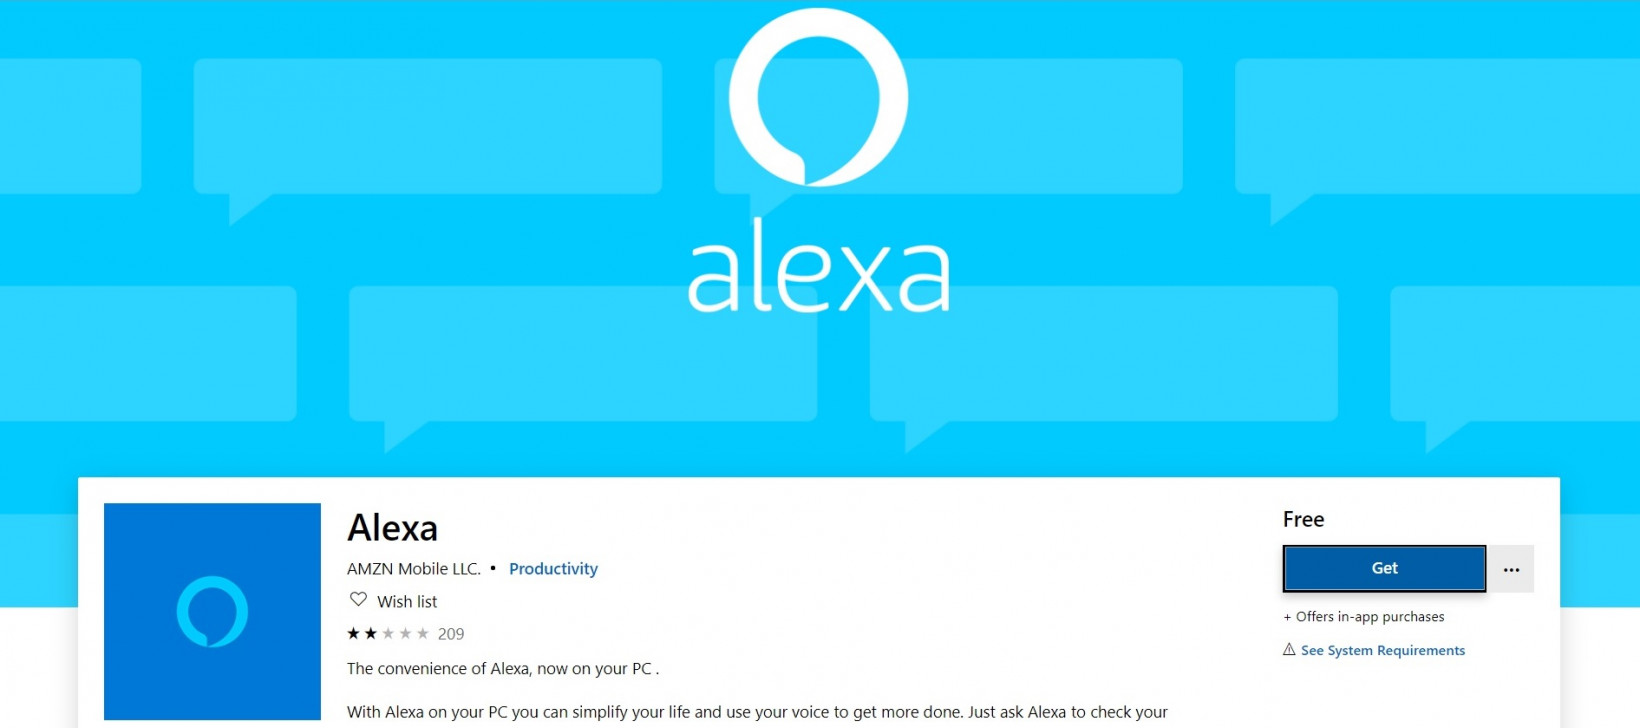
Next, allow your browser to open the Microsoft Store app on your computer. Choose get again, and then choose install. Once installed, select launch:

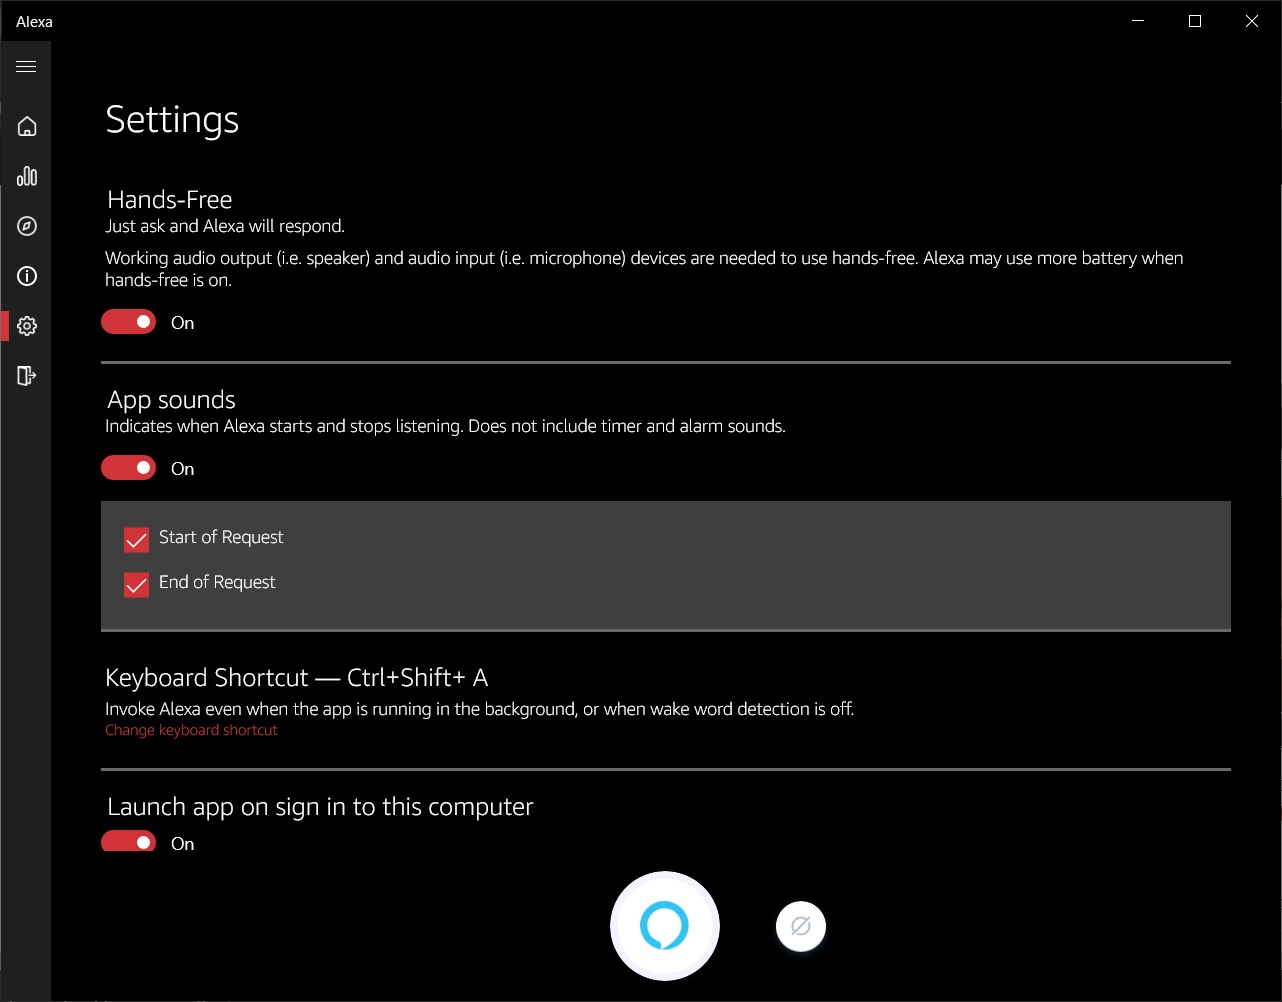
You’ll be prompted to log in to your Amazon account (or create a new one), do so and then follow the on screen instructions to set up the app. You’ll want to make sure you allow microphone access, otherwise Alexa won’t be able to hear you. If you want Alexa to always listen, be sure and choose hands-free mode – otherwise you’ll use push-to-talk to summon the virtual assistant. Here, you’ll also decide if you want Alexa to start with Windows.
Don’t worry if you’re not sure which selections you want, you can easily change them at any time by clicking on the settings icon within the app.
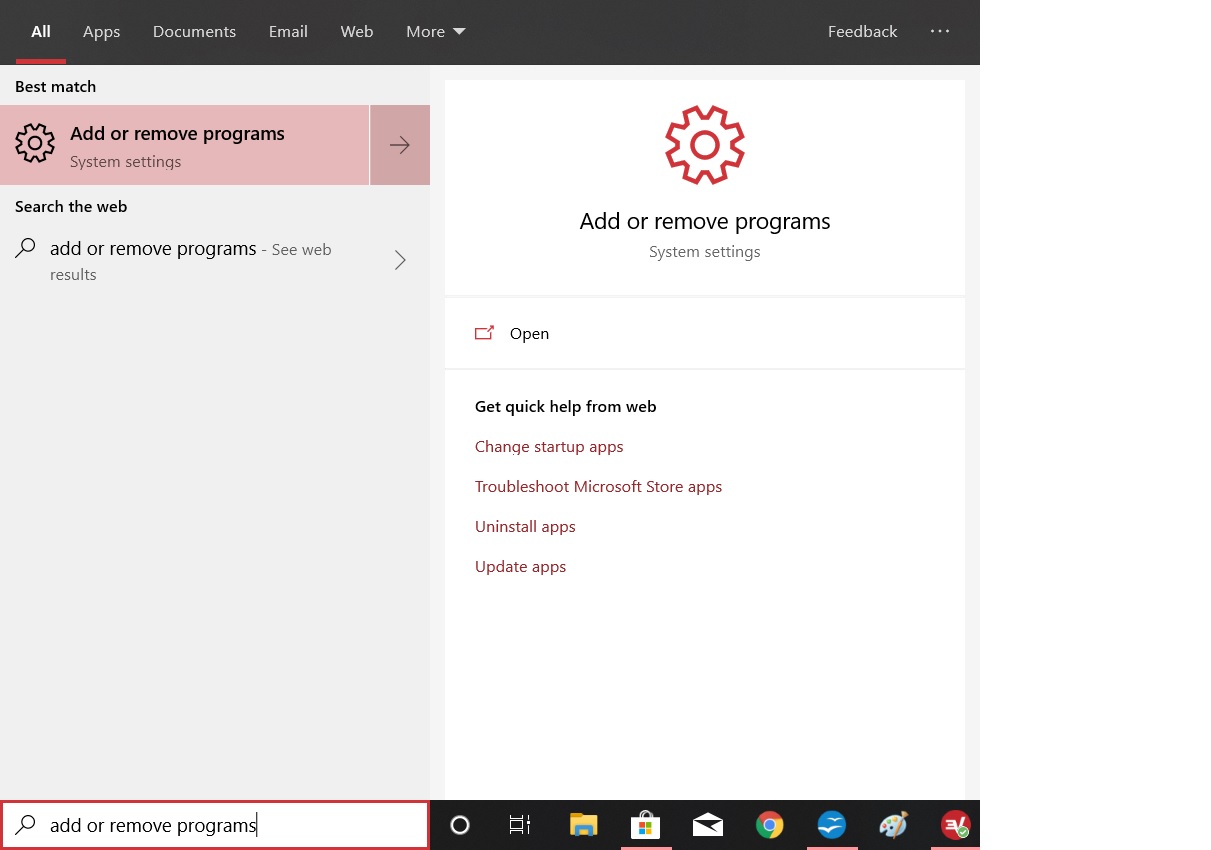
And, if you ever decide you no longer want a corporate robot hanging out inside of your computer, listening to every word you say: you can always just uninstall it from the Windows Store app or by typing “add or remove programs” in the search box in your Windows 10 task bar and clicking the link in your computer’s settings.
Get the TNW newsletter
Get the most important tech news in your inbox each week.

