
Searching for the right stock photo can be rewarding when you find the perfect one that fits your design needs. Often, however, designers are interested in making the stock photo their own by adding unique techniques or styles to add personality or keep within an organization’s visual identity guidelines.
Adobe’s new Stock is one of the fastest, most simple ways of finding the right photo and making it work for you. Instead of searching through a stock library, downloading it, and then opening it in your native photo editor to make changes, you can search, tweak, and download your edited photo from your desktop Adobe app.
There are several reasons why taking a generic stock photo and customizing it with different techniques can help make your design stronger. For example, taking a stock photo and adding a unique filter or technique to it helps reduce the chances of your audience seeing that exact same photo elsewhere.
Changing the original stock photo could also be necessary to stay within your organization’s brand and visual identity guidelines. For instance, if your organization’s visual identity style guide says to use photos with the saturation in them turned down, then taking a stock photo and doing so will help you stay on brand.

The 💜 of EU tech
The latest rumblings from the EU tech scene, a story from our wise ol' founder Boris, and some questionable AI art. It's free, every week, in your inbox. Sign up now!
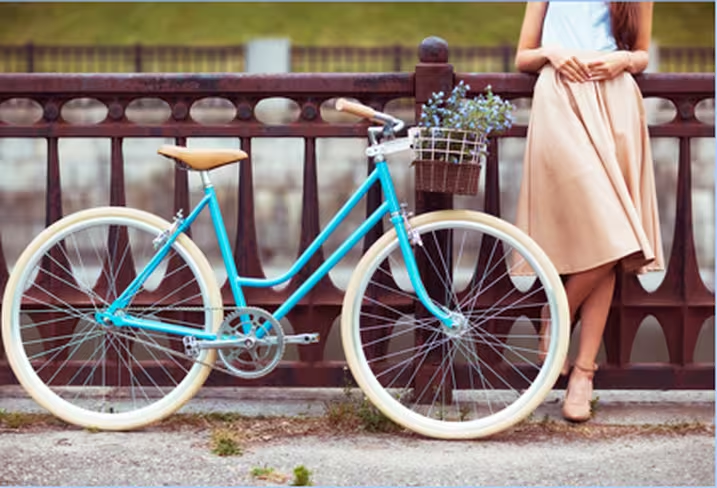
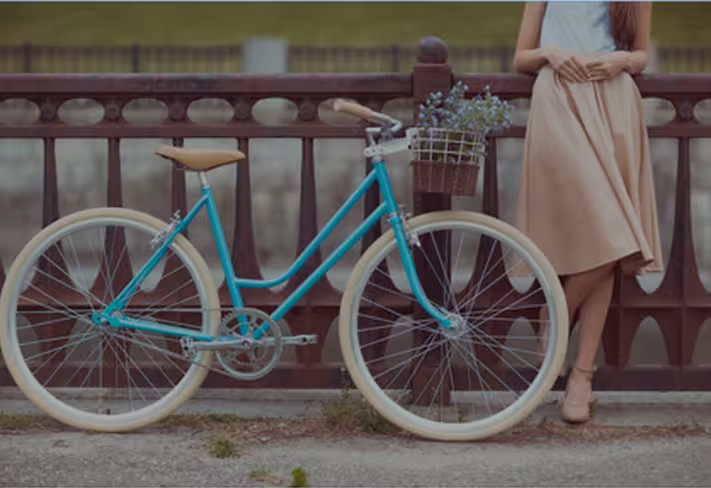
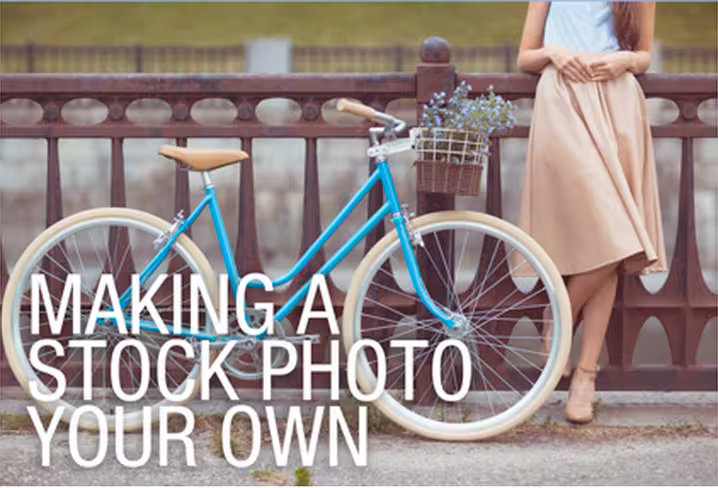
For this article, I’ve chosen this lovely stock photo of a woman standing next to her blue bicycle – an image I purchased on Adobe Stock. This is the original stock photo as I purchased it.

Adjusting contrast, saturation, exposure, etc
One way to make a stock photo unique and make it your own is by using some of the basic photo editing tools in Photoshop. You can adjust the contrast, saturation, exposure, and other elements of the photo to customize it.
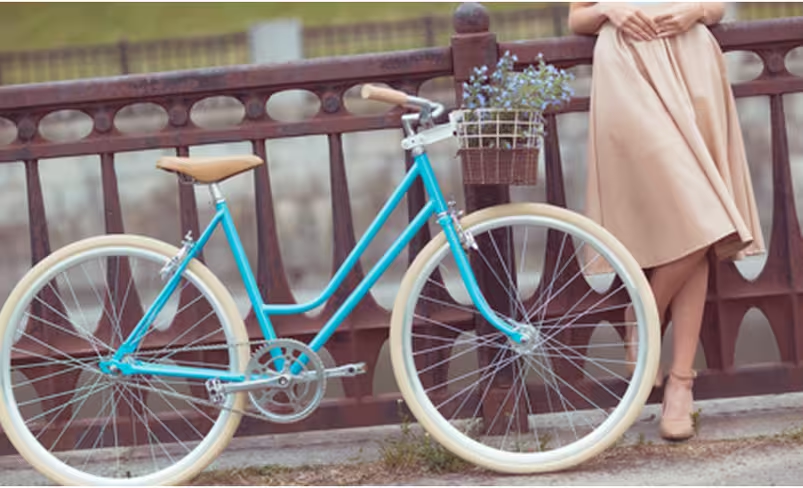
For instance, here’s our stock photo when I bump up the contrast all the way in Photoshop.
While this appears to be mostly a subtle change, it helps make the image more vibrant which can help you with any further edits you want to make (layering techniques, which we will discuss at the end of the article).
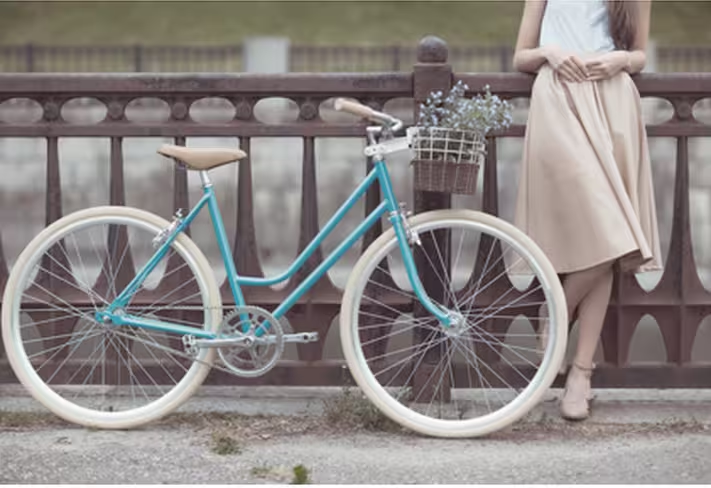
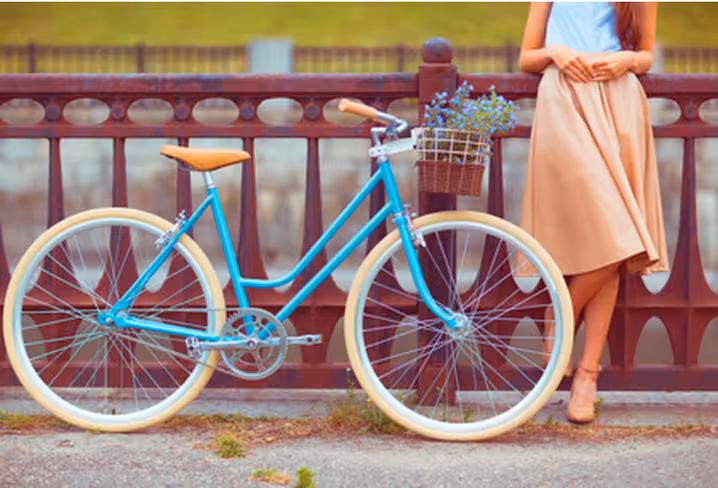
Saturation is another tool you can deploy as well. Adjusting the saturation down will make the image start to fade, while adjusting the saturation up will make the colors more bold. The first image below is saturation down at -50 in Photoshop, the second image below is the saturation up at +50.
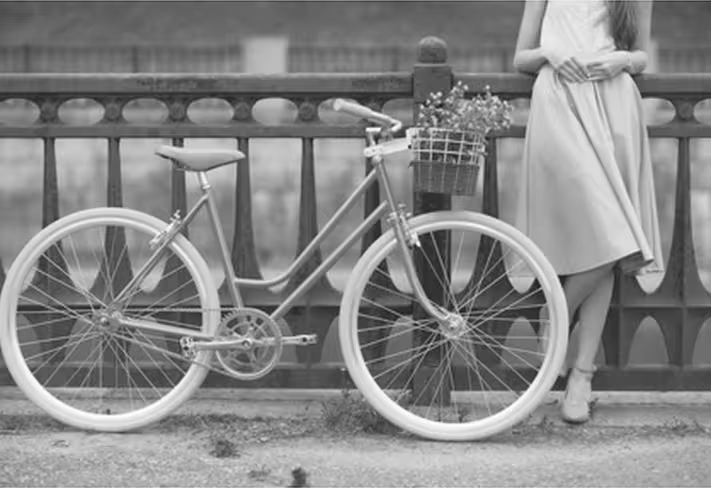
Turning the saturation all the way down will make the image turn grayscale, which you can see below.
Editing the exposure of the image can produce nice effects too. Taking our original stock image, we can either underexpose or overexpose the image. The first image below is underexposing our stock photo by -1.50 in Photoshop, while the second image below is overexposing by +1.50.

There are other techniques too you can employ when editing your stock photo, such as adjusting the levels, brightness, or even inverting the colors. All of these option are available in Photoshop in the Layers panel under the option “Create new fill or adjustment layer” at the bottom of the Layers panel.
Adding color filter on top
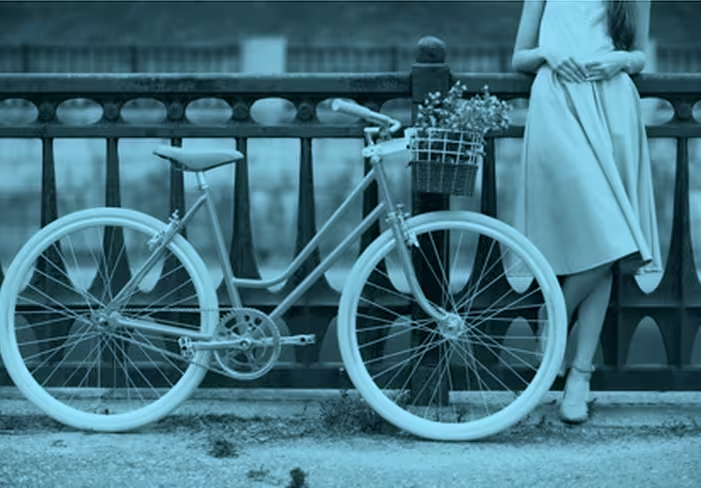
Another way you can make your stock images your own is by adding some color to your stock images. This can be done in different ways, but the most effective way I’ve found is by using Photoshop’s color filter.
Taking our unedited stock image, I’ve applied a nice blue color filter.
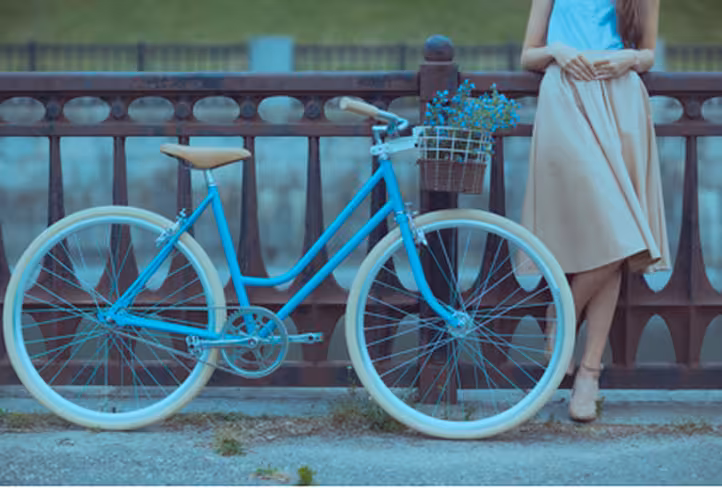
In Photoshop, this was achieved by creating a new fill/adjustment layer and selecting “Photo Filter.” I changed the options to be “Color” instead of filter. I changed the color to a nice blue color (#00d2ff if you’re curious), and set the density to 75 percent.
This creates a nice look when you are wanting to stay within your visual identity style guidelines or wanting to keep a color theme going. While this produced the blue color over the existing colors from the stock photo, this can be paired with other techniques to produce an even more custom image (discussed more in layering below).
Applying different affects to the image
We all know that Photoshop has many filters that you can apply to images to create different effects. While these can be often overused, using just the right filter on an image could bring a nice element to your stock photo.
One common way that is used to give stock photos a custom look is adding a blur to your image. Here’s our stock photo with a Gaussian Blur at 30px applied.

Blurring images can be taken a step further by only blurring parts of the image. For instance, it would be fairly simple in our stock photo to blur the background while keeping the woman and bicycle in focus.
There are several different effects and filters in Photoshop you can apply to meet your needs and the look you are wanting to go for.
Rotating, cropping, or flipping
Another way to edit your stock photo to make it unique is to rotate, crop, or flip it in a different way. For example, here’s our stock photo rotated to make it appear as if the bike and the woman are on a slight incline.
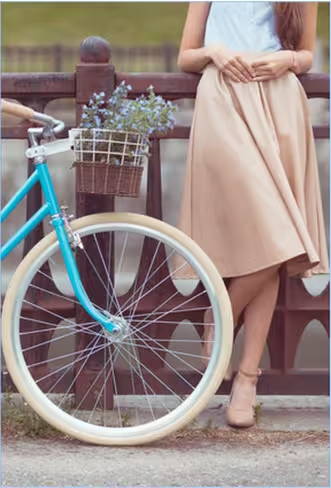
You can also crop the image as well to focus on only part of the image. If I want to turn this photo from a landscape orientation to a portrait orientation, I can do that by cropping the photo to focus on a different part of the image.
Finally, you can flip the orientation of the stock photo as well to make it your own. Below, we’ve flipped our stock photo horizontally, but you can also flip images vertically if the image makes sense doing so.

Changing up your images with rotating, cropping, or flipping your image can help you get your message across or improve your design by allowing images and their focal points to be in a better place for the visual hierarchy of your design (i.e. having the bike turn inward toward your design instead of looking like it will run off the page).
Adding text on top
Finally, another technique that has become pretty common is adding text on top of your images. This is common because designers like to put the title of the post on the photo to make it easier to share on social networks such as Facebook and Pinterest.
Here’s an example of adding some text on top of our stock image. In this case I also added some drop shadow to the text so that it helped make the text more legible.
Layering techniques
All of the techniques and tricks I’ve discussed above can be applied in layers. For instance, you may find that your image looks really good with a high contrast look that you then turn into grayscale, and then add a color filter on it. Such an image may look like the image below.
This image is significantly different than the original stock image we started with. Applying these techniques in layers often produces amazing results and custom looks for your stock imagery.
With layering, the possibilities are endless and helps with making a stock image look custom and tailored to your specific needs. Any of the techniques discussed above and others that you know can be used together to create the perfect image out of the stock photo you have chosen.
All of the images you see above were manipulated and experimented with in Photoshop. Adobe Stock makes it easy for you to do this in programs like Photoshop and the like, since you can easily pick an image from Adobe Stock and it is automatically put in your program of choice for use.
You can customize the look of the stock image even before you purchase it. Once bought, the image then updates in your program and all of the techniques and effects – as long as they’re non-destructive – you added will be applied and still editable.
Conclusion
Next time you look for a stock photo and find a great one to use for your needs, try out some of the techniques discussed above to help give your stock photo a more custom feel and make the image truly your own. Layering the different techniques can create stunning photographs from your stock images and get more bang for your stock photo buck.
Read Next: The evolution of stock photography
Image credit: Adobe Stock
Get the TNW newsletter
Get the most important tech news in your inbox each week.