
Welcome to TNW Basics, a collection of tips, guides, and advice on how to easily get the most out of your gadgets, apps, and other stuff.
It happened. It finally happened: iTunes is dead.
I’ve got to say, I wasn’t really the hugest fan of Apple’s decision to kill its media software and replace it with standalone apps. I thought it’d mark the beginning of a new era where the company tried to force Apple Music on everyone, disregarding all of us who used iTunes solely as music library.
Thankfully, it looks like I was wrong. The new macOS Music app is simple, elegant, and basically identical to iTunes — minus a lot of the bloat. Basically, it’s not too bad.
But, there’s one element that’s pretty annoying for non-users of the Apple Music streaming service: the inclusion of, uh, the Apple Music streaming service on the sidebar. Basically, this:
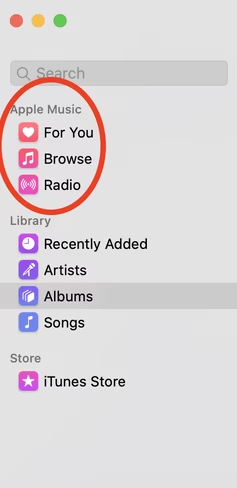
I really couldn’t care less about Apple Music. I want to use the macOS Music App for my own music library, and have it feel like it was designed for that purpose. In other words, I want the Apple Music category out of the sidebar.
Thankfully, that’s actually possible.
Yes, in a very non-Apple sort of move, you can remove both the iTunes Store and Apple Music categories from the macOS Music app. Even better, it’s easy as hell.
#1: Open the macOS Music app
You know, click on the icon. This icon:

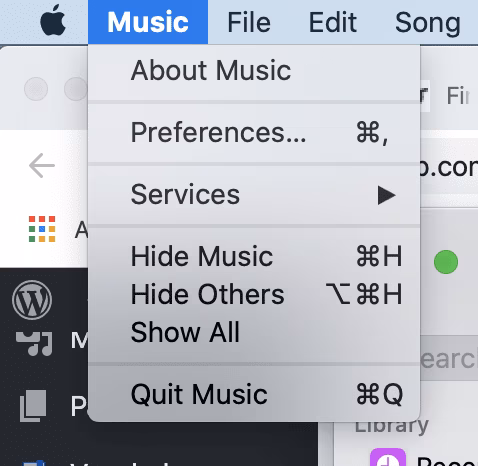
#2: Go into preferences
Find that in the menu here:
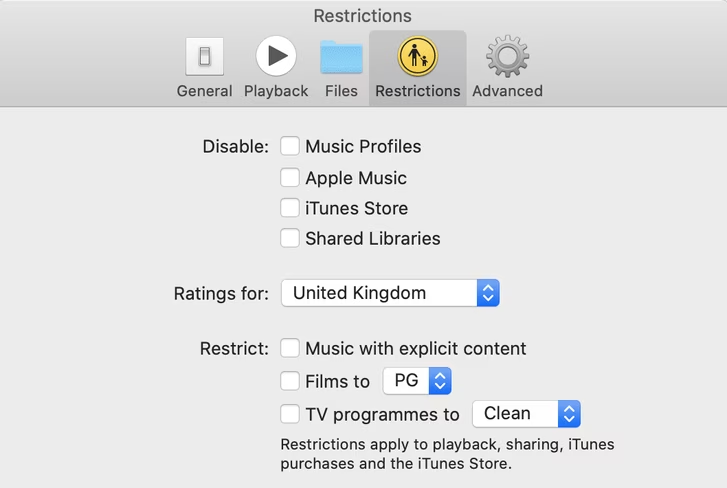
#3: Click on the ‘Restrictions’ option
It’ll look like this when you’re successful:
#4: Disable ‘Apple Music’
Click on that lovely little box, which will look like this:
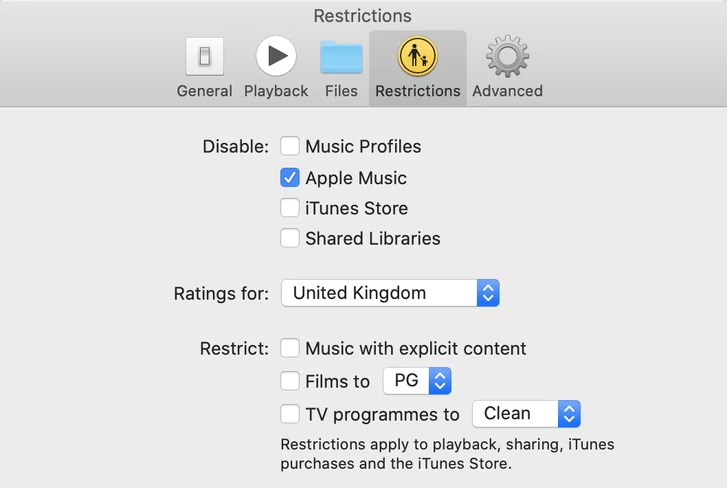
As a note, you can also click “iTunes Store” too, and that’ll remove that option from the sidebar as well.
#5: Soak up that Apple Music-free macOS Music app
Mmm, delicious.

So, there you go! A nice little explainer on how to make the new macOS Music app feel better if you’re just using it for your own music library.
Maybe the death of iTunes isn’t all that bad after all.
Get the TNW newsletter
Get the most important tech news in your inbox each week.