- Product
- Flair Espresso Maker
- Price
- $160-230
Making great espresso is a skillful balancing act. You need good coffee beans – preferably roasted within a few weeks – and a considered combination of grind, pressure, temperature, and time. Mess up one or more of these variables, and you’ll end up with a shot too strong or to dull, too sour or too bitter. Even the type of water you use can have an impact on taste.
But one thing you don’t need for great espresso? Electricity.
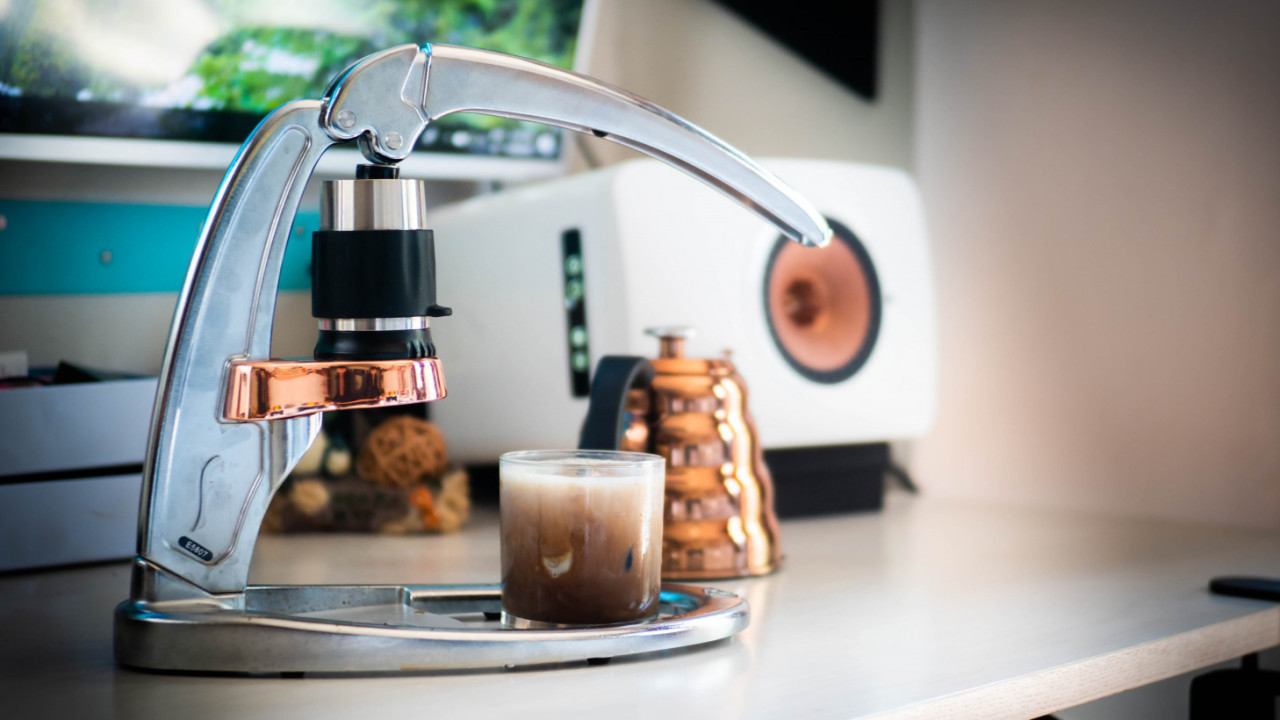
That much I’ve learned thanks to the Flair Espresso Maker. Launched on Kickstarter in 2016 by a company called Intact Idea, it’s a sleek and portable device that relies on simple lever mechanics and good engineering to pull shots that can rival those from your favorite café. It starts at $160 and goes up to $230 depending on your finish and bundle. That’s not a negligible investment, but it’s one that could very well save you thousands of dollars in coffee expenses over the years.
That might sound hyperbolic, but let me back up a bit.
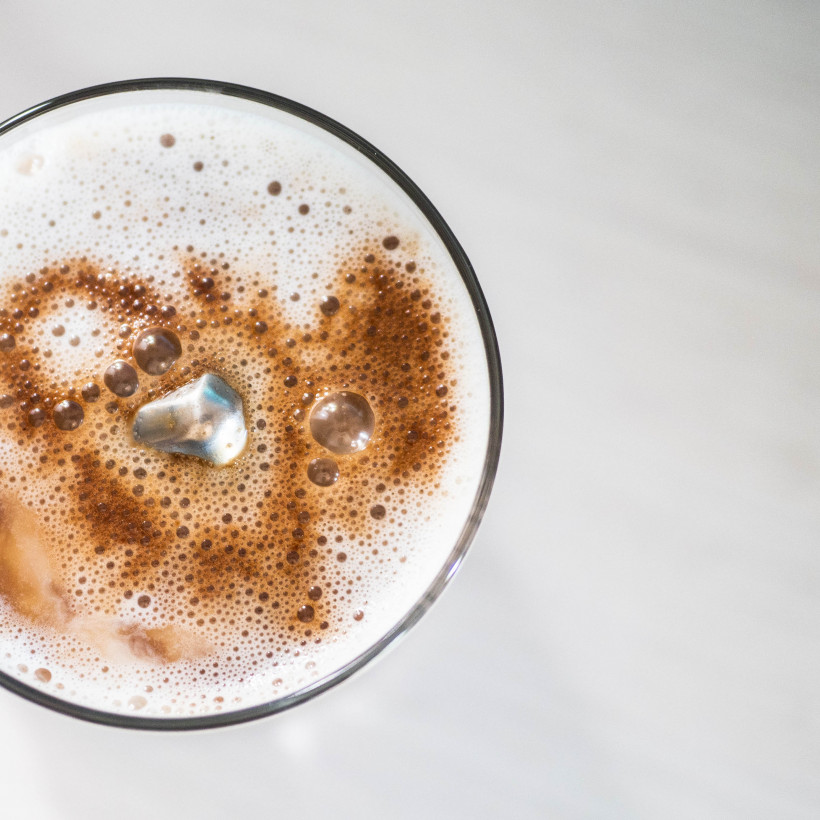
A few months ago, I finally accepted something I’d long known: I spend way too much money on coffee. I work remotely, so I usually grab an espresso-based drink (I’m particularly obsessed with iced mochas) from one of the 10+ great coffee shops around me. I always tip, and often grab a snack, because I can’t resist that freshly baked croissant. This, coupled with typical New York prices, could amount to hundreds of dollars in coffee shops per month.
I’m not alone: the average American apparently spends $1,100 a year on coffee. I imagine we city-dwellers spend more. For the price of a latte in a coffee shop, I could buy enough beans to make ten lattes at home.
I dabbled with other brewing methods at home, but they weren’t cutting it. I wanted the same quality mocha I could get from a coffee shop, but all the good espresso machines were prohibitively expensive and/or large (my small Brooklyn studio has laughably little counter space). The Gaggia Classic is usually the cheapest machine recommended to beginners that can make a proper espresso, and it costs around $400 new. Prices ramp up quickly from there. Meanwhile, a high-quality burr grinder – which is just as important as your actual espresso maker – could set you back several hundreds more.
Then I realized those prices were for electric devices. There’s a whole market of manual espresso makers and grinders that can produce fantastic results while taking up far less real estate, at the expense of a little more elbow grease.
Enter the Flair, which has built up a small but ardent following among espresso aficionados. It’s far from the only device that can make espresso without electricity – the ROK Espresso Maker, EspressoForge, and Nanopresso are some others – but it struck me as the best balance of price, size, and reviews I could find. It’s elegantly designed, comes in a few different finishes, and feels like it’s built to last. Unlike many manual espresso makers, this one is designed to be both portable or stay on your counter (and look good at it).
And yes, it makes a darn good shot of coffee.
(At this point, you might be wondering why I’m talking about a non-electric coffee maker on a tech site called ‘Plugged’ of all things. Simple: electricity or not, it’s a still a gadget, and I assume most of our readers drink coffee.)
Again, you’ll need a good grinder – one with burrs rather than blades. You can get an electric one to save a little time, but I recommend you go with a manual grinder (some good options here) for a far better price-to-performance ratio and major space savings. I used both a $50 Coffee Gator grinder and a $200 Lido E in my testing. You’ll want good beans roasted within a couple of weeks (look for beans with roast dates if possible). I’d also suggest a goose-neck kettle to make it easier to pour boiling water into the components.
Once you have all your equipment, brewing with the Flair will look something like this:
- Boil water and pour some into the brewing cylinder for pre-heating.
- While that’s happening, grind 13-18g of coffee, place it in the portafilter (the container where the pressure magic happens), and use the included tamper to compact the grounds.
- Assemble the components, pour water into the brewing cylinder, and push down on the lever with 30 lbs or force or so. You shouldn’t need more than one arm for the pull, and it should feel like a natural amount of resistance – not too hard, not too light. You can also use a bathroom scale if you really want to test what 30 lb feels like.
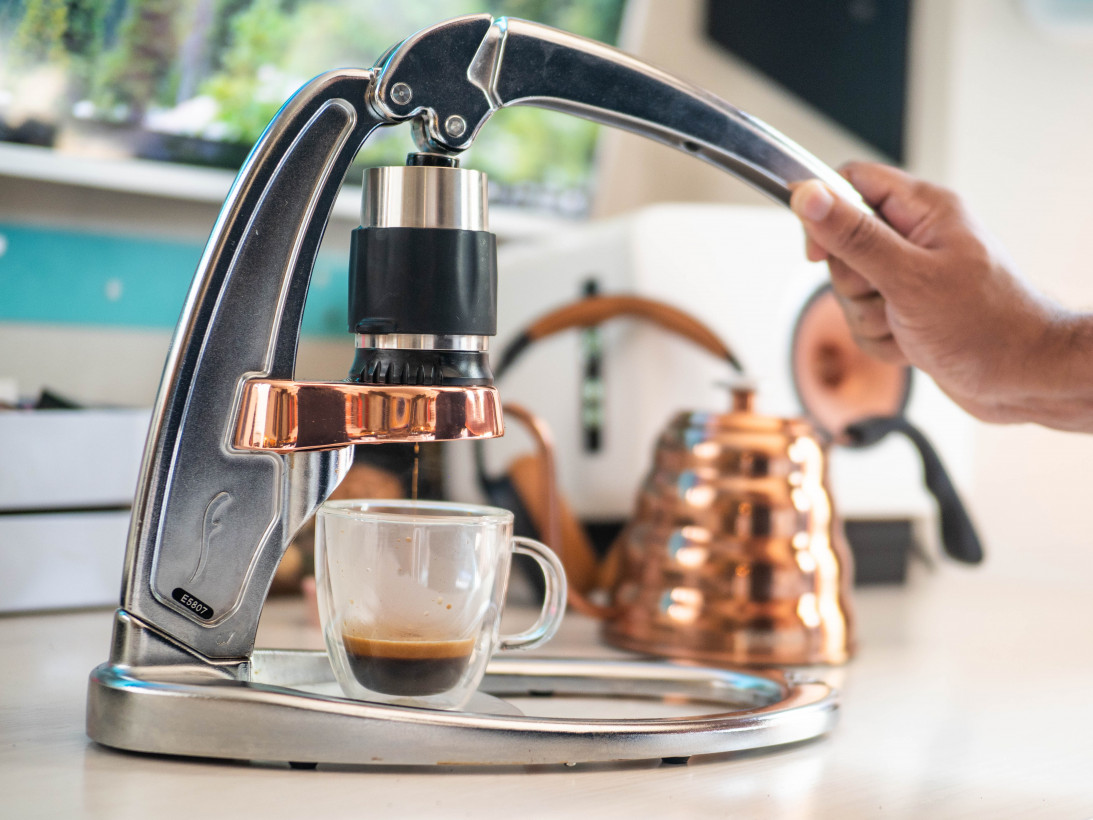
If all goes well, it should take 25-40 seconds to get your shot. That said, lining up all the espresso variables right is essential, and frankly, I’m still perfecting my technique. Thankfully there are plenty of excellent resources already; the espresso guides on Barista Hustle, and Home-Barista are great starting points.
It’ll likely take a bit of trial and error to calibrate your espresso, but you it shouldn’t be long before you’re making better shots than the average coffee shop. Its flavor will depend on your beans and technique, but the Flair is capable of producing balanced, rich espresso that can cut through milk or taste great on its own.
Don’t worry about it taking too long either; once you get your workflow down it shouldn’t take more than couple of minutes to prepare your shots. If you opt for the $200-$229 bundle with an extra brewing set (price varies by finish), you can produce a second shot in no time. Here’s a demo from Flair that shows a shot being prepared in under 2 minutes.
Let me be clear: The Flair isn’t the best choice for everyone. It’s still more involved than an automatic machine where you can just press a button and have coffee magically appear. You can’t just let the machine sit and brew while you do other things. It doesn’t use a standard portafilter, which might require tweaking your variables if you’re used to a standard machine. You’ll need to buy a separate gadget to steam or froth your milk. Pre-heating components can take some tinkering for lighter roasts, and you need to be a bit more careful to not burn yourself with boiling water.
But it has important benefits over automatic machines too. Again, it’s much cheaper and smaller. It can be taken apart and placed in the included carrying case in about 30 seconds. You don’t have to wait for the machine to heat up before making your drink. It even has an important brewing advantage over most machines: the lever mechanism lets you adjust pressure mid-shot to make up for deficiencies in your grind.
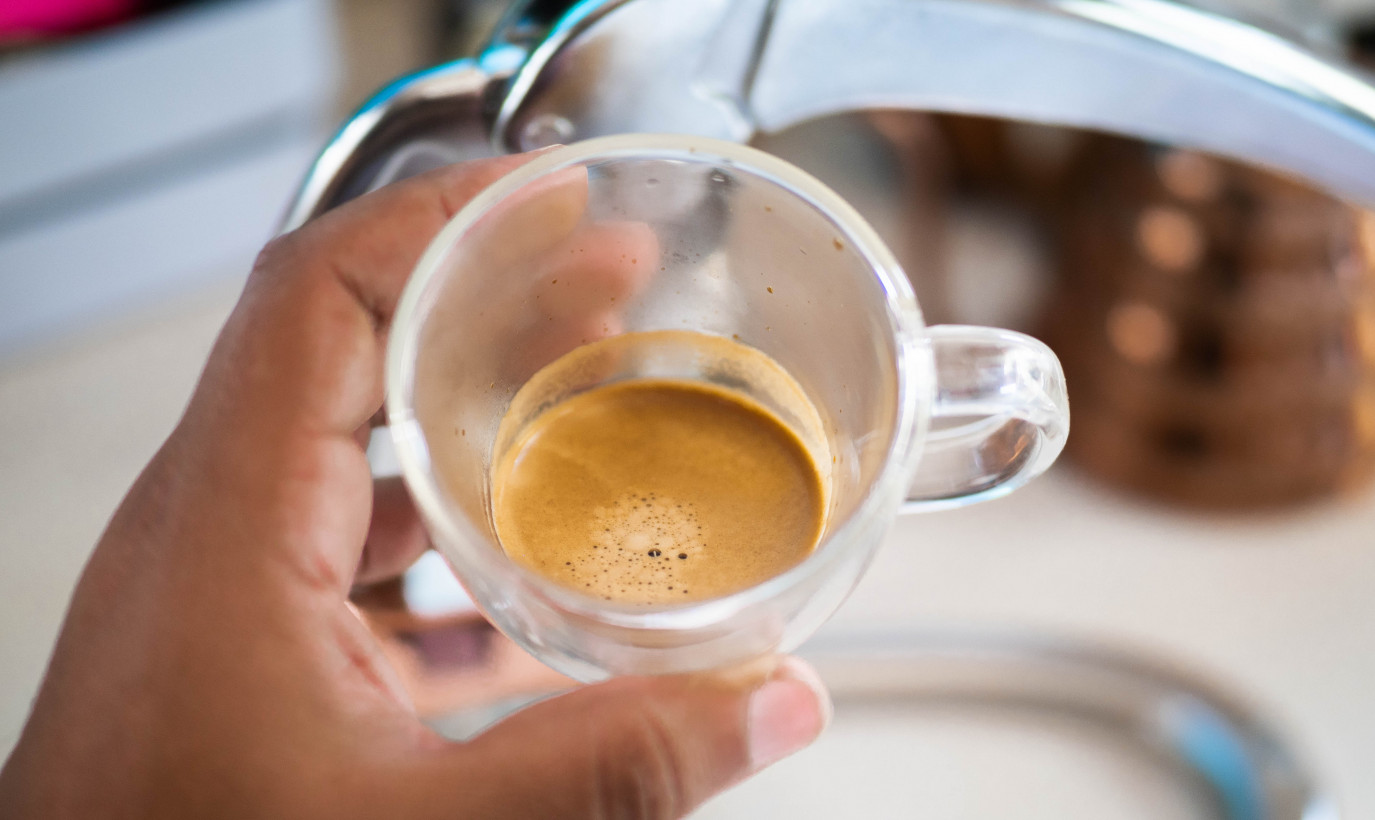
Where on other machines messing up your grind and/or tamp could leave you with an undrinkable espresso, it’s actually pretty hard to ruin a shot on the Flair. You quickly get an intuitive sense for how fast coffee should be pouring, and learn to automatically adjust pressure accordingly. Shot pouring out too fast? Decrease the pressure. Too slow? Use a bit more force than normal. Changing pressure mid-shot is actually a feature usually reserved for a top-of-the-line espresso machines – most devices are stuck at a fixed pressure – but the Flair’s design makes it easy.
Just don’t apply too much pressure – Flair’s materials repeatedly warn you not to exceed 70lbs of force – especially if you happened to use too much coffee and didn’t attach the pieces properly. You could end up with a mess:
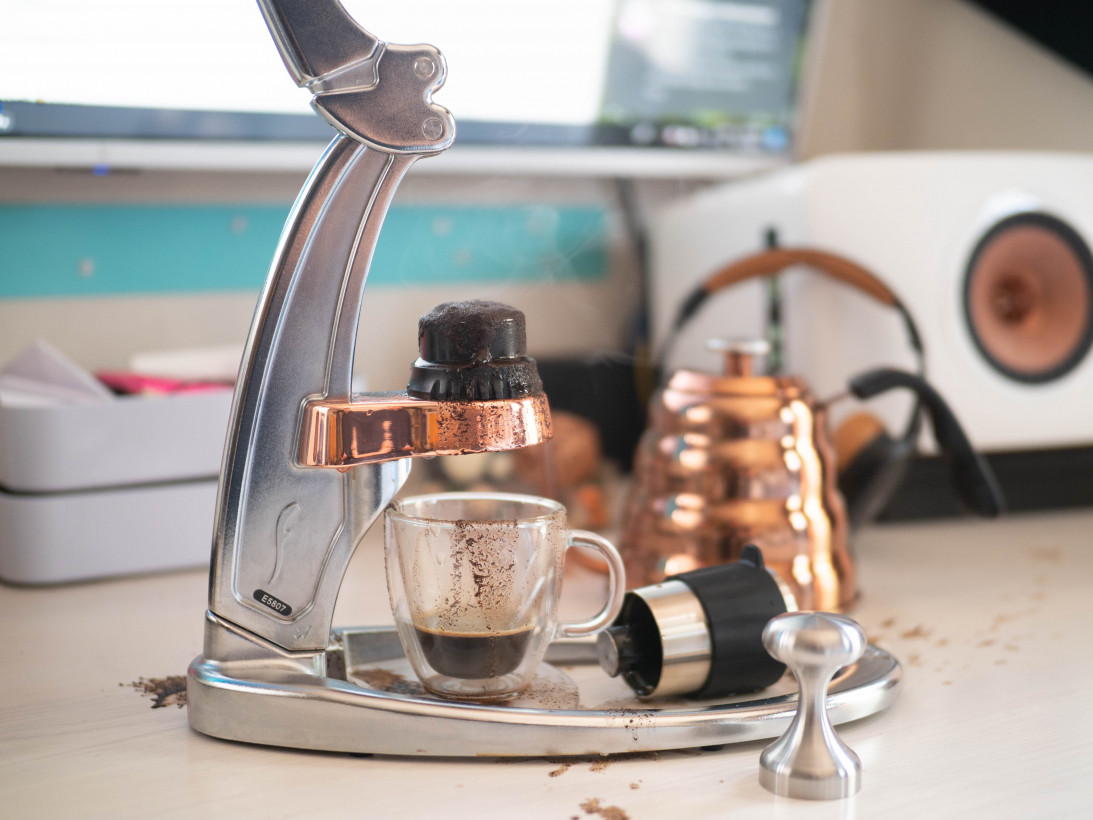
Assuming you’re usually not so careless though, there’s something immensely satisfying about using a bit of your own muscle to make your morning shot.
Ultimately, it comes down to this: I can make an espresso, latte, or mocha I enjoy more than any of great coffee shops within a 10 minute walking radius – and yes, I’ve tried them all.
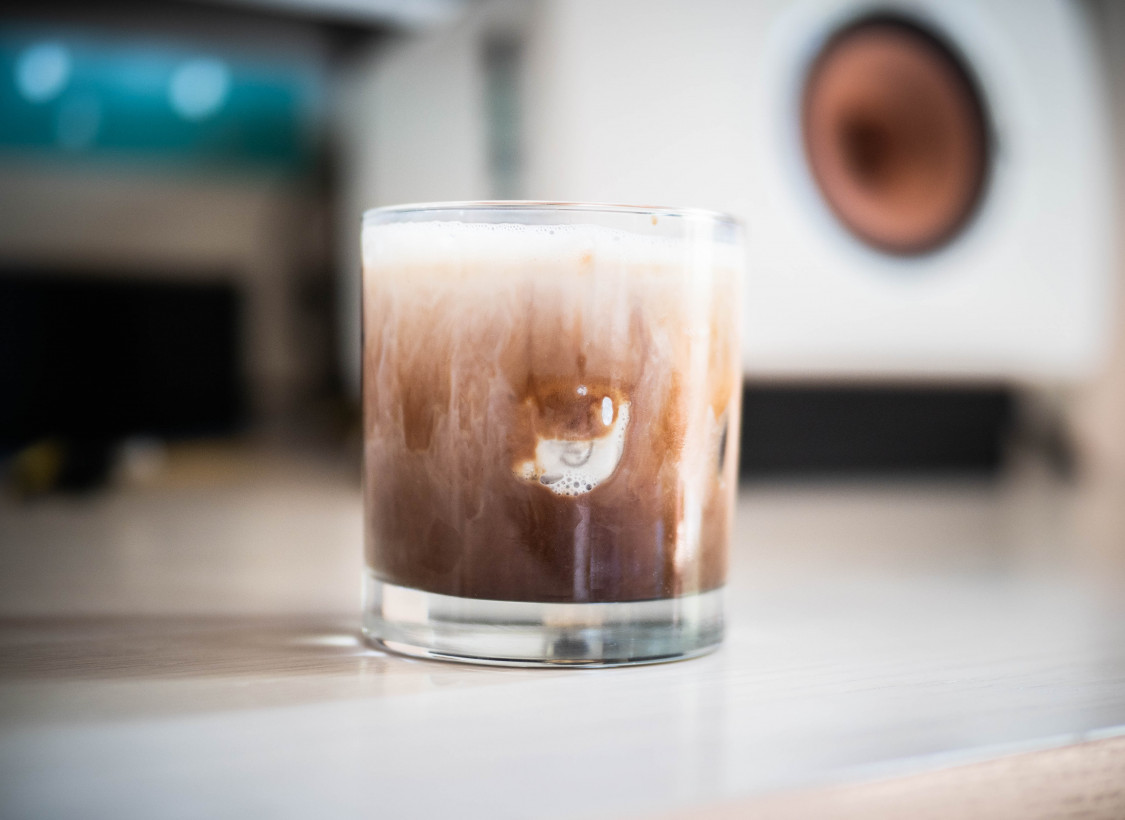
This isn’t to say I’m better than a seasoned barista – I’m still learning – but the Flair gives me the tools to make a shot precisely tuned to my tastes. Just like making a perfect home-cooked meal is more satisfying than any restaurant dish, the Flair lets me make coffee that perfectly suits my palette.
If you’ve ever found yourself spending too much money on pumpkin spice lattes, and are willing to spend a some of time and cash to start your own espresso journey, the Flair is well worth the initial investment. You’ll have better coffee and save money – what’s not to like?
This post is not sponsored, but it includes affiliate links to products that you can buy online. If you purchase them through our links, we get a small cut of the revenue.
Get the TNW newsletter
Get the most important tech news in your inbox each week.
