One of my favorite Mac features is the ease at which you can take and edit screenshots using Apple’s default tools. Using one of several keyboard shortcuts, I can take a screenshot of exactly what I want to capture, and edit it all (or not) in Preview.
Here are those keyboard shortcuts I was talking about:
- Shift + Command + 3: Takes a screenshot of your whole screen.
- Shift + Command + 4: Allows you to screenshot specific areas of the screen.
- Shift + Command + 6: Screenshot the Touch Bar.
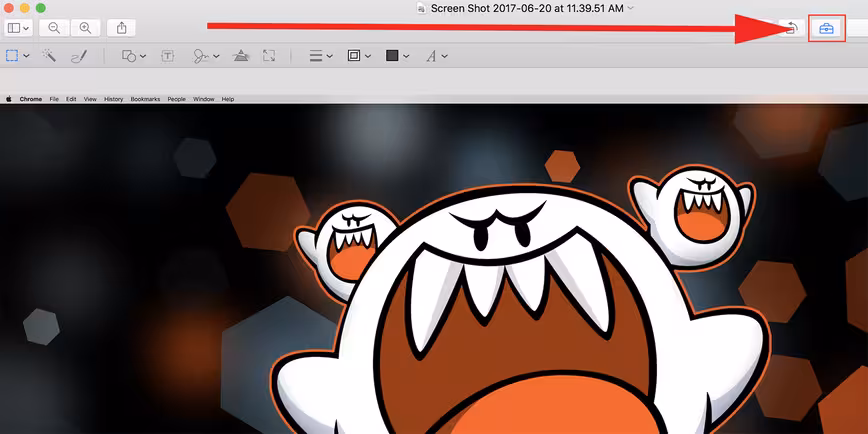
Double-clicking the screenshot opens it in Preview. From here you can open the Markup Toolbar to make edits and annotations, or dig around the Tools menu for additional options — like resizing or color edits.
But as great as these tools are, there are few options for customization by default. Today we’re going to look at several ways to take better screenshots through a few easy Terminal hacks. And don’t be scared, you can always revert these changes later if you’re not a fan.
Highlight specific elements for a screenshot
Using CMD + Shift + 4 allows us to drag the capture area around a specific item we want to capture. But if you want to capture, say, the Dock, Menu Bar, or a Finder window you can avoid trying to line up perfect edges and instead just use this trick.
- Press CMD + Shift + 4
- Press the Space bar right after
- Once the camera icon appears, move it to the section you want to capture and wait for it to highlight that area.
- Click the mouse to capture the screenshot.
Now instead of taking an image of my entire Desktop, I’ve got just the window I was looking for — and a cool drop shadow effect to help it stand out.
Save hard drive space by saving as JPG instead of PNG
One of my biggest gripes with the Mac is in its default use of PNG images, all of which are much bigger than they need to be. Worse, there’s no option to change this without diving into Terminal. These two images, for example, are the same. One is a default screenshot in PNG with minimal compression; the other is a compressed JPG — which is half the size.

As you can see, the JPG screenshot is less than 10-percent of the size. And if you’re worried about quality, don’t be. Both are more than adequate for most of what you’d be using them for — unless you plan on blowing up your screenshot and hanging it on a wall, that is. For my use cases — posting to TNW, adding to social media, or sending in a chat app/text message — these are fine. Anything more is overkill.
To use a better example, here are two images from Pexels side-by-side. One is a PNG, the others is a JPG that takes up half the space. Both are at the recommended size for a Facebook cover photo.
Can you tell the difference?
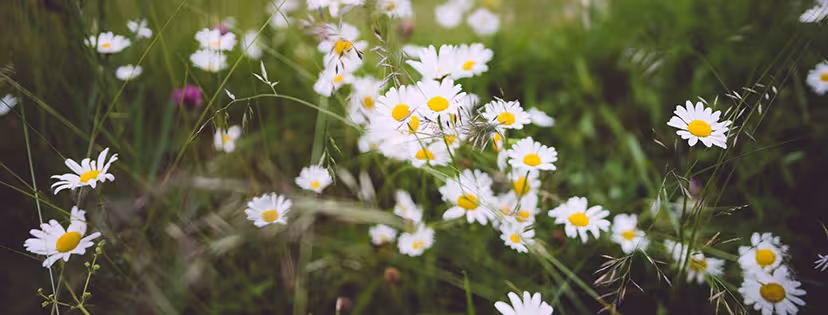
Probably not. And if you can, is it noticeable enough to double the file size?
Use Terminal to change the default file type for Mac screenshots
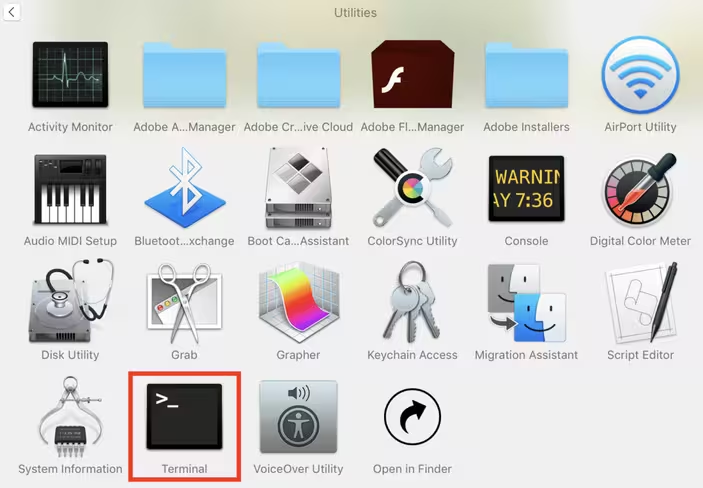
Open Terminal by heading to Applications > Utilities > Terminal (or just bringing up finder — CMD + F — and typing in Terminal).
In the Terminal window, paste or type in the following command and press return:
defaults write com.apple.screencapture type jpg

Change where your Mac stores screenshots
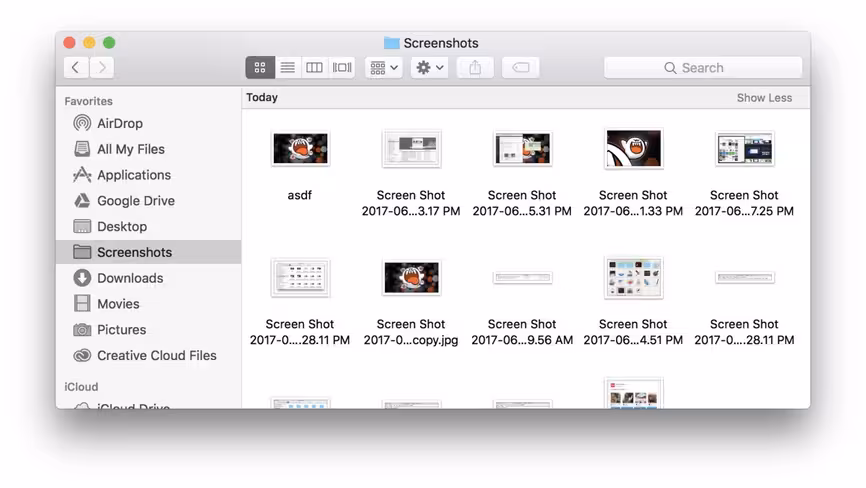
By default, all screenshots are stored on the desktop, and in PNG format. We’re going to change both of those things, but we’ll start with the screenshot location. I don’t like them cluttering up my desktop, and I’d prefer them to remain out of view until I need them.
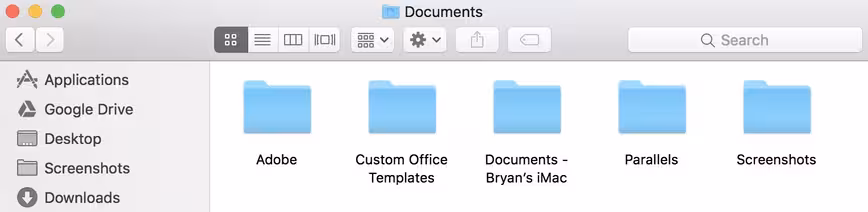
To do this, I created a new folder in Documents, and named it Screenshots.
From there, I opened up Terminal, entered the following command, and pressed return:
defaults write com.apple.screencapture location ~/Documents/Screenshots

If you don’t have the Screenshots folder, Terminal will ignore the command. So you’ll need to create that first. You can also use any number of other locations and/or names by just changing everything after the path, which in this case is ~/Documents.
Maybe ~/Pictures/Screenshots is more your style.
Once done, enter another Terminal command to complete the change (and press return once you’re done):
killall SystemUIServer

“Killall” sounds scary, but it’s really just resetting everything to make the change.
Resize a CMD + Shift + 4 selection
I used to be frustrated with CMD + Shift + 4. I was a perfectionist, and it was hard to line up the perfect amount of space at each edge of the image without a lot of trial and error. And then someone showed me this trick.
After highlighting the area for a screenshot, hold the Space bar. Now, you can move your selection around and line it up just how you like it.
If you want to resize a single dimension of the selection, do the same thing while holding the Shift key. Now you can drag the top, for example, without affecting the bottom or the sides. If you want to make more adjustments, release the Shift key and then press it again.
To adjust the selection proportionally — where each side gets bigger/smaller but stays in the same aspect ratio — hold the Alt key and drag.
And if you’re really particular, you can combine each of these methods to get the perfect capture.
Get the TNW newsletter
Get the most important tech news in your inbox each week.