Welcome to TNW Basics, a collection of tips, guides, and advice on how to easily get the most out of your gadgets, apps, and other stuff.
Symmetry is crucial to my photography. Little imperfections in form drive me nuts, which is why I spend unreasonable amounts of time trying to find the best angle to take a shot. Indeed, my stubborn pedantry has sent thousands of (otherwise decent) images to the bin – all because of minor kinks. But it doesn’t have to be this way.
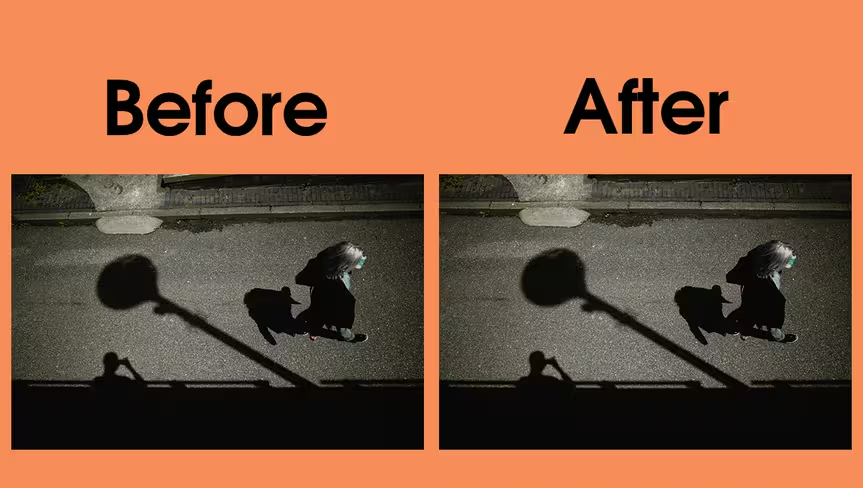
Thanks to editing tools like Lightroom and Photoshop, I can easily get rid of such minor defects – and doctor up an alright picture into a great one. Like I did with this image:

The 💜 of EU tech
The latest rumblings from the EU tech scene, a story from our wise ol' founder Boris, and some questionable AI art. It's free, every week, in your inbox. Sign up now!
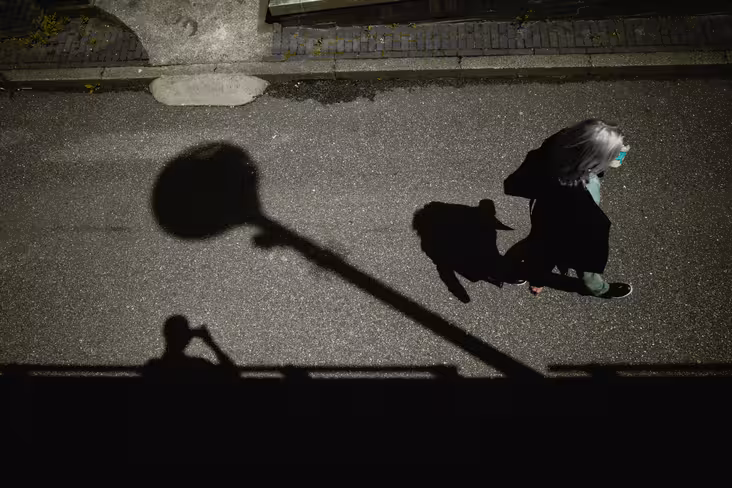
I recently took this pic when I was testing the Ricoh GRIII compact camera, but I ultimately decided to leave it out of my review because it looked a bit too crooked and asymmetrical. That is, until I touched it up in Photoshop.
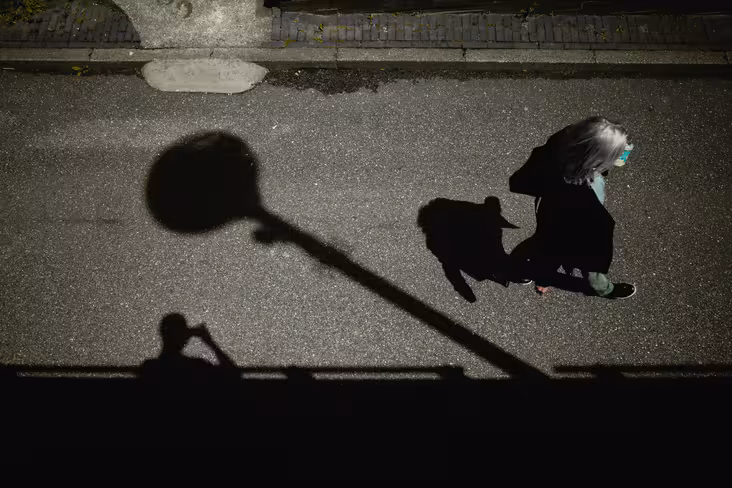
The difference is subtle – and will arguably remain unnoticed by most people in our swift-scrolling social media milieu – but the curb in the latter image has been straightened out to match the straight line of the shadow at the bottom.
This little tweak immediately makes the picture more pleasant to look at (to my eyeballs, at least). In essence, it turns an image I kinda liked into an image I would gladly post on my Instagram.
But the best part is you can do the same with your images. Here is a step-by-step guide on how to straighten out photos in Photoshop:
- Since the point of this exercise is to make the images more symmetrical, you might want to enable the pixel ruler. You can do that by heading to “View” and ticking off the “Ruler” setting. Now you should see the ruler guide on the sides of the image.
- The next step is to set guide lines. To do that, click on the ruler and drag your cursor to create a guide. If you want a horizontal guide, click on the horizontal ruler; for a vertical guide, click on the vertical ruler.
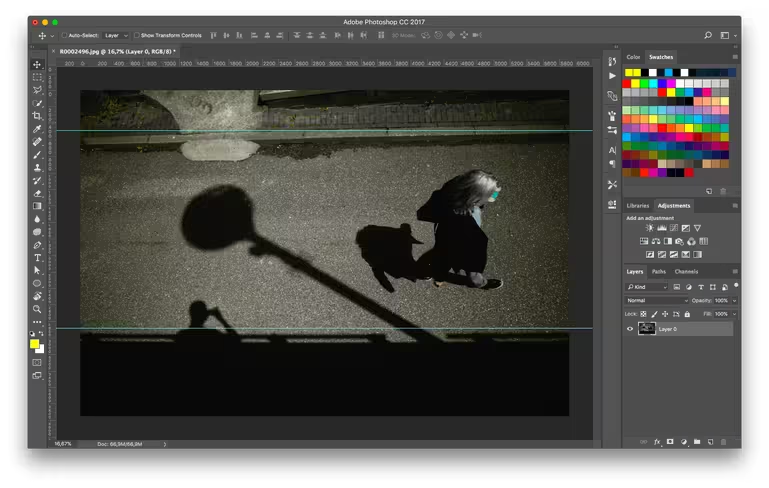
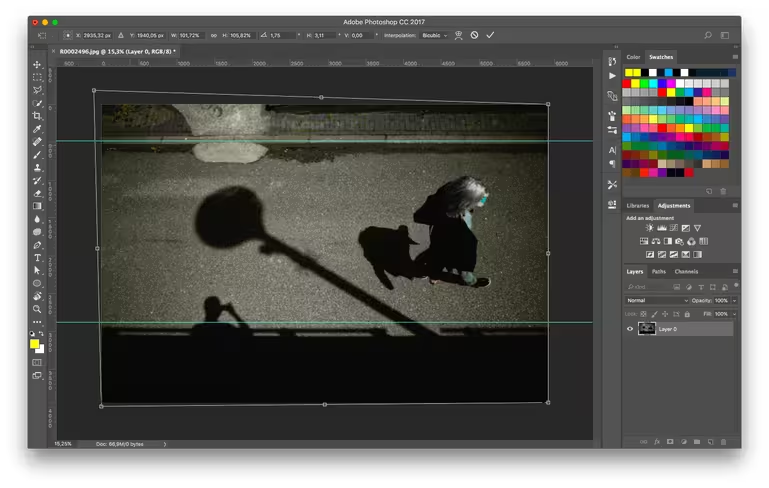
- The most effective way of using guides is to set them close to the area of the image you want to straighten. That will make it easier to spot kinks in the image, and adjust them accordingly. Here is how I set up the guides for my image:
- Now comes the tricky part. To straighten the image, you can use the “Free Transform” tool, which you can access from the “Edit” menu (or by simply clicking Command + T on Mac, and Control + T on Windows). (Heads-up: you will need to convert the image to a layer to use Free Transform.)
- While in “Free Transform” mode, hold the Command button (or Control on Windows) and drag the transform points to straighten out the image. Since I’m trying to get the left side of the curb to match the right side, I have to pull the upper left transform point a bit up and to the left.
- Keep adjusting the transform points until you feel you’ve achieved the desired effect. Then click enter to finalize the changes.
- Don’t be discouraged if you don’t get it right from the first time. It might take a few tries.
As always, there is more than one way to straighten out images, so use the method that best suits your skills. I personally like the Free Transform tool because it offers quite a bit of flexibility.
It goes without saying that straightening out images in Photoshop should be a last resort; it’s always better to nail the straight lines when taking the image. But anyone who shoots in fast-paced environments knows this is a tall order – especially if you’re short on time.
So next time you’re considering tossing a slightly asymmetrical image in the bin, think twice: there might be a quick fix for it.
The sample photo was taken with Ricoh GRIII, you can read our full review of this powerful lightweight camera here.
Get the TNW newsletter
Get the most important tech news in your inbox each week.