Taylor Mathis is a food and lifestyle photographer based in Charlotte, NC. He is the creator of photographingfood.com and author of The Southern Tailgating Cookbook. This post was originally published on the Shutterstock blog and has been reprinted with permission.
Do you ever struggle to find inspiration for your shoots? Inspiration is all around you! You just have to be looking for it. Think about what you had for breakfast this morning. Personally, I love blueberry muffins. Not only are muffins delicious, but they are loaded with a variety of different food shots. Let’s walk through the process of making muffins and see what kinds of shots you can find.
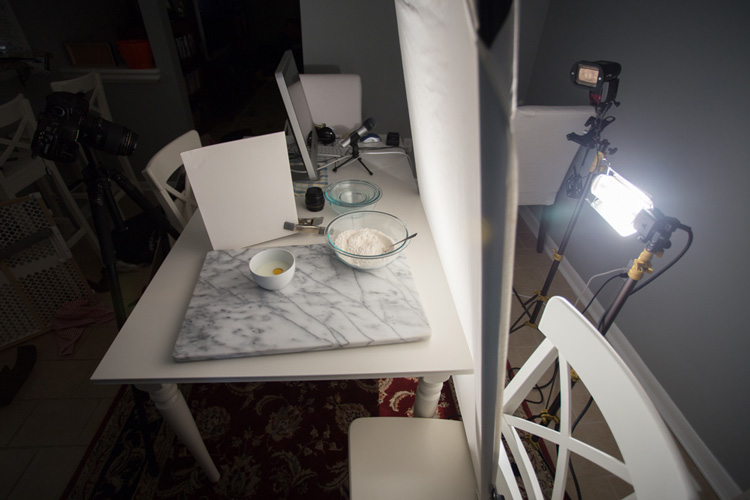
For all of these shots, I created a makeshift studio on my kitchen table. I’m using a white marble baking slab as the background, because it is visually more interesting than my solid white kitchen table, and many kitchens out there are made of white marble. The white marble also adds a light and bright look that will go along with my lighting setup. For the light source, I’m using a Lowel Tota shining through a diffusion square. This is a continuous, tungsten-based light source that will allow you to shoot as rapidly as you want without the flash having to recycle.
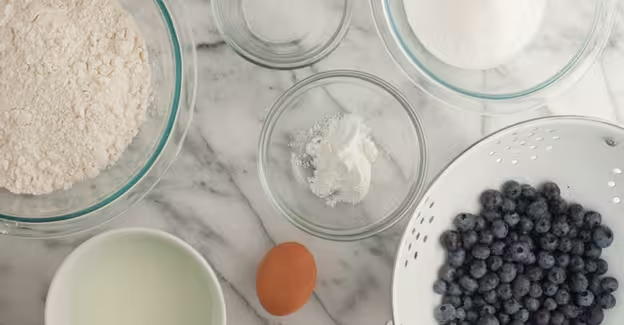
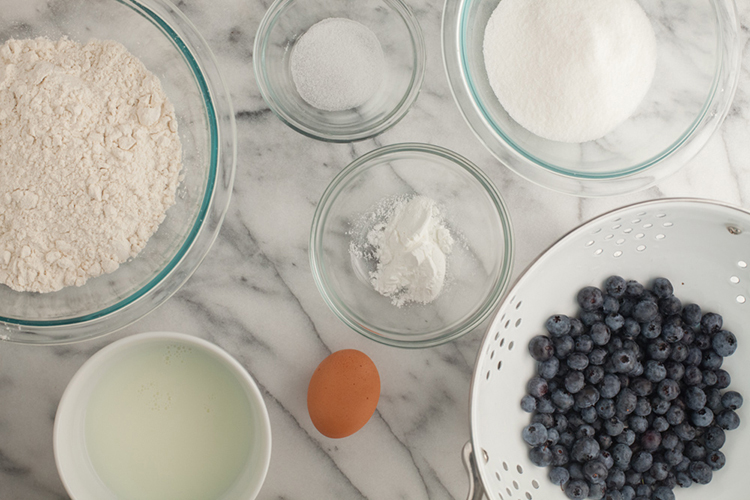
To begin making muffins, you need ingredients. That is your first shot: an ingredients shot. You’ll find these types of shots all the time in cookbooks and magazines. For this shot, I chose to place the dry ingredients in clear glass bowls. I like the clear glass because it allows you to see the background below and gives a uniform look.
The milk was the only wet ingredient, so I thought it looked nice in a small white bowl. The blueberries had just been washed in a white colander, so I decided to keep them in there for the shot. With these ingredients, you can take a wide overhead shot like this:
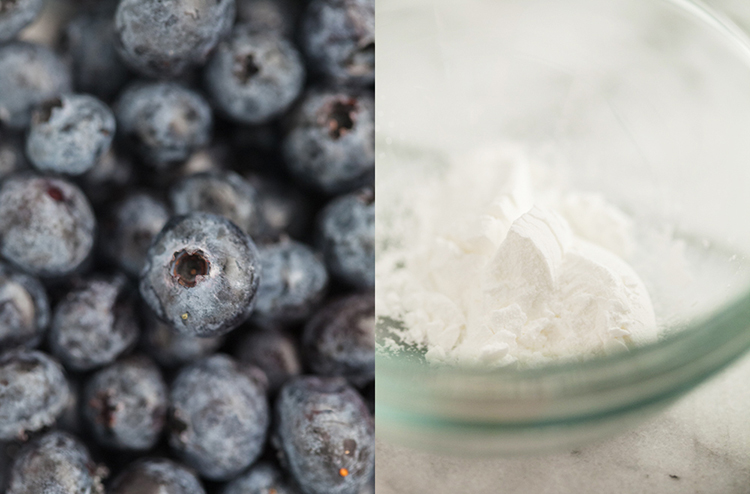
Or you can break out the macro lens and take some close-up ingredient shots like these:
The magic of cooking is when the ingredients come together to make something delicious. Normally, a bowl of flour isn’t the most exciting thing in the world to look at. To make this a more exciting shot, you can use your shutter speed to show the movement. Here are several shots done with a slow shutter speed of 1/25 of a second:
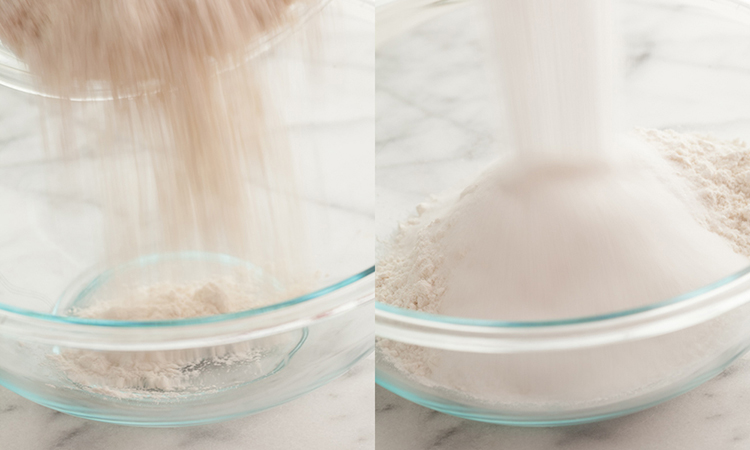
At this slow shutter speed, the act of the flour falling into the bowl is blurred. Normally, you would want a sharp, in-focus image, but there are times when a blurry image is better. This is one of those times. The blurred part of the images shown next to a sharp and in-focus stationary part of the image implies that the blur is moving.
Notice how only the ingredient being poured is blurry. The bowl and the rest of the shot is in focus. By shooting on a stable tripod, you are able to have a sharp and in-focus image with only the moving part of the image blurred.
Different shutter speeds and different motions will give different levels of blur. Here’s an example of two images from the ingredients being stirred together. One was shot at a fast shutter speed of 1/200 of a second and the other one was shot with a slow shutter speed of 1/25 of a second.

Notice how you can see more movement in the one at 1/25. At 1/200, there’s still some movement, but it’s nowhere as drastic as the movement in the 1/25 shot.
Once the dry ingredients are mixed together, it’s time to add the wet ingredients. So far, I have shown you shots that are lit from the side. When shooting liquids, I love to move the light source more to the back. This backlighting allows the light to shine through the liquid, creating a beautiful glowing look. Here are two examples: a milk and egg mixture, then oil:
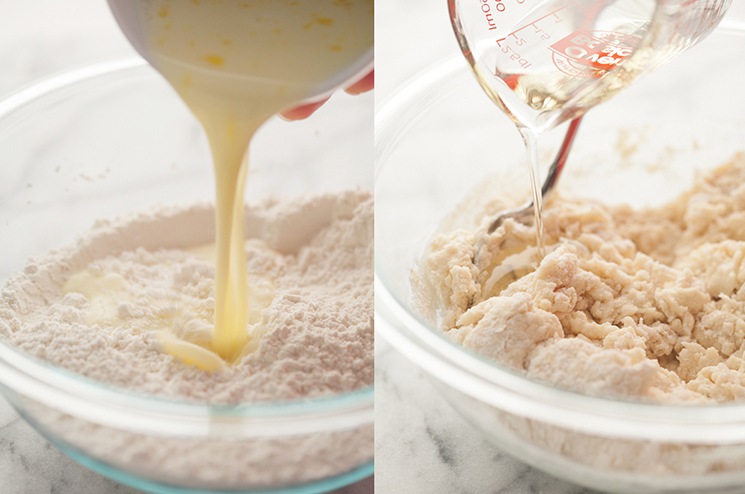
Notice how, in the oil shot, the glass container pouring the oil is lit up as well. With a transparent container, the light will shine through. In the other shot of the milk and egg mixture, the container is an opaque white bowl. The light doesn’t shine through and is darker. When selecting your props, it’s a good idea to think about if they will be translucent or opaque and how light will affect those.
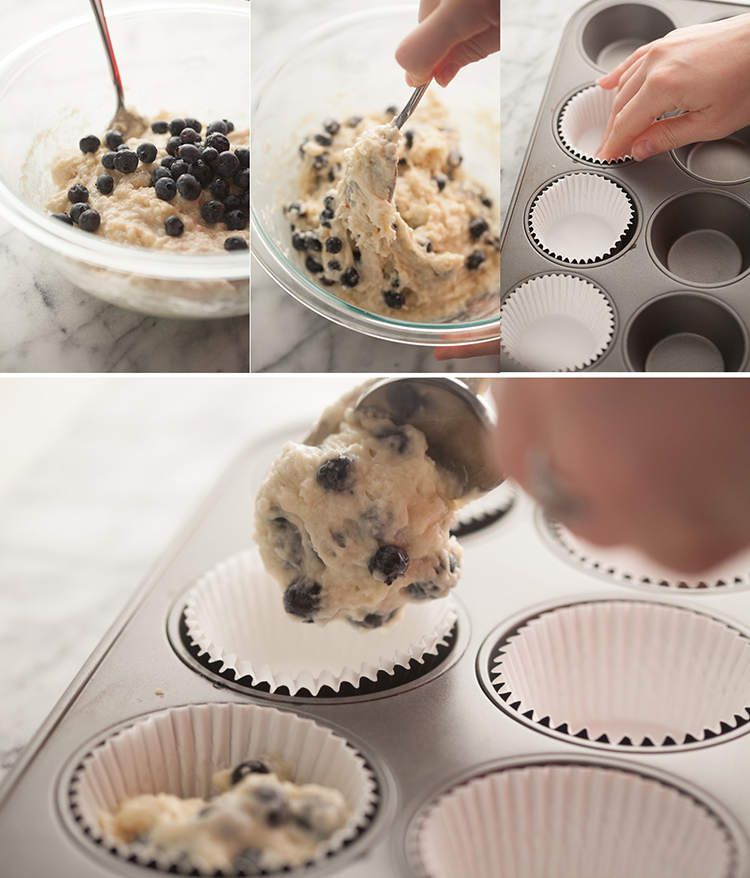
Once the liquids are added and stirred, the berries are added and folded in. The batter is scooped out of the bowl and into the muffin cups. The muffins are then baked and ready to eat. Do you have a mental image of what this looks like? Here are a variety of shots that I took with a macro lens showing the process:
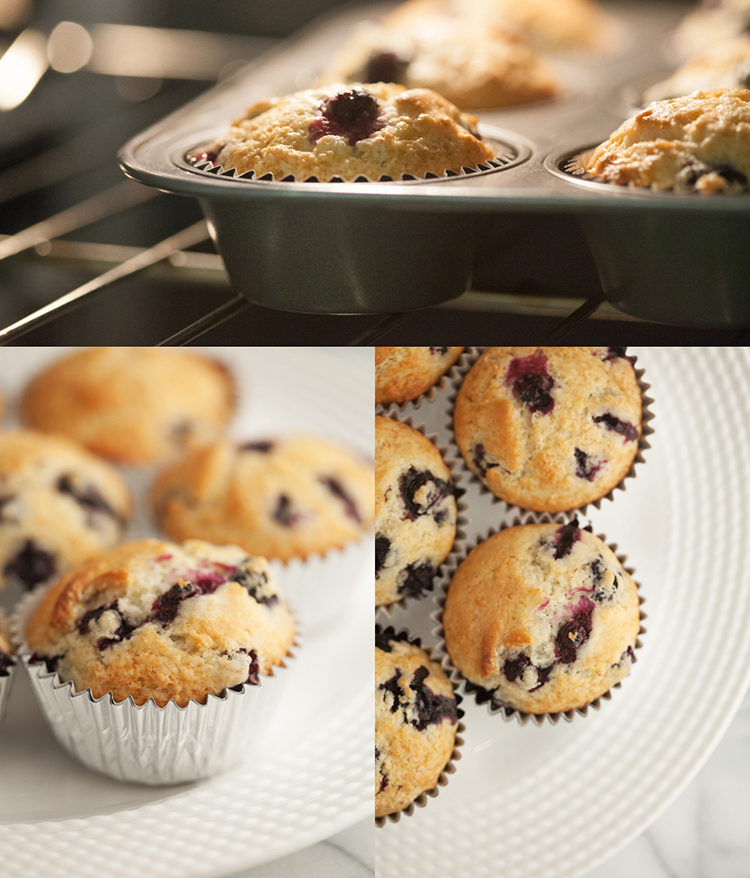
Remember that if you are ever feeling uninspired and don’t know what to shoot, think about what you’re planning for your next meal. There are dozens of shots that you can create as you follow the process of your food transitioning from raw ingredients to the table!
Get the TNW newsletter
Get the most important tech news in your inbox each week.