Any time that Facebook or other large sites rolls out new features, there is the wealth of questions about how to get them set up and rolling. If you’ve created a group on Facebook before, the process is pretty much the same. But we’re going to walk you through setting up a group and getting it started with the new, improved version.
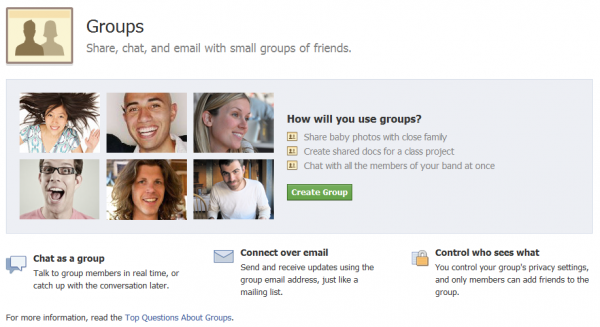
1 – Head to the Groups page, click Create Group
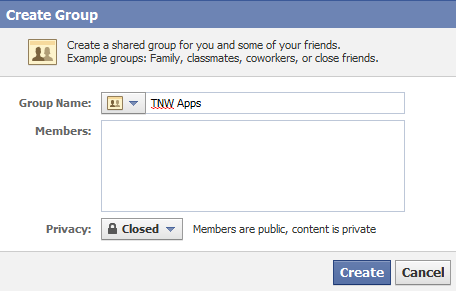
2 – Name your group, set the details and privacy options
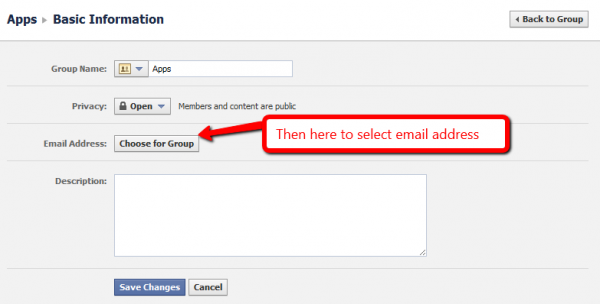
3 – Pick your group email address. This is a two-step thing, which is really the only confusing part

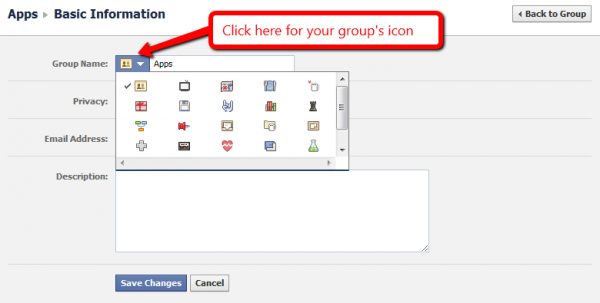
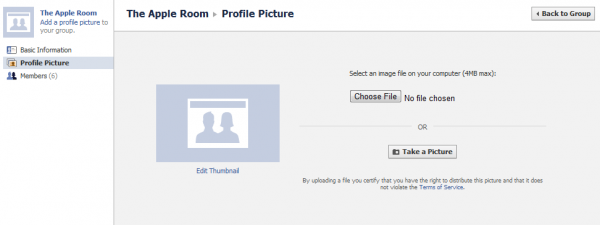
4 – Set your group icon and Profile Picture
5 – Add some content!
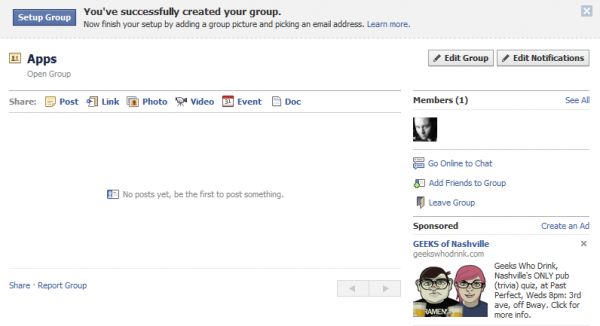
That’s honestly all there is to it. Of course, you can edit your group information whenever you’d like by just visiting the Edit Group button toward the top right. You can also choose to edit notifications that you get from the group, add friends or even leave the group if you’d like. All of the controls appear right where they should, toward the top right of each group’s page.
We’ve started some groups on Facebook, and you’ll hear more about them once they’re ready to roll. It’s nice to see that we have a lot more control over what happens and what doesn’t in the groups, as well as the ability to more easily manage them. Nice job, FB!
Get the TNW newsletter
Get the most important tech news in your inbox each week.


