
Look out Photoshop Touch and Google SnapSeed—there’s another contestant in the ring vying for the title of full-service mobile photo editor. With the release of Adva Soft’s Handy Photo 2.0 for the iPhone, iPad, and Android, mobile photographers just got another reason to shake up their routine.
Expert tools that you guide with a finger—or perhaps a stylus if you really want to get fancy—are often complex, frustrating to maneuver, and hard to learn. Handy Photo seeks a place in the same functional realm as desktop apps like Adobe Lightroom, OnOne Perfect Photo Suite, Google SnapSeed, and Apple Aperture. Photoshop Touch has a similar goal: to be the mobile analog of Photoshop, its flagship desktop software.
Handy Photo 2 features three major advances over the previous version: An interface overhaul that is designed to make the app more accessible and friendlier to users of various photographic skills; the ability to select and apply edits to discrete parts of a photo; and a new edge-aware brush that facilitates more accurate selections.
The interface of the iPhone and iPad versions are virtually identical, and the iPhone even has a landscape position, which is convenient. While launching this app for the first time is not for the faint of heart, soon enough, the interface starts to make sense. Some operations may still present a challenge, however.
If you have an iPad or larger Android device, it’s helpful to get acquainted with the app in that relatively spacious environment. The app launches into a splash screen that lets you immediately access your gallery, camera, and the app’s tutorials. If you’re like me, though, you save the tutorials for last.
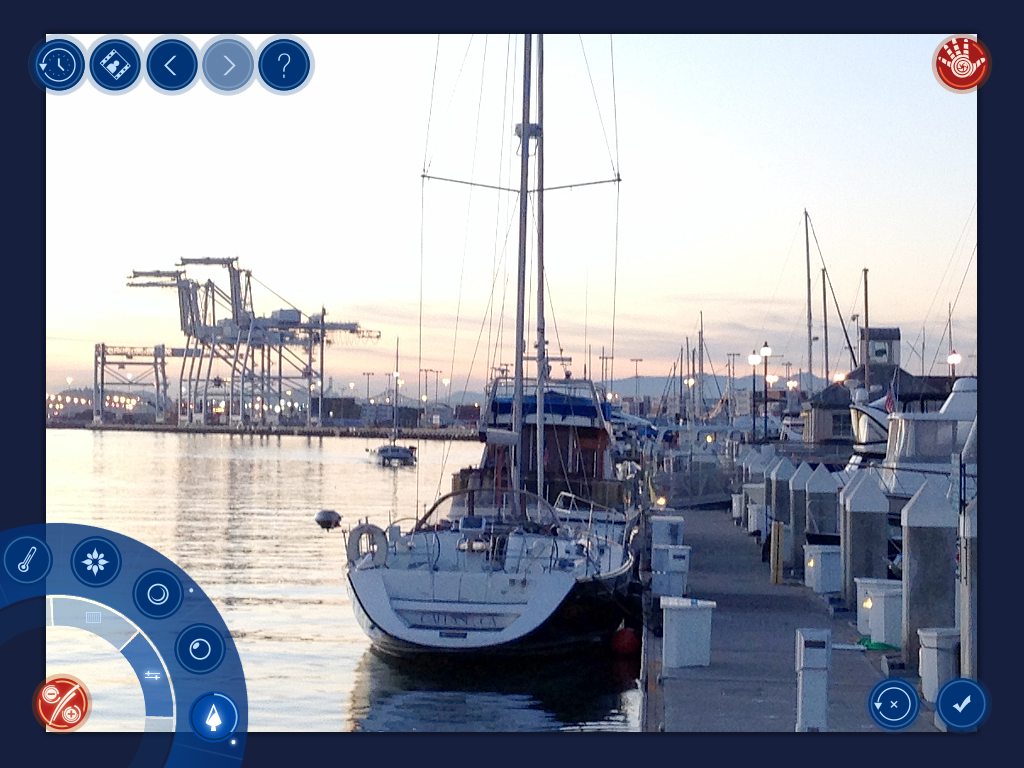
Tapping the main menu button—the hand icon at the upper right corner of the screen—brings up a dual-level circular tool that rotates among available editing functions. The first level lets users access the filing system where you can navigate to the start page, your photo collection, sharing options, and settings. The wider animated circular menu is where the action is. Here you choose major editing tools like Tone & Color, Retouch, Clone Stamp, Move Me, Filters, Textures, Magic Crop, and Frames.

Tapping any of those controls prompts the main menu to recede and opens another smaller circular set of contextual controls at the opposite end of the canvas. Just touch each control and a text tip appears telling you what it does. Then slide your finger across the screen to get more or less of the chosen effect.
The Tone & Color tool has another important layer of controls featuring Adjustments and Gradient Masks. The latter is profound because it lets you choose how much of the image you want to adjust: the whole picture, an adjustable Linear Gradient Mask, an Elliptical Gradient Mask , or a Masking Brush. Each lets you select parts of the image to apply edits. Choosing the Masking Brush lets you access the Edge Aware Brush—available on a number of other tools—that helps to accurately select an object for editing or special effects while leaving the rest of the picture untouched.
Each time you accept an edit, by tapping the check mark, the app compiles a history that you can easily access and view.

I found some of the tools a bit clunky. For example, the Retouch Lasso tool placed a large brush around my selection, often obscuring the selected item. This is actually the loupe, which is designed to help you better see what you’re selecting, but perhaps being a southpaw got in the way of my view. Using a stylus helps with precise selections, and I found it helpful in this case.
When it’s time to tackle the Clone tool or the Move Me tool, you’ll need to consult the user guide. Otherwise you’ll waste some time watching the app render versions that you did not intend.
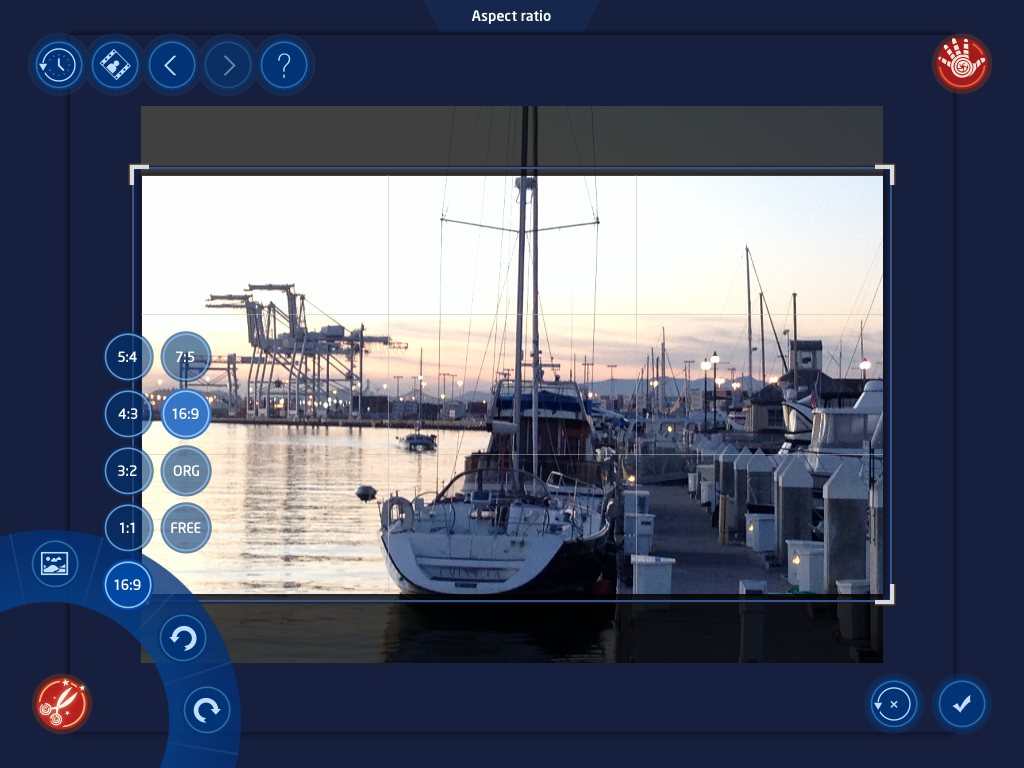
Those familiar with Adva Soft’s stable of programs will recognize some of their technologies in Handy Photo: Magic Crop can do a basic crop on your image, of course, but it is also content aware, so that if you change the photo from horizontal to vertical, for example, or just expand the picture beyond its natural boundaries, the app will fill in the blank space quite well. Similarly, the Retouch control works in much the same way as the company’s independent TouchRetouch standalone tool.
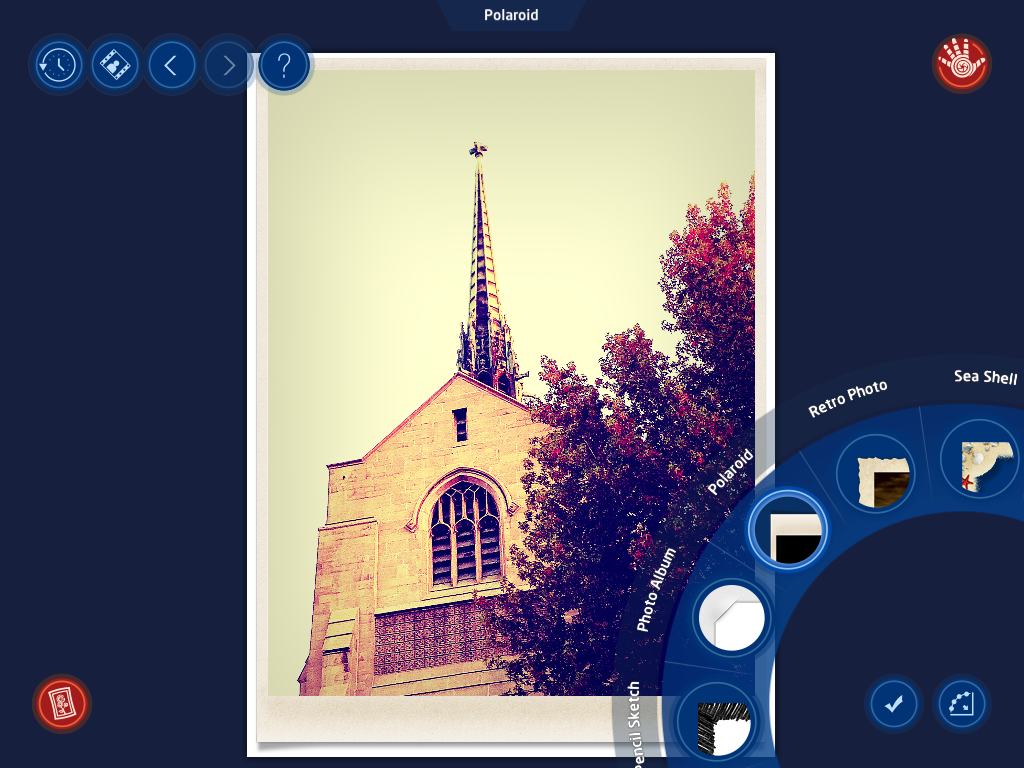
The best way to approach Handy Photo is to take exactly the same attitude as you would approach a Photoshop project on your desktop (even if you are lounging in your bean bag chair with both your cat and your iPad on your lap). It may take a little while to get the hang of all of Handy Photo’s maneuvers, but making use of the variety of filters and textures and frames will be worth the effort.
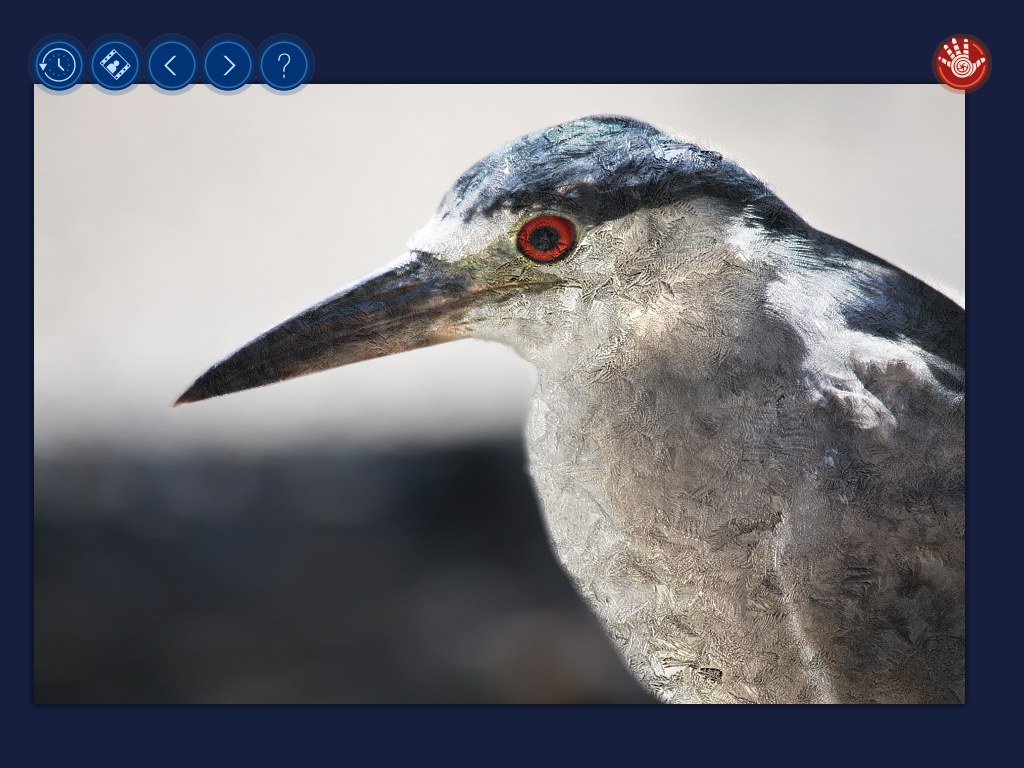
Image credit: Shutterstock
Get the TNW newsletter
Get the most important tech news in your inbox each week.