There’s a plethora of apps out there for sharing your screenshots and files with the world, like Cloudup and Droplr, but what if you’re not sold on the idea of trusting a company with your files?
Dropshare for OS X makes uploading and sharing your own files easy. Instead of hosting on a shared service, you choose where to put your files. Using Dropshare, you can host them with Amazon’s S3 service, Rackspace Cloud Files or a self-hosted server using SCP.
The app also allows you to auto-upload screenshots, the contents of your clipboard, can create screen recordings and allows you to upload files by dropping them directly on the Dropshare icon.
It’s easier than you’d think to host your own files how you want, so here’s how to get started with Dropshare and Amazon S3.
Setting up for S3
Amazon’s S3 is a cloud hosting service for developers that offers a free S3 storage tier so you can get started with Dropshare fairly easily. On S3’s free tier you get 5 GB of free storage and 20,000 requests included and after that it’s fairly cheap.
You’ll also need a custom domain to make the most of using Dropshare. Once you’ve got one, head over to your domain registrar and create a CNAME record for Amazon S3. There’s a great tutorial on how to do this here.
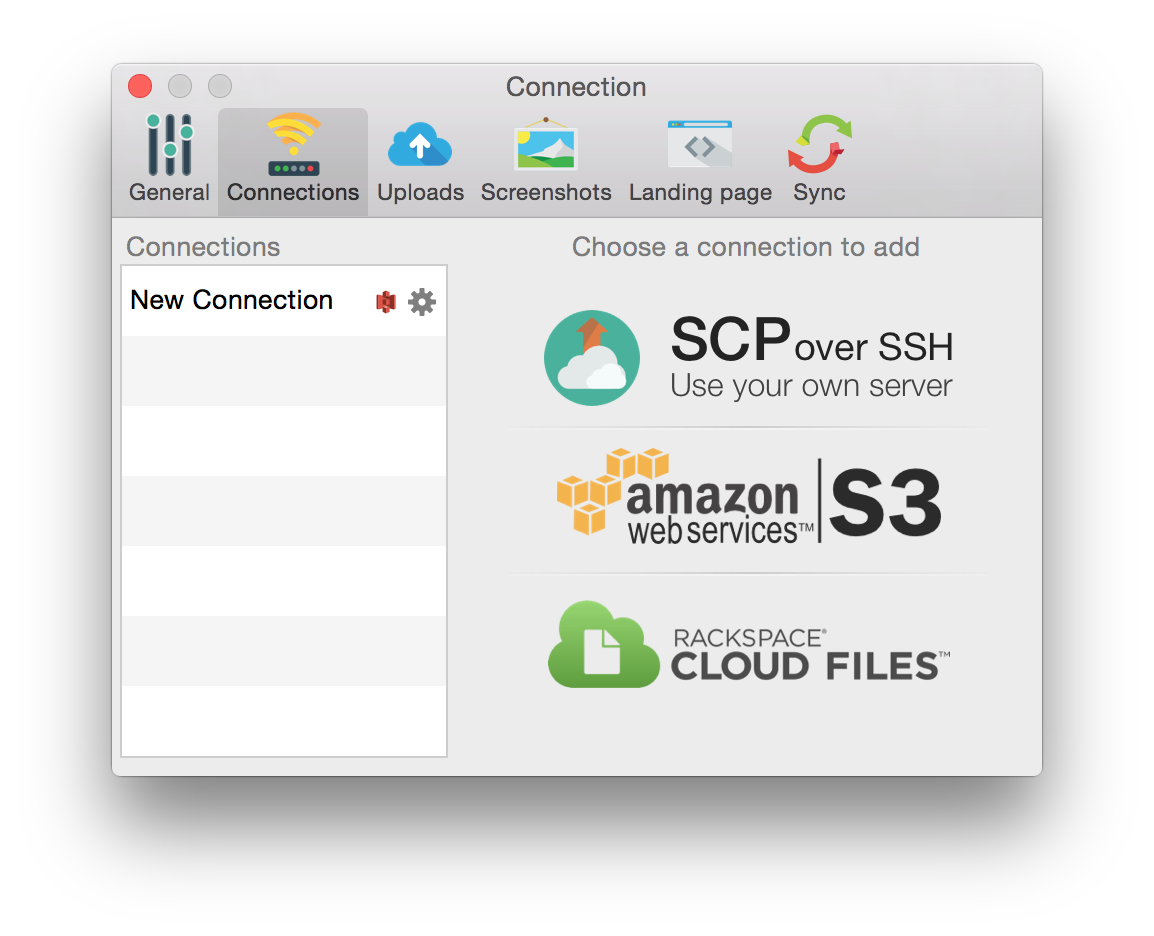
Install Dropshare on your Mac, then open the settings and click Amazon S3 to get started.
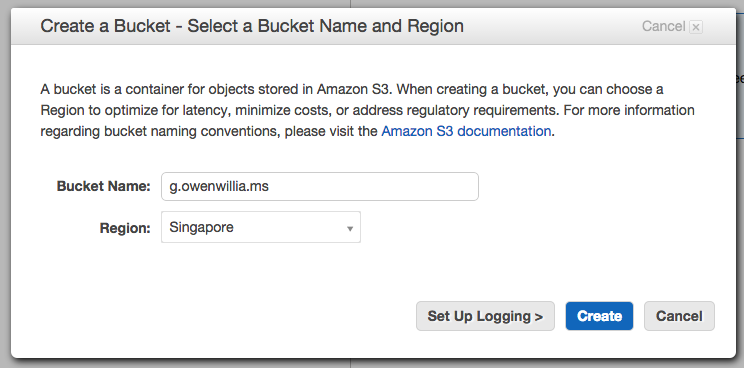
Once you’re signed up to Amazon Web Services, you simply need to open the S3 console and create a new bucket with the exact name of the domain you want to share files on.
I used “g.owenwillia.ms”, which matches the domain I already own and chose the Singapore region as it seemed like a good middle-ground between the US and New Zealand; you can pick whatever suits you here.
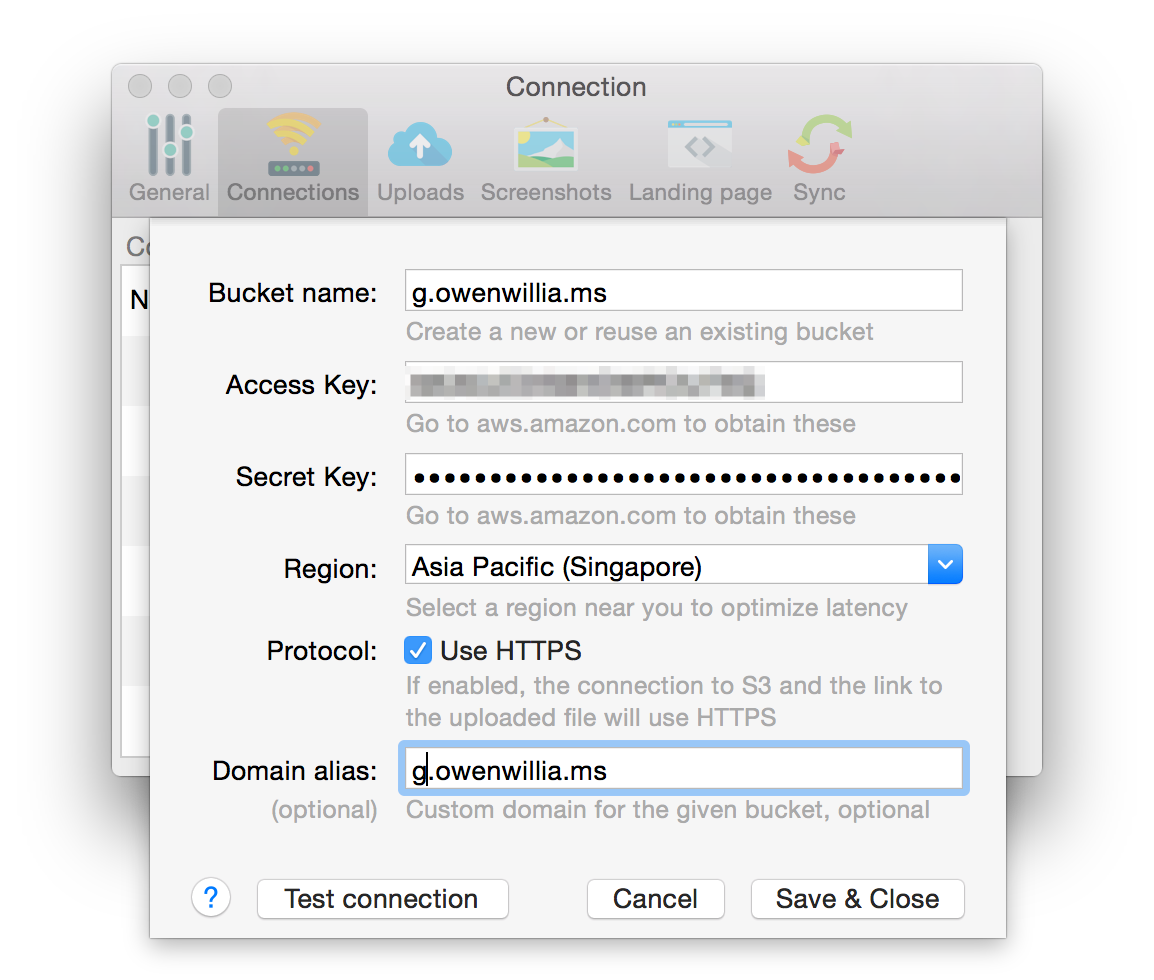
Now that you’ve got an S3 bucket, you’ll need to create an AWS access ID from this page. Once you’ve got that, put the bucket name, AWS access ID and secret into Dropshare, pick the region you selected earlier, then hit “test connection.”
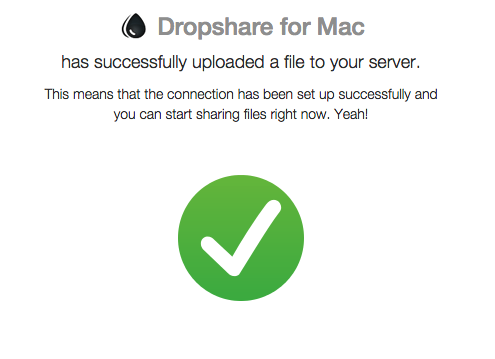
If it works, you’ll get a link to test that it works. If you see the below, you’re all set to start sharing files using your own custom domain and hosting.
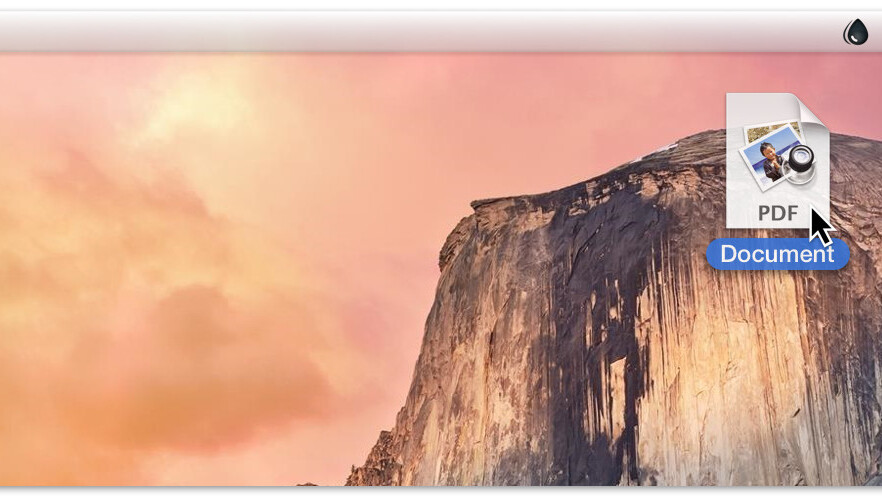
Now you can share files with your own secure, custom file service by simply dragging the file you want to share to the Dropshare icon in OS X’s menu bar and you’ll get back a URL to your file.
The control is yours
Here’s an example of what it’ll look like when you share a link once it’s set up. You’re able to customize the landing page how you please in Dropshare with full HTML and CSS, or just leave it as the default.
Dropshare also has a companion iOS app as well so you can share or download files from your service from an iPhone or iPad easily when on the go.
For $10.99, Dropshare is a great alternative to trusting your files to another company and gives you a lot of control over where they’re stored, while doing away with the limitations on file size that many other apps have.
Get the TNW newsletter
Get the most important tech news in your inbox each week.
