When I was offered the opportunity to trial the first fun of the Evernote Notebooks by Moleskine I jumped at the chance. As the staff of TNW knows, I already do the vast majority of my work within Evernote, so having a physical notebook in which I could write, then export that data to Evernote was appealing. Now that I’ve had a couple of weeks to use the system, I have to say that I’m sold for a number of reasons.
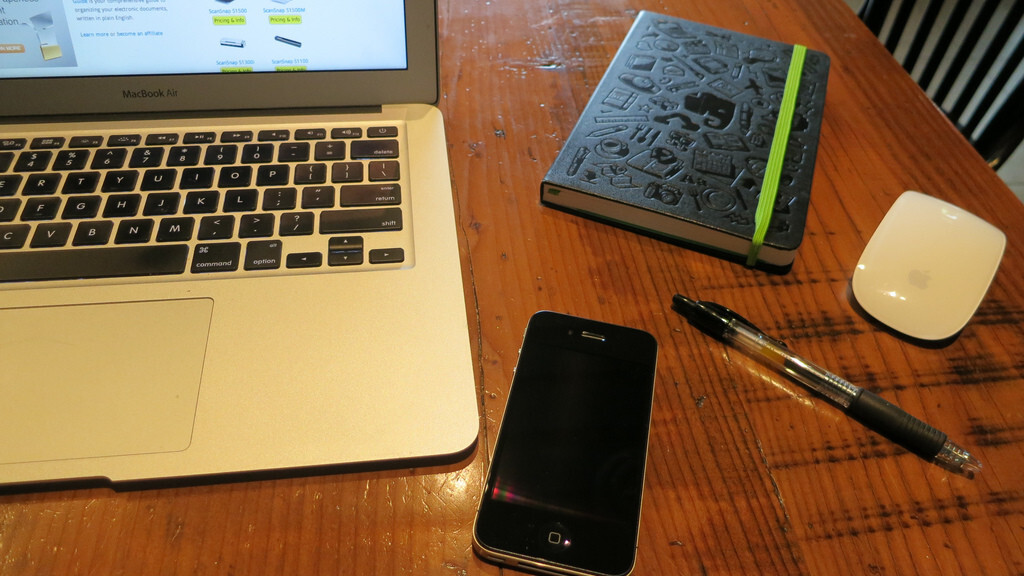
First thing’s first, let’s look at what makes up the Evernote Notebook system. It starts with a Moleskine-brand notebook. Like the rest of Moleskine’s products, the notebook is exceptionally high quality with a firm binding, good cover and wonderful weight to the paper. But the paper is different. It has a special pattern to the lines which allow the Evernote iOS and Android apps to more readily recognize what’s on the page.
You will also see a few sheets of stickers in the back of your notebook. This is a tagging feature that allows you to place a sticker on the page, then the app will recognize that sticker and automatically tag the note within the Evernote app once you’ve uploaded it. The upload process is simple, but has its quirks, which we’ll get to in a bit.


The 💜 of EU tech
The latest rumblings from the EU tech scene, a story from our wise ol' founder Boris, and some questionable AI art. It's free, every week, in your inbox. Sign up now!
The notebooks aren’t cheap, weighing in at $25 and $30 for a 3.5-inch or 5-inch version respectively. But you’ll find three months of Evernote Premium service (allowing for larger uploads, PIN locks and more) included with each purchase, so you can mark down $15 of the price to that subscription. That falls in line with Moleskine’s pricing, where a standard hardcover 3.5-inch book would be priced at $10. So there’s no bundle discount, but at least you’re not paying more.
Over the few weeks that I’ve been using my notebook I’ve done everything from doodling ideas to taking true notes in meetings. I’ve not come anywhere close to using up all of the stickers that are included, so that shouldn’t be a concern. The tagging feature works wonders, helping to keep my scribbled nonsense away from the real work.
 Now, about that capture process. When you fire up the Evernote app on your phone, one of the features to adding a new note is to take a picture. You do the same thing when using the “Page Camera”, but you’ll need to select the Page Camera option at the top of the screen. It would be handy if the app would remember the last setting that you used, since every time that I go back I end up having to select Page Camera again.
My only other real quarrel with the system is that, the further you get into your notebook, the less likely it is that the page you’re photographing is going to fit squarely into the on-screen frame. This is due to the increase curvature of the page toward the spine, and it’s not really anyone’s fault. It’s just a bit of a pain. So bear in mind that you’ll probably want to leave a bit of margin room on one side or another to get the full page of information.
You can do multiple takes of each image, and then filter through them in an internal gallery to save only the best. Though it’s worth bearing in mind that each picture session creates but a single note, so if you happen to have 5 or 6 different topics you’re going to need to start a new session for each one. An on-screen “Next Note” button could solve this problem.
Generally speaking I’m very well pleased with the Evernote Moleskine Notebook system. If you’re a fan of putting pen to paper then you’re not going to be disappointed by the quality of the Moleskine, and the Evernote mobile app’s ability to parse your scribbles into data is pretty impressive.
Image: AhBook / Documentsnap
Get the TNW newsletter
Get the most important tech news in your inbox each week.