I’m not what you would call a ‘filer of papers’. When I get mail or paperwork, I normally stack it in a cabinet drawer until I have a mountain of crap at the end of the year to file and rotate out to storage so that I can start stacking the next year’s worth.
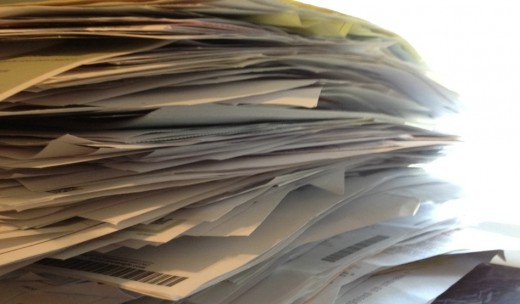
Over the last couple of years I’ve managed to not even do the end-of-year bit, causing me to accumulate roughly three years worth of invoices, receipts, business cards, bills, car maintenance forms, loan documents and more that needed filing and organizing. For someone who saw one year’s in-filing as a nearly insurmountable chore, three years worth was almost guaranteed to never get done.
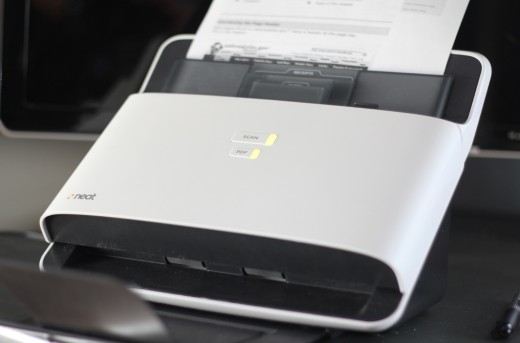
This, I felt, was the perfect time to check out the NeatDesk scanner. Neat’s document scanning hardware and software supposedly makes it easy to get your archives in order. The scanner is complemented with the NeatWorks software on the Mac or the Neat 5 suite on the PC.
Basically, the scanner is a high speed dual-sided document scanner backed by some powerful optical character recognition technology. It scans a document, receipt or business card through the hopper and then analyzes it for text. It then breaks that text up into chunks that are selectable, draggable and readable by your computer.
When I heard the promises that the Neat folks were making I was a bit skeptical. A business card is one thing, but all of the random junk in my filing cabinet was sure to trip it up, I thought.
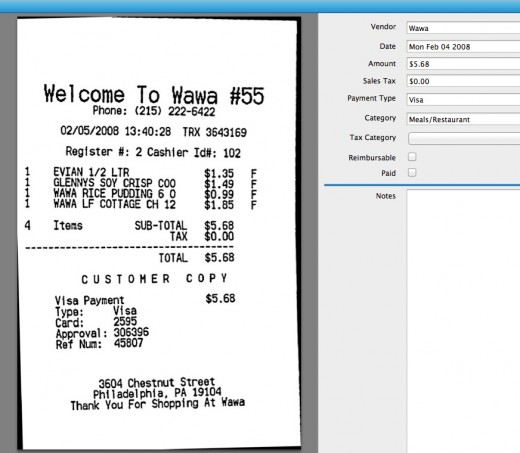
I fired up the NeatDesk and got the software installed. A tip for you if you have issues, a restart after the software was installed was required before my iMac would even see the scanner. Once it was up and running I made a few test scans of some receipts to get my feet wet. Right out of the gate the NeatDesk started wowing me by recognizing the business name, price, payment type and category of my slips and filling out the test on the right hand side.
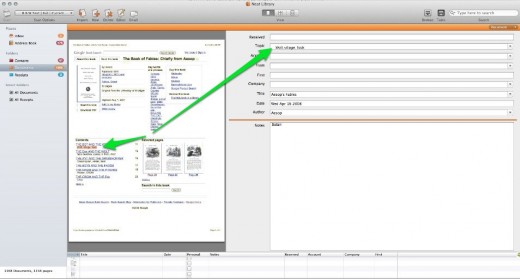
Tag after tag it grabbed the right info and filled it in. Once in a while I would notice some info missing, but found that I could just click on a bit of text on the left and drag it over to the field on the right. The software basically treats every block of text as its own element, making it easy for you to drag and drop info from the image on the left into the fields on the right.
Unfortunately, the auto-fill behavior didn’t continue when I switched over to documents, causing my little project to stop in its tracks. As quick and easy as the ‘drag bits of text to fields’ mechanism was, there was no way I was going to do it for the whole drawer full of papers. It would be laughably easy to do on a weekly, or even monthly, basis to keep yourself super organized, but I was in too deep.
Then, I had a thought and scanned a few documents through and used the search box to find them. Sure enough, I had all of the results right there at my fingertips. See, when the text is scanned and converted, it also makes all of it searchable by the app.
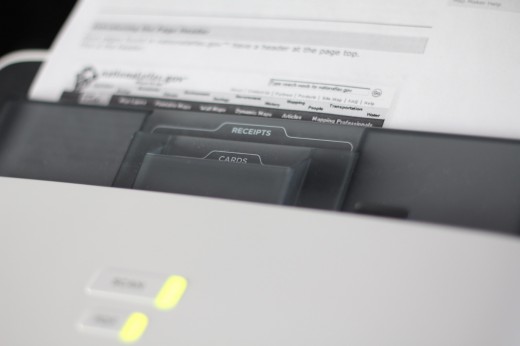
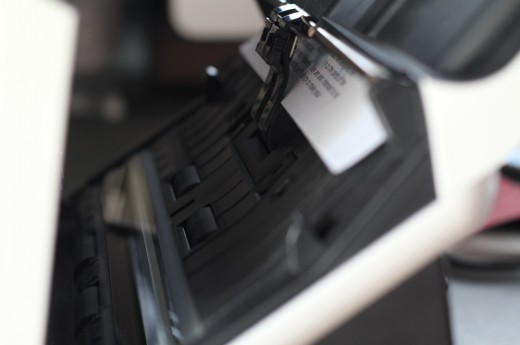
I breathed a huge sigh of relief and started slamming stacks (15 sheets or so at a time) of paper through the scanner as fast as it would scan it. And this thing scans fast, I mean almost faster than you can stack documents together in the right orientation, it’s set to ‘ludicrous speed‘. And the mechanics of the scanner are great as well. I had a handful of jams due to wrinkled papers or staples, but clearing the jam was no more than one lever push away, super slick.
What I found was that I could just dump my entire archive through the thing and still find anything I needed with a couple of keywords. I tested this out with a variety of inquiries for pay stubs, insurance claims, doctor’s visits and more.
Every search I made of the roughly 1,400 documents I scanned was rewarded with success. Aside from a couple of pages with sloppy handwritten notes, it has been flawless. It took me about 5 hours on Sunday to make it through my archive, and most of that was spent making sure things were the right way up and removing staples before scanning.
For those of you who love to stay organized, I’m sure I’ve horrified you with my lack of care in labeling and categorizing each of the documents by hand, but I’m telling you, it really worked. I never would have done this document by document on a flatbed, filing them in individual folders, it’s just not in my nature. The NeatDesk eliminated everything that I hate about filing and staying organized with paper.
The NeatWorks software offers lots of interesting ways to visualize and sort your documents, but they all require that you fill out the extra data fields. Going forward, I might find it in me to drag the bits of text over from the documents in order to make my archive more organized. This would enable me to filter and sort them in other ways besides simply searching.
But I can tell you that there is literally no way I would be paperless today without the NeatDesk scanner and the NeatWorks software. Sure, I could have paid someone to do it on a flatbed and organize the documents, but then I would have to find someone I trusted and then pay them to do it, which I guarantee would have cost much, much more than the $399 NeatDesk.
As a note, the Neat team told me at Macworld that it would soon be launching its NeatCloud product that would store and sync anything scanned with its NeatDesk and NeatReceipts products, but that isn’t live yet so I was unable to test it. Still, it should be a nice addition to the system. This will come along with NeatMobile apps that allow you to scan and view documents on mobile devices as well.
If you’re looking for a way to go paperless, or just to continue being more organized than I am, the NeatDesk is an excellent way to do just that. With that, I’m off to get this stack of paperwork shredded.
Get the TNW newsletter
Get the most important tech news in your inbox each week.
