Jordan Roland is a staff designer/illustrator for the Shutterstock blog. This post was originally published on the Shutterstock blog and has been adapted with permission.
Coloring a photo isn’t nearly as hard as you might think. In fact, it can be achieved in three simple steps using Photoshop. Read on for a basic method of colorizing a black-and-white picture, followed by some tips for building on this technique to create more stylized and dramatic results.
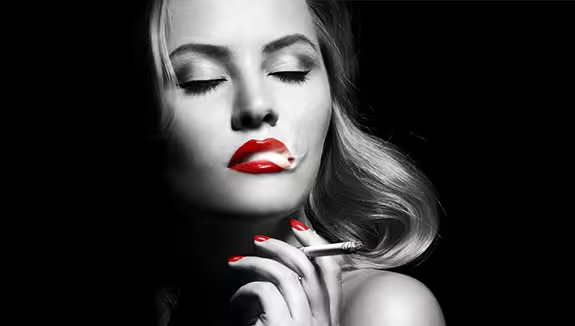
Click this image to view full size and observe the color shift.
Step 1
Once your photo is open, create a new layer above the photo. Name this layer after the color you want to use (we’ll call this one “Skin Tone”) and set the Layer Blend mode to Color.

The 💜 of EU tech
The latest rumblings from the EU tech scene, a story from our wise ol' founder Boris, and some questionable AI art. It's free, every week, in your inbox. Sign up now!
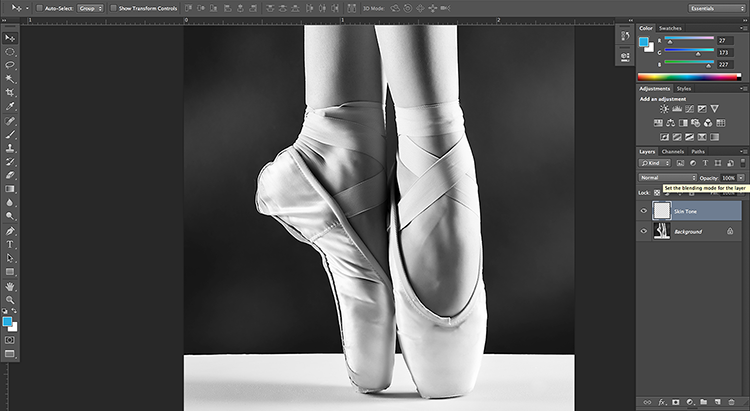 Make a new layer above the photo.
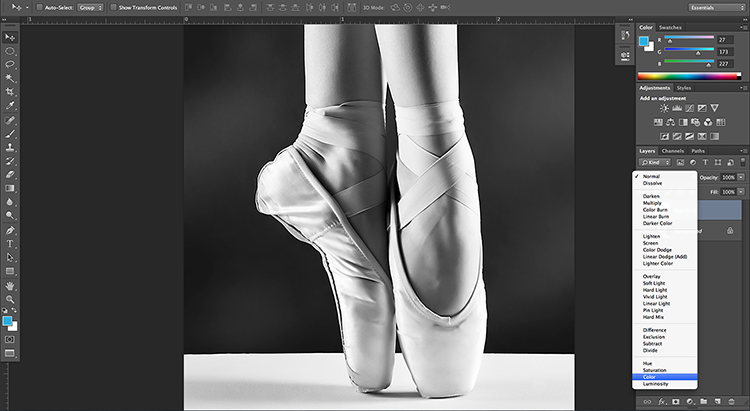 Select the color blending mode in your layers tab.
Step 2
Use a brush with a super soft edge to paint the areas you want to color with this layer. Colors in real life are mixtures of many other colors, never just one alone. Using a soft edge blends your colors together, so as you build on each layer, this helps to mix them.
 Pick a brush with a very soft edge to blend your colors.
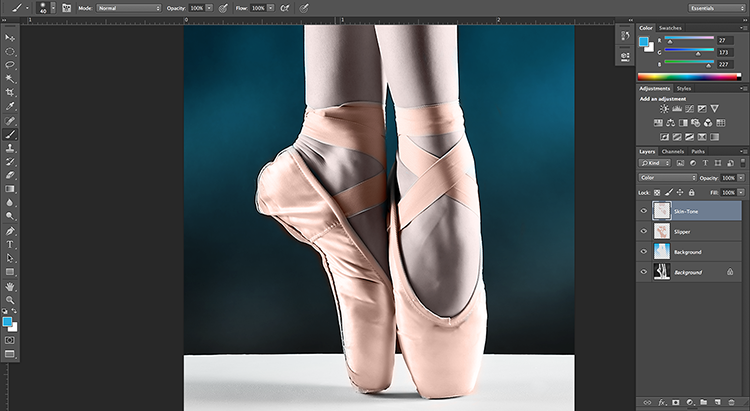 A basic colored black-and-white photo.
Step 3
From this point, it’s basically step and repeat. The idea is that you layer more and more colors on top of one another, each in its own layer.
Color tips
Your color doesn’t have to be exactly correct from the beginning. Instead, draw out where the color will go, try to get a color close to what you want, then hit Command+U to pull up the Color/Saturation window. Here, you can adjust the hue, saturation and lightness.
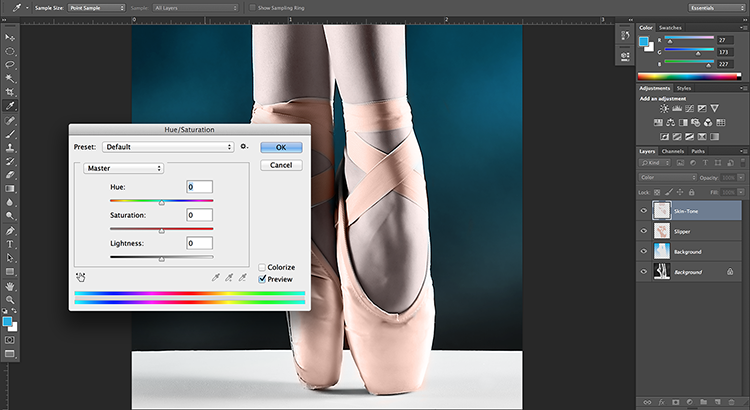 Adjust the hue slider to get the exact color.
Once you get the basics, you can start to play around with how you color your file. For example, instead of using just one color for skin tones, try using a base color for your skin, then a darker version of that color for shadows, which you can add in another layer above your base. Follow that with a third layer of a lighter color than your base for the highlights.
You can also select only certain parts of the photo to color and leave others black-and-white. Below, you can see what happens when you play with selected areas of color. This (as well as the header image) both use a style made popular by the comic book/film series Sin City. (Click on the image below to observe the color shift.)
Click this image to view full size and observe the color shift.
Keep experimenting and see all the different variations you can create!
Get the TNW newsletter
Get the most important tech news in your inbox each week.