
Whether you want to build a complex deep learning model for a self-driving car, a live face recognition program, or making your image processing software for your graduate project, you will have to learn OpenCV along the way.
OpenCV is a huge image and video processing library designed to work with many languages such as python, C/C++, Java, and more. It is the foundation for many of the applications you know that deal with image processing.
Getting started with OpenCV can be challenging, primarily if you rely on its official documentation, which is known for being cumbersome and hard to understand.
Today we will learn how to work with OpenCV, and I’ll do my best to keep it simple.
Install OpenCV
Now it’s the time to install OpenCV using only one simple command:

Importing a simple image
The first thing you will need to learn is importing a simple image and displaying it using OpenCV.
The code is straightforward:
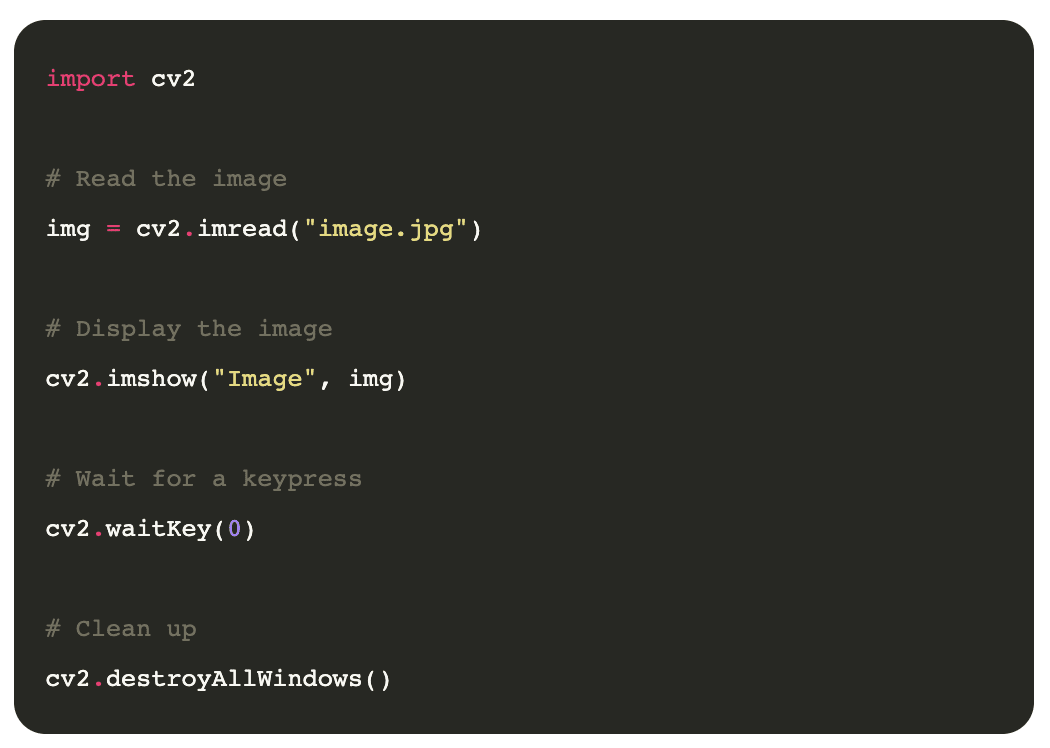

After reading the code, if you think that we are doing more than just loading the image, you are right. After all, loading an image with OpenCV goes down to only one line of python code:
img = cv2.imread("image.jpg")
So, what about the rest? Well… the first thing we have to do is to import the library. Only then we can read the image using the imread method and pass the image’s path as the only parameter.
If we stop the program now, we would have loaded the image but done nothing with it, so instead let’s at least present the image into a new window so the user can see the result. For that, we will use cv2.imshow and passing the window name and the image as arguments.
Lastly, we tell Python not to exit the program until we press a key or close the window. Then we clean everything up by destroying all windows we opened.
[Read: ]
Loading videos
OpenCV is great at dealing not only with images but also with videos. The video streams can be loaded from a video file or directly from a video source such as a webcam.
In the next example, we will load a video from the webcam and present it on a new window:
The code is self-explanatory, but let’s review it in detail. We use the method VideoCapture to load the video resource. The first argument defines what input we are reading. Passing a 0, we are referring to the main webcam (if existent). In case you have multiple webcams connect, you can use 1, 2, etc. If your video is captured and saved in a file, you can pass a string with the path to the file. Next, we start a loop that will only end on user command, but more on that later. What’s important here is what happens inside the loop. The first thing we are doing is asking our VideoCapture to read a frame of the video. In the case of the camera, it will be a snapshot of the camera at that time, and in the case of a video file, it will be the current video frame.
Each frame we read from a video load in the same way as an image is crucial because it means that we have the entire arsenal of OpenCV functions at our disposal when dealing with videos.
For example, the frame’s output captured with read can be passed to the method imshow exactly as we did in the previous example of working with images.
Now the video is playing, but there’s no way out of the while loop, so let’s build an exit strategy by detecting if the q key has been pressed. If it is, then we exit the loop for the cleanup activities.
We have an additional step for clean up, which releases the camera or video file because even if we are not reading any more frames, we still have the objects open in memory. We can do that by using the method release from the VideoCapture object.
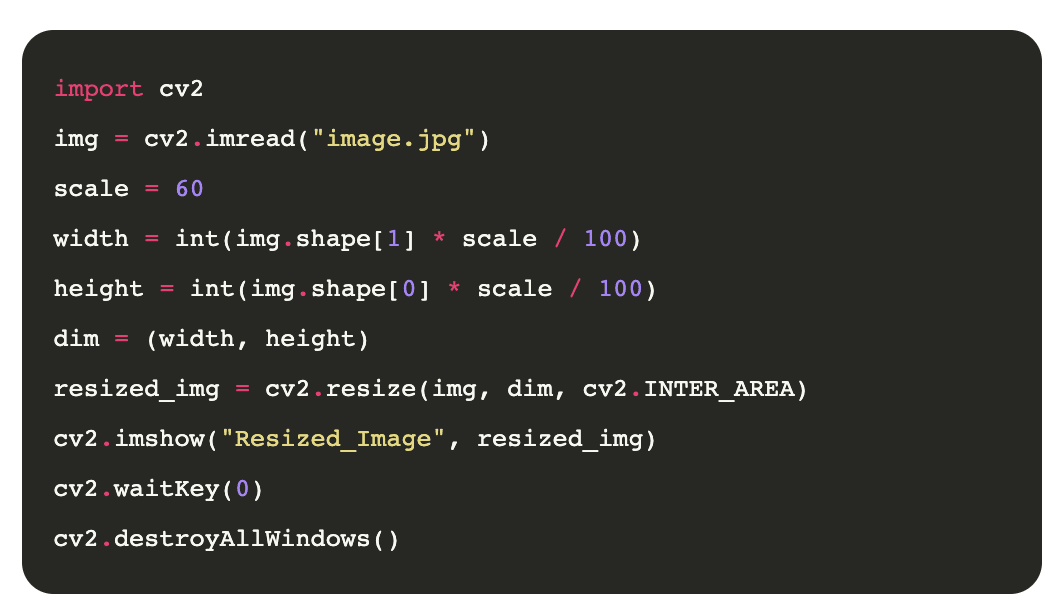
Resizing images
Changing image sizes has a wide range of applications, from optimizing for sizes, zooming, or even feeding a neural network to perform some magic. If resizing an image is what you want, OpenCV got you covered.
Let’s now see an example of how to resize an image:

It’s pretty simple, so we added some flavor to it, and instead of simply resizing the image to a specific size, we are scaling down the image by a factor of X (60% for the example). Note that the code will be simpler if we are targeting specific dimensions.
The method resize expects at least two arguments, the image to be resized and the new dimensions (in x and y as a tuple). Optionally we can pass the third argument to define the interpolation as described on the resize function docs .
Switching color spaces
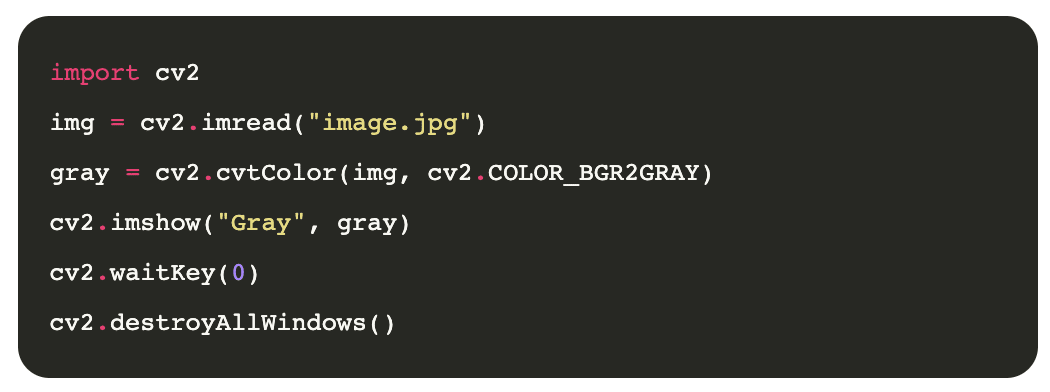
When we read an image with OpenCV we think of colors as channels or the depth of the image array where each channel or dimension corresponds to a color. The most common color space and the one you probably already know is RGB, consisting of 3 channels: red, green, and blue. But other systems can represent a color on an image, like LAB, YCrCb, HLS, and HSV, among others. Each of them with different characteristics worth studying and learning.
A more popular option for setting colors on an image is grayscale, where only one channel defines each pixel. Let’s see an example of how we can transform a color image into a greyscale one.
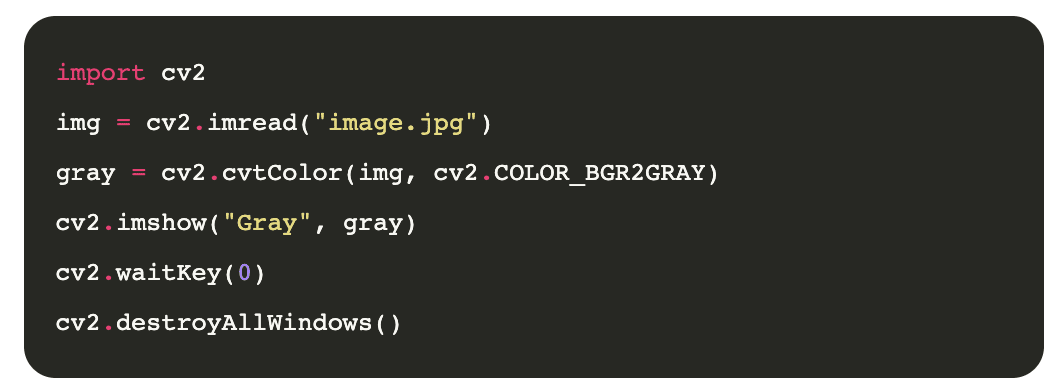

The function where all the magic happens is cvtColor, which expects two arguments, the image and the color space, and returns the new image without altering the original. Fortunately, OpenCV has defined values for each known color space transformation. In our case, we use COLOR_BGR2GRAY, which transforms BGR to GRAY.
So what’s BGR? It’s the default way that OpenCV loads images.
Saving images
We often need to save the image result after processing it, maybe after changing its color space, making image transformation, or whatever operation we do on that image.
The following code shows you how to save an image after changing its color to grayscale:

You can see that we’ve used a function called imwrite responsible for saving the gray image in our computer after specifying the path for the newly saved image. The actual image that we need to save is the variable gray in this case.
Image smoothing
OpenCV offers tools to smooth an image and help reduce the noise in it. The process is fully automated, and all the complexity of how it works is encapsulated for us on a single, simple to use function.
Smoothing an image intends to improve its quality, though not perfect, in some scenarios, it can be a substantial change and key for using the image on further processes.
Here is an example of how to smooth an image:
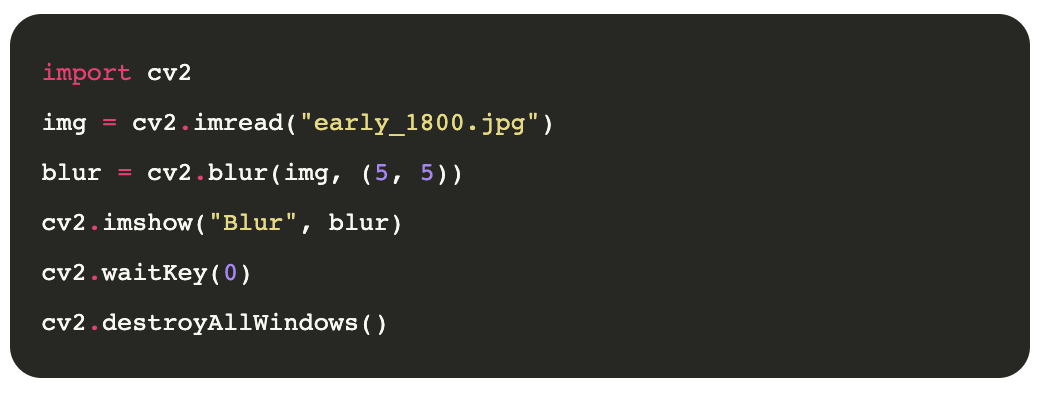


The image looks much better, but how does it work? Through the method blur on the OpenCV library, which expects the image and the kernel size as arguments. The kernel size being a tuple to reflect the x and y axis. Note that different values of x and y will result in different outputs, so you will have to play around with those values for your images.
The kernel size works by taking a small pixel area (5×5 in our case), taking the average value of those pixels, and replacing the real one (pixel) to get the new little noisy image.
There are other ways to smooth an image using for example, gaussianBlur or medianBlur that works similarly.
Drawing on images
So far, we have been playing with the images without adding anything new to them. It’s time we change that. OpenCV allows us not only to perform transformations and effects to the images but to change them or draw on them.
Drawing on images can be useful if, for example, you are trying to make an object tracking program or face recognition program where you want to draw a square or shape to highlight the identified objects.
Let’s draw a few geometric shapes on images to show how it works.
Drawing a line
We will try to draw a line on an image using the line function:
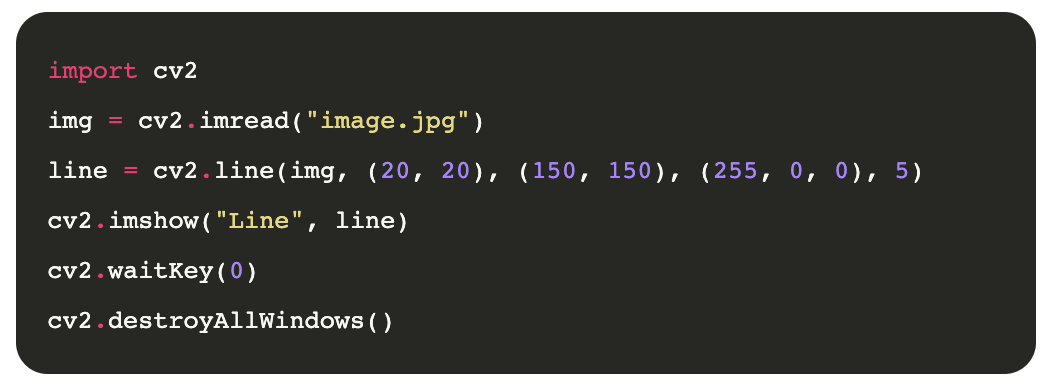

The line function expects the image and four more arguments: the start of the line in (x1, y1), the end of the line in (x2, y2), the line’s color (in BGR for our image), and its thickness in pixels.
Drawing a rectangle
I think rectangles are the most used shape, at least in the AI world, as they are commonly used to track objects like faces, cars, or traffic signs on the images. They are also super easy to use. Here is an example:
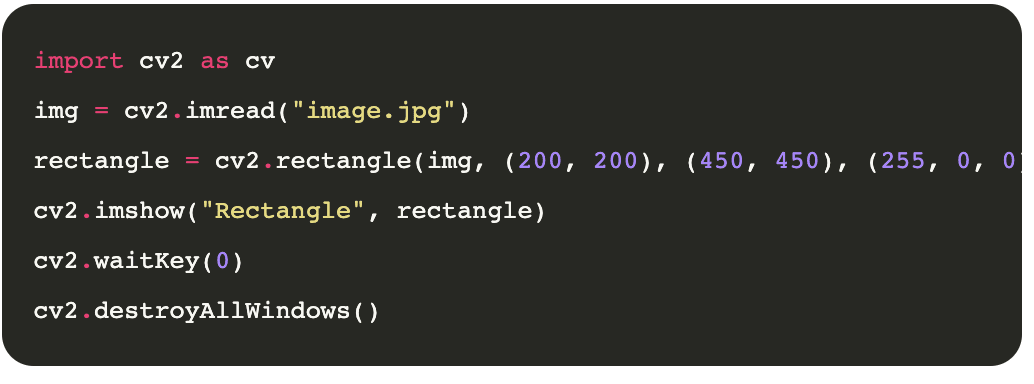

The rectangle function is very similar to the line function. It expects the image and four more arguments: the top-left corner of the rectangle in (x1, y1), the bottom-right of it in (x2, y2), the line’s color (in BGR for our image), and its thickness in pixels. ###. Drawing a Circle The last thing we will draw is a small circle on the image which is sometimes useful when you are tracking a circle object like a ball.


Again all these functions are pretty similar. To render a circle on an image, we use the circle function that expects the image and four more arguments: the center point of the circle in (x, y), the radius in pixels, the color of it, and the line thickness.
Conclusion
OpenCV is an exciting and powerful library for dealing with images and videos. Its wide range of uses goes from a simple helper library to perform image manipulations to implement state-of-the-art computer vision algorithms.
Today we covered just a small percentage of what this library is capable of. If you enjoy this reading, I recommend checking my article on essential OpenCV functions, which will extend your knowledge of the library a bit more.
Computer vision is a topic that fascinates me, and I’ll write more about OpenCV in the future, so stay tuned.
This article was originally published on Live Code Stream by Juan Cruz Martinez (twitter: @bajcmartinez), founder and publisher of Live Code Stream, entrepreneur, developer, author, speaker, and doer of things.
Live Code Stream is also available as a free weekly newsletter. Sign up for updates on everything related to programming, AI, and computer science in general.
Get the TNW newsletter
Get the most important tech news in your inbox each week.