If you’ve ever spent any time looking for recommendations on a new computer, chances are someone has told you to “just build a desktop.” There’s a reason: building your own desktop is almost always cheaper than buying one from a manufacturer.
The problem, of course, is it that you need to get your hands dirty. But building a PC in 2017 is probably not as difficult as you imagine; it’s kind of like putting together a lego set. And we’re here to help.
One disclaimer: this is not meant to be an exhaustive guide for absolute beginners. There are plenty of those on the interwebs; I like this one by Lifehacker and this one by Tom’s Hardware. Instead, this is for the tech-saavy user that already has a solid understanding of PC hardware (do you know what a PCI-E Slot is? Does DDR4 mean anything to you?), but has never taken it upon themselves to build a PC – or hasn’t done so in a while.
Before you start
One of the more daunting aspects is making sure all the components you buy actually, you know, work with eachother. So before you get started, you should head on over to PC Part Picker. It’s an excellent resource that allows you to collect your parts, view recommended builds, and see pricing from various sellers. PC Hound is another popular one.

The <3 of EU tech
The latest rumblings from the EU tech scene, a story from our wise ol' founder Boris, and some questionable AI art. It's free, every week, in your inbox. Sign up now!
More importantly, these sites will warn you if the components you are putting together are not compatible with one another. They are not foolproof though, so if this is your first time building a PC, I suggest you begin with one of the recommended builds, and tweak from there.
Lastly, don’t worry too much about getting the latest and greatest. Trying to extremely future-proofing your PC isn’t a very good idea; the most expensive components provide diminishing returns. You’re better off getting mid-to-high end components that offer more bang for your buck.
What you’ll need
Motherboard
Your computer’s circulatory system, this is probably the component you should spend the most time researching. For one, it’s the most annoying component to replace, since everything connects to it, and you’ll probably have to reinstall your OS if you do.
For another, because it connects to everything, your motherboard also dictates what types of components you can use. Make sure your motherboard has all the features you want, else you might have to buy additional accessories, or miss out on some features altogether. For example, many motherboards don’t include Wi-Fi or Bluetooth on board – yes, even in 2017. Companies expect you to use Ethernet or buy your own wireless card.
USB-C is another one to look out for. The new port has only recently started to be picked up by new motherboards, and many are only the slower USB 3.1 variety, not Thunderbolt 3. You also currently can’t get Thunderbolt 3 on an AMD motherboard.
Lastly, motherboards come in three general sizes: ATX, micro-ATX, and ITX. You’ll probably want an ATX case for your first build. It’s the largest – which means a larger case – but gives you the most flexibility for expansion.
CPU
You have two choices in the CPU world, Intel or AMD. Detailing the differences is beyond the scope of this piece; I recommend you check out sites like Anandtech for more.
A quick, very generalized summary: Intel still makes the fastest chips at top level configurations, but AMD’s Ryzen processors offer better bang for your buck.
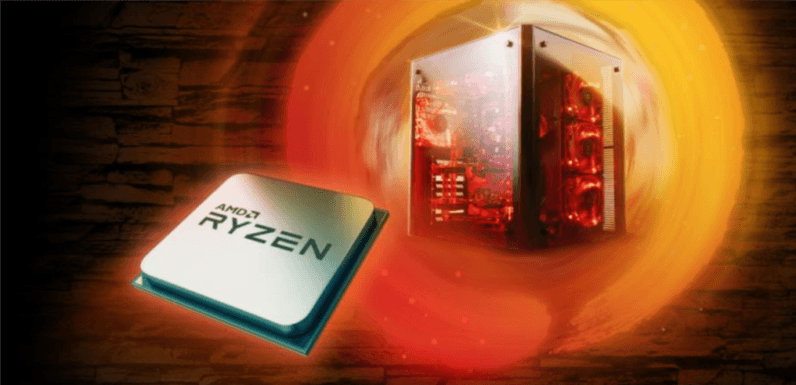
Intel will provide generally provide better gaming performance, but AMD will better handling multiple threads – like simultaneous gaming and streaming – thanks to the extra cores. AMD’s Ryzen 5 will probably offer the best value and performance for the vast majority of people, while Intel’s Core i7 7700K is the your best bet for maximal gaming performance.
RAM
RAM may be one of the most important parts of your computer, but it’s one of the easiest components to pick. 16GB will handle most tasks for the vast majority of people for quite some time, and is a bit of overkill for gaming. If you want to go crazy, get 32 GB.
If you need more than that, you probably don’t need to be reading this guide anyway.
Don’t fret over RAM speed. Anything 2400 Mhz and over is unlikely to bottleneck your performance. Just get whatever seems like the best deal
One point of advice: Buy RAM in pairs. Odd numbers of RAM sticks are often inefficient.
Graphics Card
Chances are you’re planning on doing some gaming. If you’re playing at 1080p, an Nvidia 1060 or AMD RX 580 will generally let you max settings out and hit a smooth 60fps.
That said, the Nvidia 1070 is a significant upgrade and I think is the sweet spot for most gamers.

For 4K gaming at max settings, you’ll pretty much need an Nvidia 1080 or higher.
Hard Drive
If you want your PC to be as snappy as possible, install your OS on an SSD. Make sure its of the NVMe variety, and that it’s using a fast connector like an m.2 or u.2 slot. Asus has a good guide on different kinds of storage here.
If you need a lot of storage storage for movies and games, a traditional mechanical hard drive gets you the most gigs per dollar. It’s slower, but that doesn’t matter much for some workloads like watching videos.
Power Supply
The most boring part of your build, the power supply handles all your electricity needs. The main thing to consider is whether it can draw enough energy for running your configuration. Assembling your computer on PC Part picker should tell you your system’s wattage and whether your power supply is powerful enough.
Keep in mind power supplies come in a ATX and SFX sizes. unless you’re going for a tiny build, you’ll need an ATX unit.
Cooling
As nice as liquid cooling looks, it’s absolute overkill for any first-time builder. Just get a decent cooling fan from a trusted brand like Thermaltake or Coolermaster. Get one with LED lights if you really need something pretty.
Note: Your cooler will generally come with thermal paste to transfer heat from the CPU, but double check to make sure.
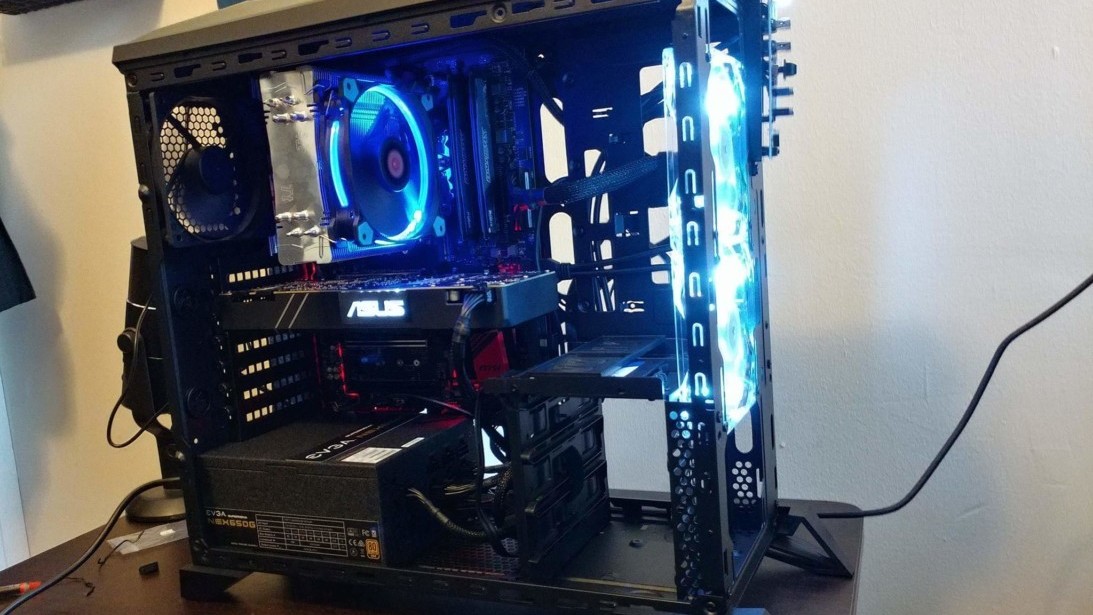
Case
This is the a fun bit. There are a myriad of cases to choose from at a myriad of price ranges, fitting all sorts of aesthetics. Corsair, Thermaltake, NZXT, Cooler Master, etc make some good affordable ones.
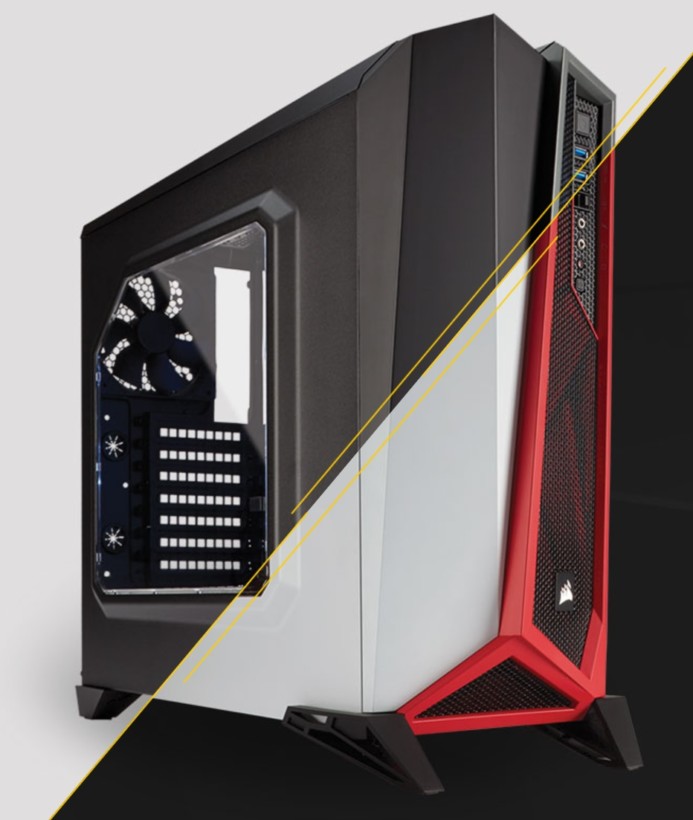
Make sure the case is compatible with your motherboard size and power supply, and you should be good to go. Each case has its own idiosyncrasies regarding cable management and spacing, so I’d recommend looking for YouTube reviews before ponying up the cash. Also keep in mind many modern cases don’t accommodate disk drives, so be on the lookout if you intend to install one.
Peripherals and Accessories
You’ll need a monitor, keyboard, mouse and speakers or headphones. Keep in mind many motherboards and cases don’t come with some of the features we take for granted on laptops, like Wi-Fi and an SD Card Slot, so you might have to pony up some extra cash there too.
Your OS: Unless you’re planning on running a Linux distro, you’ll need to pony up for a Windows License. An official Windows 10 Home copy from Microsoft is $120; you can get it on a USB stick or download and set up the install media yourself.
You can also find cheaper copies of Windows 10 licenses on various online marketplaces, but you do so at your own risk.
Oh, and you’ll need a screwdriver. Duh.
Putting it together
Now comes the fun part. Once you know all the components you need to buy, the rest of the process is basically just putting together the puzzle pieces.
First things first: watch a video guide on how to assemble a PC, preferably before you get the components. It will help you be a bit less overwhelmed when get all the pieces arrive and you don’t know where to start. You can watch it again as you’re building your PC.
Here’s a concise one by Austin Evans that goes through all the basics using modern components:
There are plenty more strewn around YouTube at varying levels of detail. Also be sure to consult with the manuals for each of your components (the motherboard, in particular) for any particular quirks these videos might not cover.
If you just want to read, the basic steps are as follows:
- Install the power supply and plug it into the outlet. Triple check it is on the OFF position, or connect it to a surge protector (also turned off).
- Ground yourself to prevent frying any components. Here’s a guide, but it basically involves touching an unpainted metal surface on the case or power supply NOT other components). Many power supplies comes with unpainted metal screws; I like using those once installed.
- Screw in your motherboard. Cases usually come with standoffs to lift your motherboard a bit from the case. Make sure you use them.
- Install the CPU. Make sure it’s in the right orientation, and pull the lever down all the way.
- Install the cooler. Follow the guide for your particular unit, and make sure to apply thermal paste if it doesn’t already have it, or else you’ll fry your CPU.
- Insert your RAM into the slots. Make sure it’s inserted properly, such that the little clips at the sides snap all the way in.
- Mount your storage onto your PC. This varies depending your case and storage type. An M.2 SSD plugs directly into your motherboard, while most others can attached to your case via screws or special slots. You’ll attach them to your motherboard via a cable later.
- Install your graphics card into the PCI-E slot. Make sure it’s all the way in; it uses a clip similar to the RAM.
You’ll then have to wire everything. Again, your motherboard’s manual is the most useful resource, as it should precisely label which cable goes where. Most cables can only fit in one slot, so it shouldn’t be too difficult to figure out.
Once you’ve dubbed checked all the connections, you can close up your case and plug in your accessories. Then insert your install media and follow the usual steps for installing Windows/Linux, and you should be good to go!
Building a PC is a right of passage for any tech geek. It takes a little patience the first time around, but you’ll be rewarded with valuable experience and endless upgradeability. You should be proud of yourself.
Get the TNW newsletter
Get the most important tech news in your inbox each week.