Welcome to TNW Basics, a collection of tips, guides, and advice on how to easily get the most out of your gadgets, apps, and other stuff.
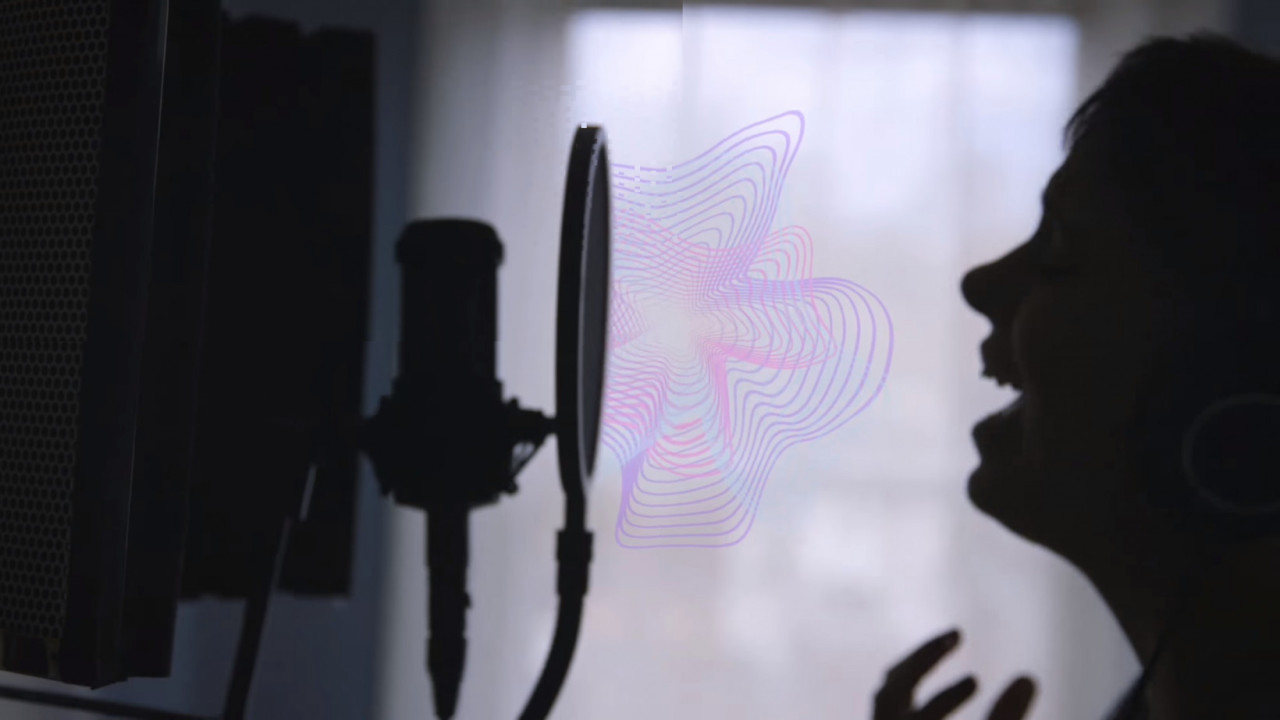
There are different schools of thought when it comes to getting your vocals perfect for any project. The easiest way, surely, is building a million-dollar studio and filling it with the best gear money can buy. This is a guide for those of us who don’t have that option.
The first thing you need to do is find out where you’re at vis-a-vis what you need, what you want, and what you can afford. The bare minimum pieces of hardware and software you’ll need can vary wildly depending on what type of project you’re working on. But, to get you started, here’s an idea of what you’ll need to record vocals for basic music and spoken word projects such as recording demos and podcasts.
- A microphone to capture sound
- An pre-amp for your mic
- An interface to connect the mic to your computer
- Studio headphones or monitors
- A digital audio workstation (DAW) program
- Plugins and/or software for vocal effects, repairs, mixing, and mastering
- High-quality consumer headphones for mastering/playback
- A pop-filter, cords/cables, adapters, and mic stand.
If all your gear plays nice and works well with your software, this should be enough to support your podcast or music project. Keep in mind that audio recording is a lot like photography: the difference between a $200 piece of gear and a $20,000 one can’t be made up with clever tips and tricks. But you can still create some quality content if you’re willing to do some extra work.
First, lets dive into what’s arguably the most important thing you’re going to need: your microphone.
Microphones
No, your iPad’s built-in microphone or the USB-powered one that comes with Rock Band 4 won’t cut it. Sure, if you’ve got some really good plug-ins and you’re an engineering genius, you can probably make a cheap mic sound pretty good – but chances are you’re in the minority and your end-products are fairly niche. If you’re recording anything as ambitious as a long-form podcast or, at the extreme end, R&B or Rock vocals, you absolutely need a studio-quality microphone.
Let’s make this really easy: 90-percent of the time you want a condenser microphone for recording vocals. And if you’re planning to record singing or solo spoken word, you’ll want a condenser mic with a cardioid polar-pattern. This is a microphone that picks up sound in a heart-shaped pattern directly in front of the “mouth” of the mic. It captures less sound at the sides and and almost none at the back of the microphone. This makes it perfectly suited to capturing your vocalist’s voice and nothing else.
However, if you’re recording a podcast with more than one person physically present, you may consider using a microphone with a bi-directional polar pattern. This allows you to use one microphone to record two separate sources, for example someone sitting in front of it and someone sitting behind it. And if you’re trying to capture the full cacophony of a space you’ll want to use an omni-directional mic.
So which microphone should you buy?
That’s completely up to your budget. To get you in the door and at the bottom-end of microphones I’d consider usable, you’ll need between $100 and $200.
In the above price range you’re looking at mics that are fairly well-suited for podcasting and live-streaming. They’re not optimal for music, but if it’s all you can afford you may be able to cover some ground with software.
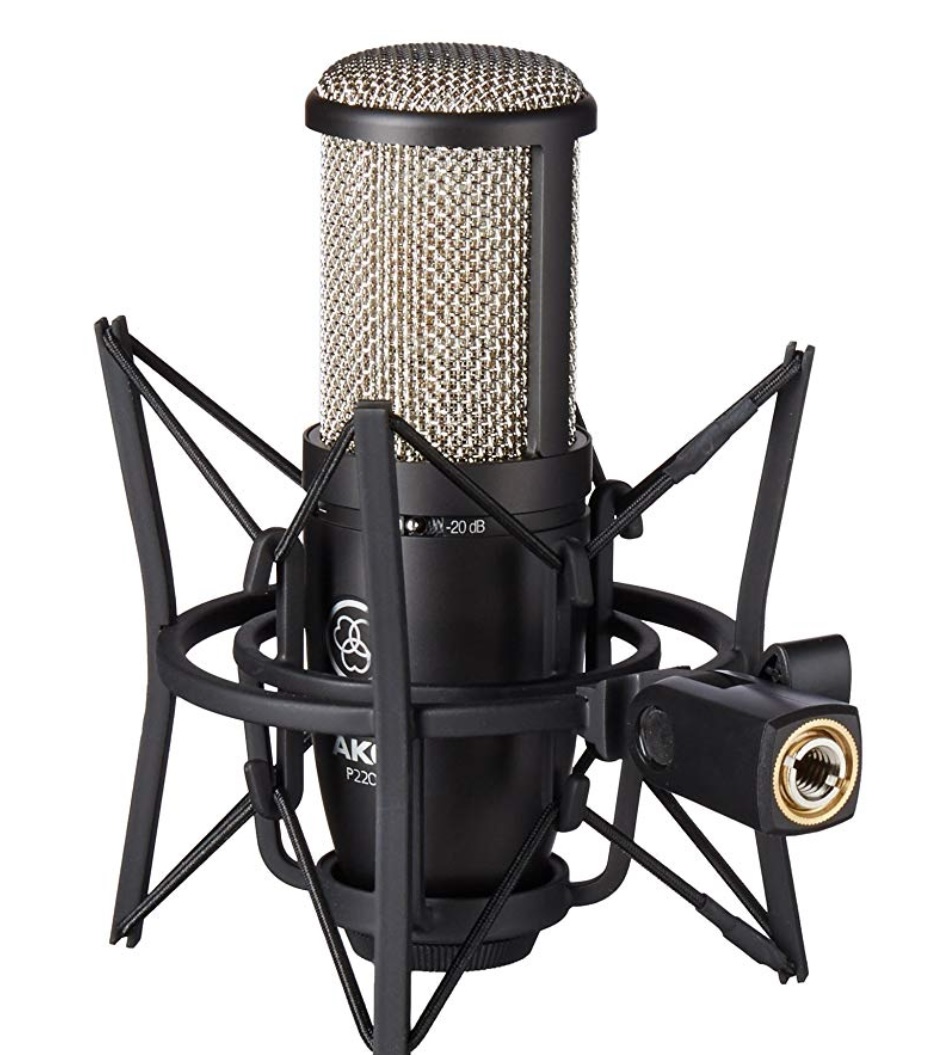
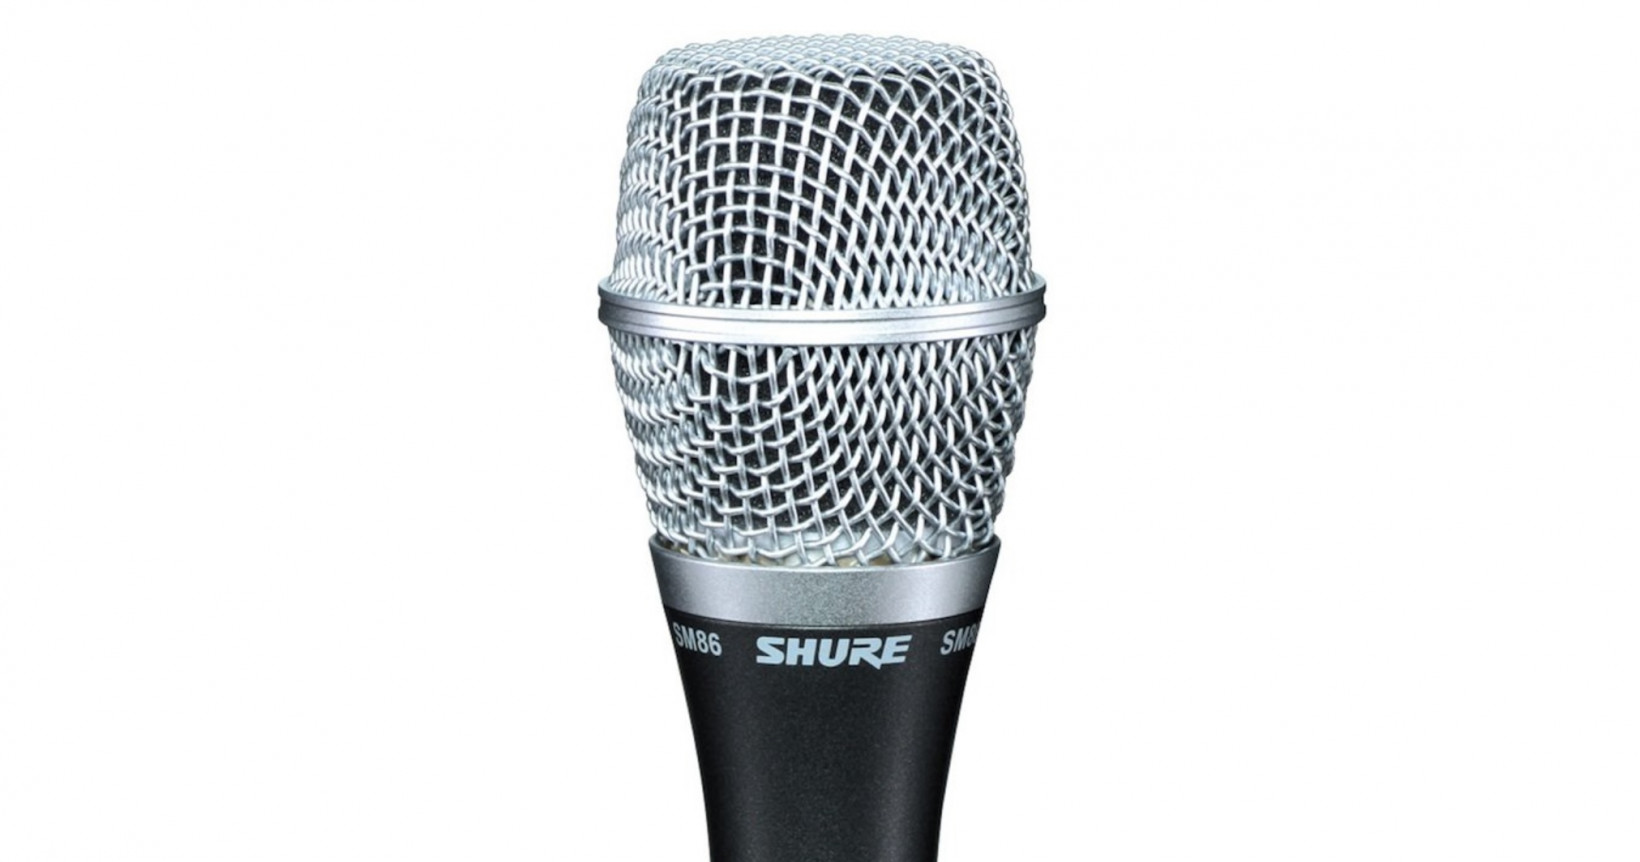
Realistically, if you’re going to be recording vocals for music I’d recommend spending a bit more on a mic upfront that’ll allow for more nuance and versatility. Any one of the following mics under $500 are great:
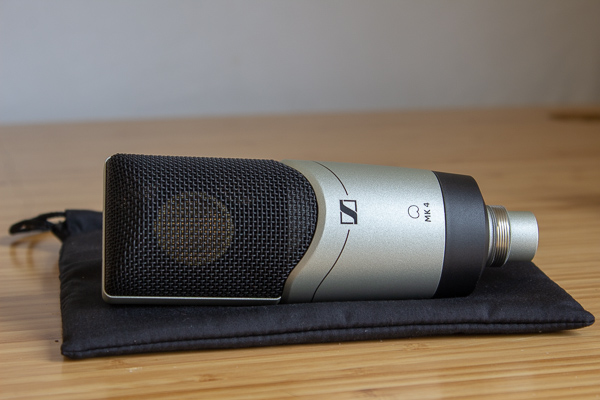
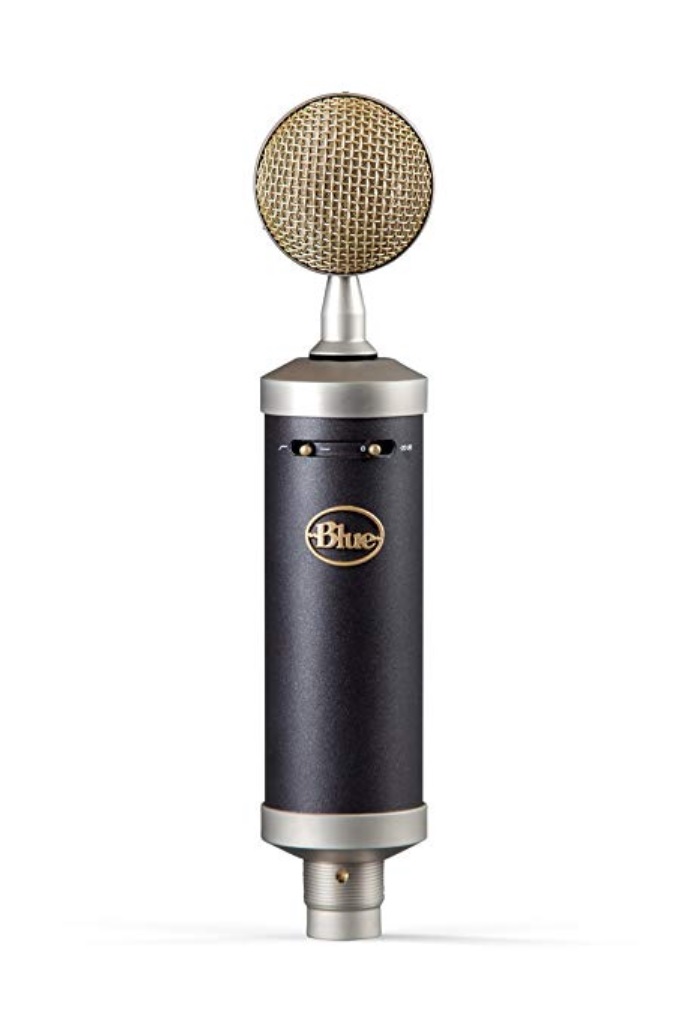
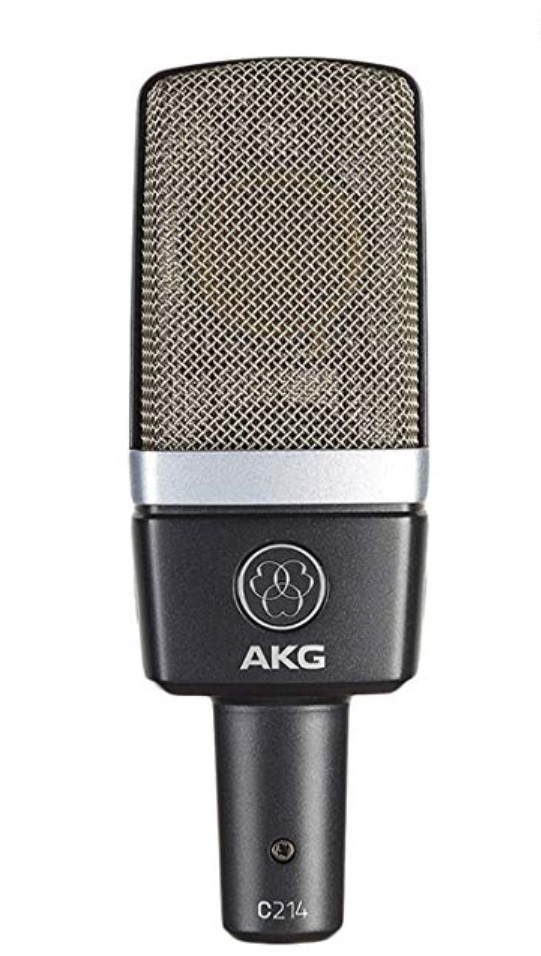
There are dozens of other viable options, but I’ve used each of these mics and, for my money, they’re all worth it. I’m currently reviewing the Sennheiser MK4 and my early impressions are very positive. It’s the one I’d purchase over all the others simply because I feel it has the best balance of quality and cost. The one caveat there being I’m definitely going to use it more for recording singer/rapper vocals than spoken word.
Finally, though I generally recommend dedicated components, you might want to consider an all-in-one microphone. I recently reviewed the Samson G-Track Pro, which includes a mixer and interface built into the mic itself. It provides studio-quality sound for the likes of podcasting, streaming, or recording songs for your YouTube channel. If these scenarios apply to you, an all-in-one mic could save you time and money.
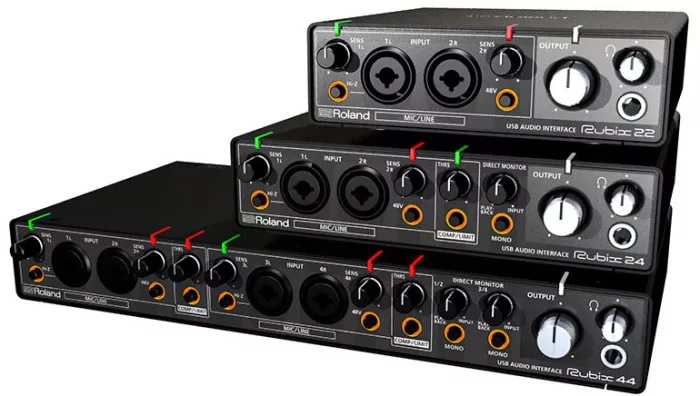
Interfaces and pre-amps
Next up, we’ll talk pre-amps and interfaces. In the latter you’re looking for something that will let you connect your mic to your computer. Since most recording mics need to be powered, you’ll either need a pre-amp (if your mic doesn’t come with its own power source) or a powered interface. The difference between having a pre-amp and not having one can be huge – they add a lot of warmth to your vocals and make it possible to back your vocalist away from the mic to capture audio at the sweet spot.
What pre-amp you get really should depend on the microphone you buy. This is an area you should probably research after you’ve decided on the microphone you want as you may not even need one. A quick Google search on “best pre-amps” for your microphone model should tell you everything you need to know.
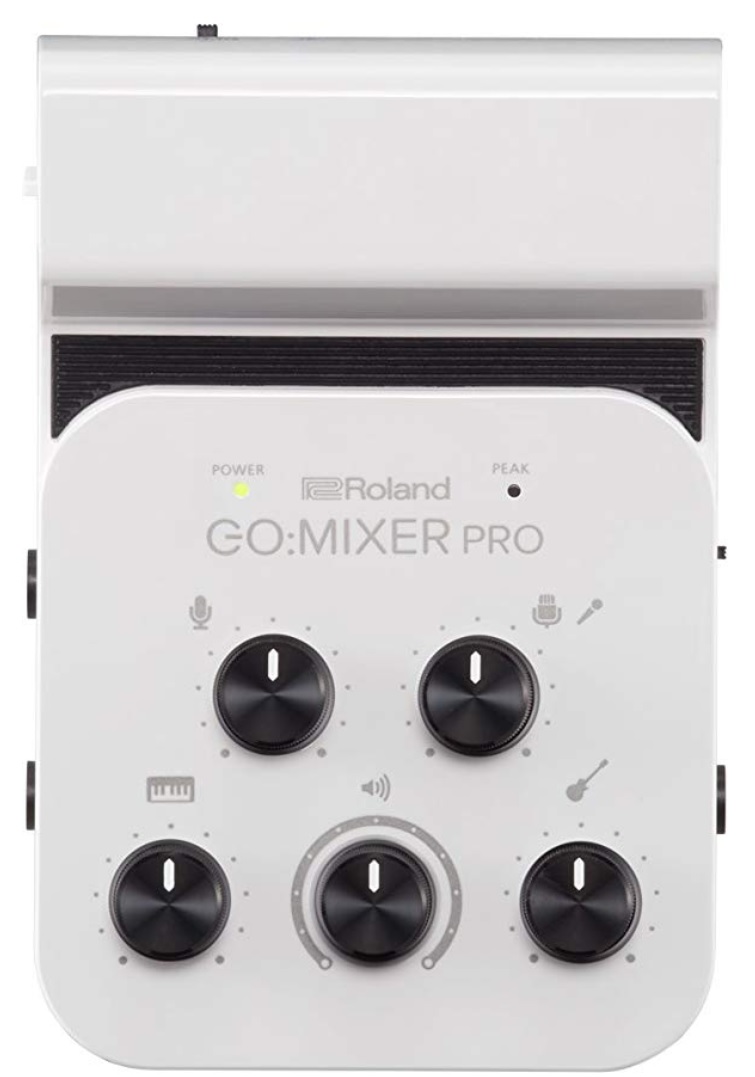
Interfaces, however, aren’t so specific. If you’re planning on hooking up instruments or multiple mics you’ll need to be concerned with things like whether the inputs are balanced, suited for guitar, etc., but if you’re starting off with a single mic setup you can get off pretty cheap here.
Some interfaces come with “phantom” power for XLR and line inputs, and thus can function as a pre-amp for a connected microphone. As a rule, aside from high-end interfaces, you’re better off with a dedicated pre-amp. Still, you can get by with a powered interface in most cases if you’re going to invest in decent vocal software and VSTs (more on that later).
Here’s a couple inexpensive options:
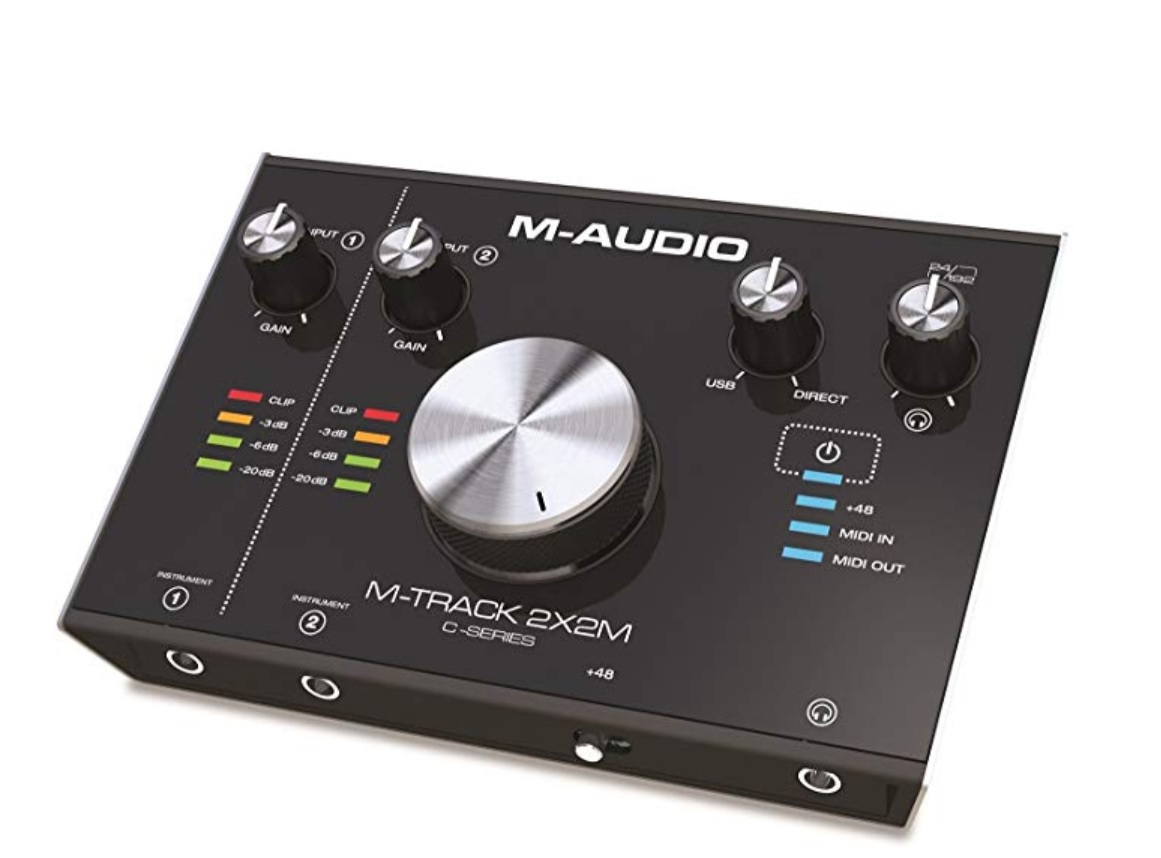
M-Audio M-Track 2X2M C-Series ($148.98)
And here’s the one I suggest if you’re going to expand beyond a single-mic setup:
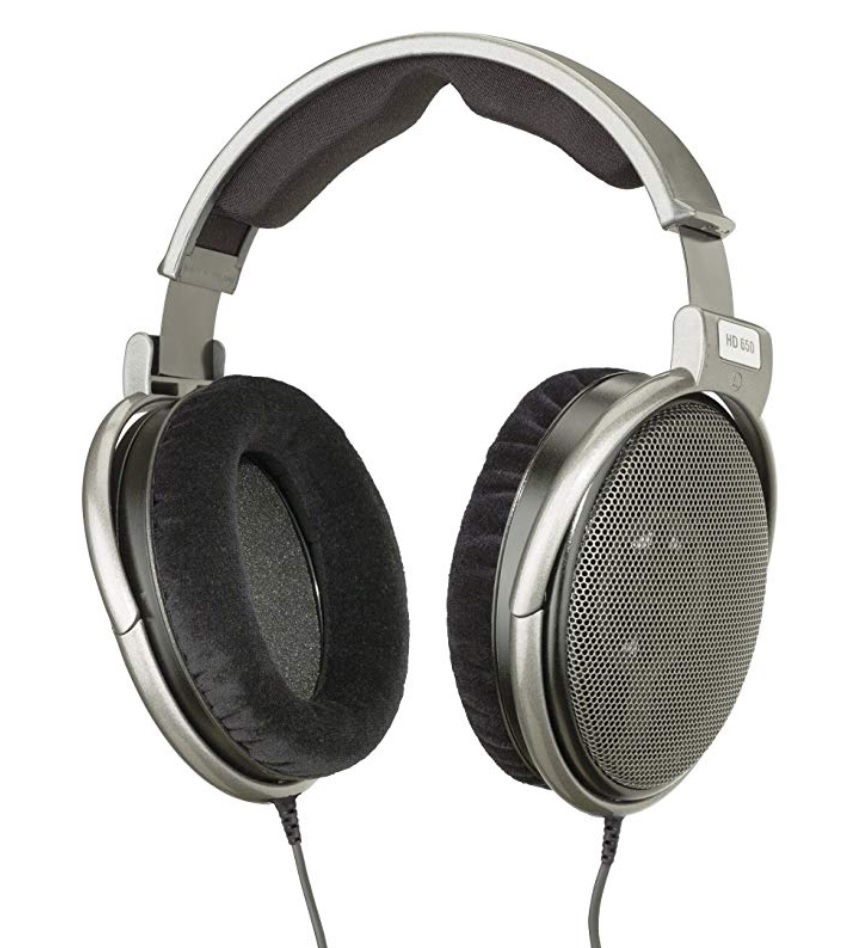
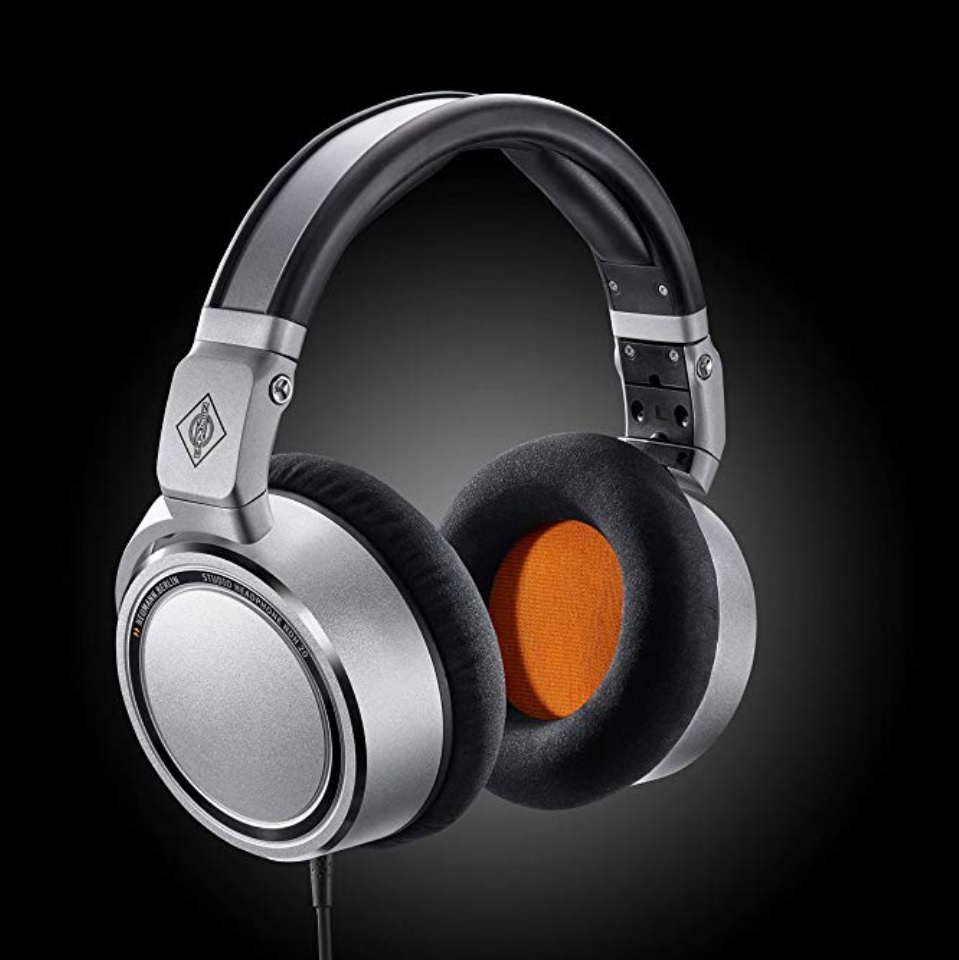
Monitors
You’ll need some speakers to listen to your raw audio for recording, mixing, and mastering. You absolutely don’t want to use the regular consumer headphones or speakers you have lying around. It doesn’t matter if they’re Beats, Air Pods, or a $10,000 surround-sound home theater setup. You want to hear what your audio actually sounds like in the studio so you can correct it and master it for everybody’s speakers. If you record and mix with biased speakers, you’ll be left guessing what your vocals will sound like to everyone else. Worse, you could be treating your listeners to an uncomfortable listening experience. Good luck getting them back after that.
Ideally, you’ll be able to afford monitors and cans – that is, speakers for listening to your mixes with other people around and headphones for listening while recording sessions are taking place. But if you can only afford one or the other: get a set of decent headphones. You can monitor vocals with headphones in the booth and in front of the screen.
For now we’ll just cover a few sets of studio cans that should work for all your vocal needs.
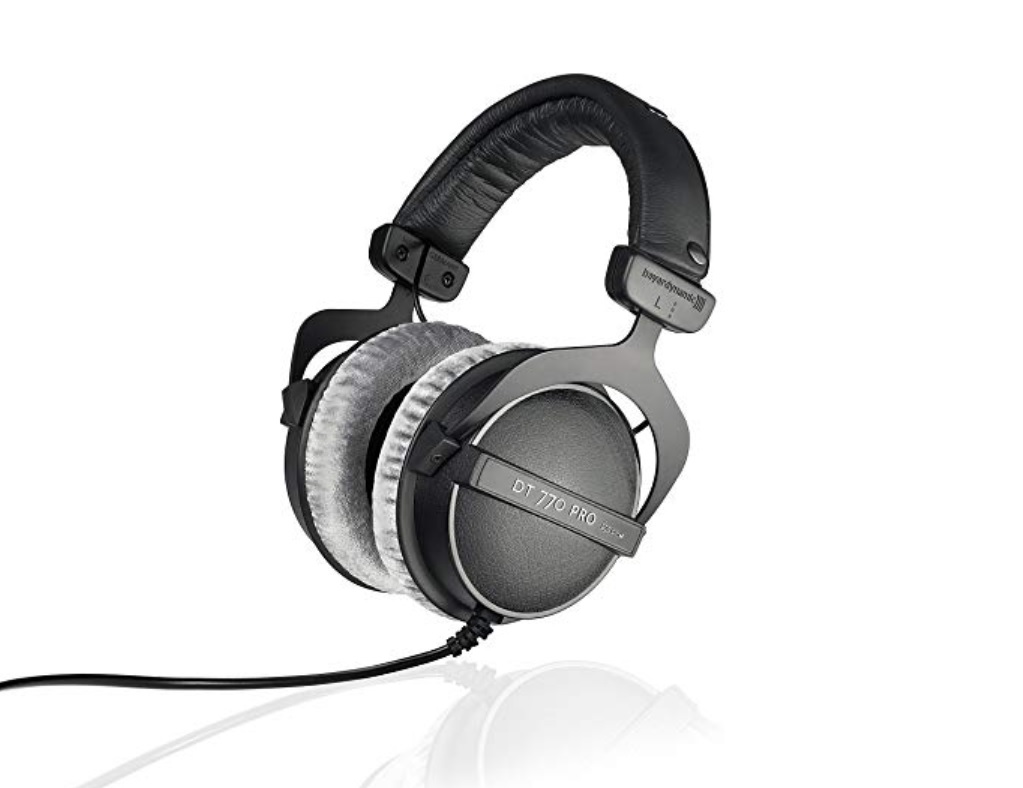
Beyerdynamic DT 770 PRO 250 ($179)
I’m currently testing the Neumann NDH 20’s (review soon), and they’re like a closed-back version of the Sennheiser HD 650’s classic open-back sound, which makes them a tad bit bassier. If you’re more interested in comfort, the Beyerdynamics feel great to wear all day though you’re sacrificing a little bit of clarity with them. Finally, if you truly want to make sure you’re getting your studio cans’ worth, you’ll want to make sure your entire setup is properly tuned, and for that you’ll need monitor reference software. Check out our review of Sonarworks Reference 4 here.
While headphones will ensure you get a full-range sound and can hear the nuances of your music without breaking the bank, speakers are still necessary to truly gauge the spatial qualities of your music. My colleague Napier Lopez recommends these options at various price points:
- JBL 104 ($129)
- iLoud Micro Monitors ($299)
- Kali Audio LP-6 ($300 a pair)
- Neumann KH80 ($1,000 a pair)
DAW
When it comes to what DAW you’re using, the choice is entirely up to you. It’s mostly a matter of preference and convenience. But the good news is that you can get out of here for the easy, low price of free if you’re willing to go bare-bones and sacrifice some AAA bells and whistles. I use Audacity for all my recording. Every now and then you run into a seemingly out-of-left-field problem (like the fact you can’t set a song’s tempo or BPM in the interface), but it’s free and open-source so you never feel ripped off.
Alternately, you can try Reaper out. It’s not free, but the free download version isn’t crippled in any way so you can test it for as long as you’d like. And if neither of those works for you, there’s always Garage Band for Apple users and Pro-Tools or other free-to-try software for everyone else.
Vocal software
Here’s where you can really blow it. I’ve seen people spend thousands on VST bundles that didn’t help their mixes sound any better. Luckily, the march of progress has brought us a few sure-fire solutions for recording vocals that take a lot of the guesswork out of what you need.
But first: most DAWs come with a few VSTs you can use. It’s worth it to play around with these, read some tutorials, and see what all you can get out of your own mixes with included plugins before you go spending money. You’ll want to learn how to use gate, compressor, reverb, and EQ. Aside from that, the only path toward mastering your mixes and mixing songs well enough for mastering is practice.
Or, if you’re like me, you can turn to a solution that makes up for your lack of engineering skill. We can’t all be Rick Rubin after all, some of us can use all the help we can get. I’m currently using four products from Izotopes to handle all my vocal needs.
On the front end I’ve got Vocal Synth 2 and Nectar 3. The former provides synth modules that let me change the dynamic of recorded vocals. It’s a great way to add warmth and oomph to tracks that could have benefited from a better pre-amp or a better microphone. Alternately, you can get nuts and give your voice full-on synth effects. Nectar 3, on the other hand, is an AI-powered vocal-chain solution. I can’t gush about it enough. I used to spend hours upon hours creating custom vocal chains for every track. With Nectar 3 I just click my mouse once and it analyzes my vocal tracks and uses machine learning to create the proper effects chain for me. It’s brilliant, I love it, and I can’t wait to dive in even further.
For mixing, I’ve been using Neutron 3. It does for the mixing/balancing step what Nectar 3 does for my effects chains. I won’t get too detailed into it here (full review coming soon) but it’s another of Izotope’s AI-powered solutions. If you’ve never experienced one-button vocal mixing, you don’t know what you’re missing. Neutron 3 has cut out the most time-consuming part of my recording process: the tedium of balancing vocals against tracks. It’s definitely worth a purchase.
Finally, for those times when I don’t have the option of re-recording, my gear isn’t perfect for the job, or the best I can come up with is a noisy track, there’s RX-7. It’s, hands-down, the best way I’ve found to clean up vocal tracks. Rather than spend hours painstakingly isolating every instance of feedback or noise within your audio track, or recording endlessly to get a perfect take, you can simply run your tracks through RX-7 and it spits out clean, usable tracks in seconds.
We’ll take a deep dive into these AI-powered software solutions for recording, mixing, and mastering soon. In the mean-time, I recommend trying out any vocal software before buying it. You can usually find a demo or trial version to run some audio through before deciding if it’s right for you.
Playback headphones
Last but not least, you’ll want something to listen to your mastered mixes on. Here’s where those mid-priced to expensive consumer headphones you bought to listen to your favorite tunes will finally come in handy.
In the old days, your average home studio engineer would mix with headphones and then run out to their car to crank the system and see how things sounded on something with some kick. These days, however, most people are going to listen to your work on earphones. I suggest getting some rugged, decent consumer earphones that sound the way you like, so you can listen to all your mixes on them and develop an idea of what your finished products will start to sound like.
Realistically, you should be fine with whatever speakers or headphones you prefer to listen on, but if you’re looking to invest in something for the purpose, I suggest getting Beats for over-the-ear listening cans or Sennheiser’s Momentum True Wireless earbuds for in-ear playback.
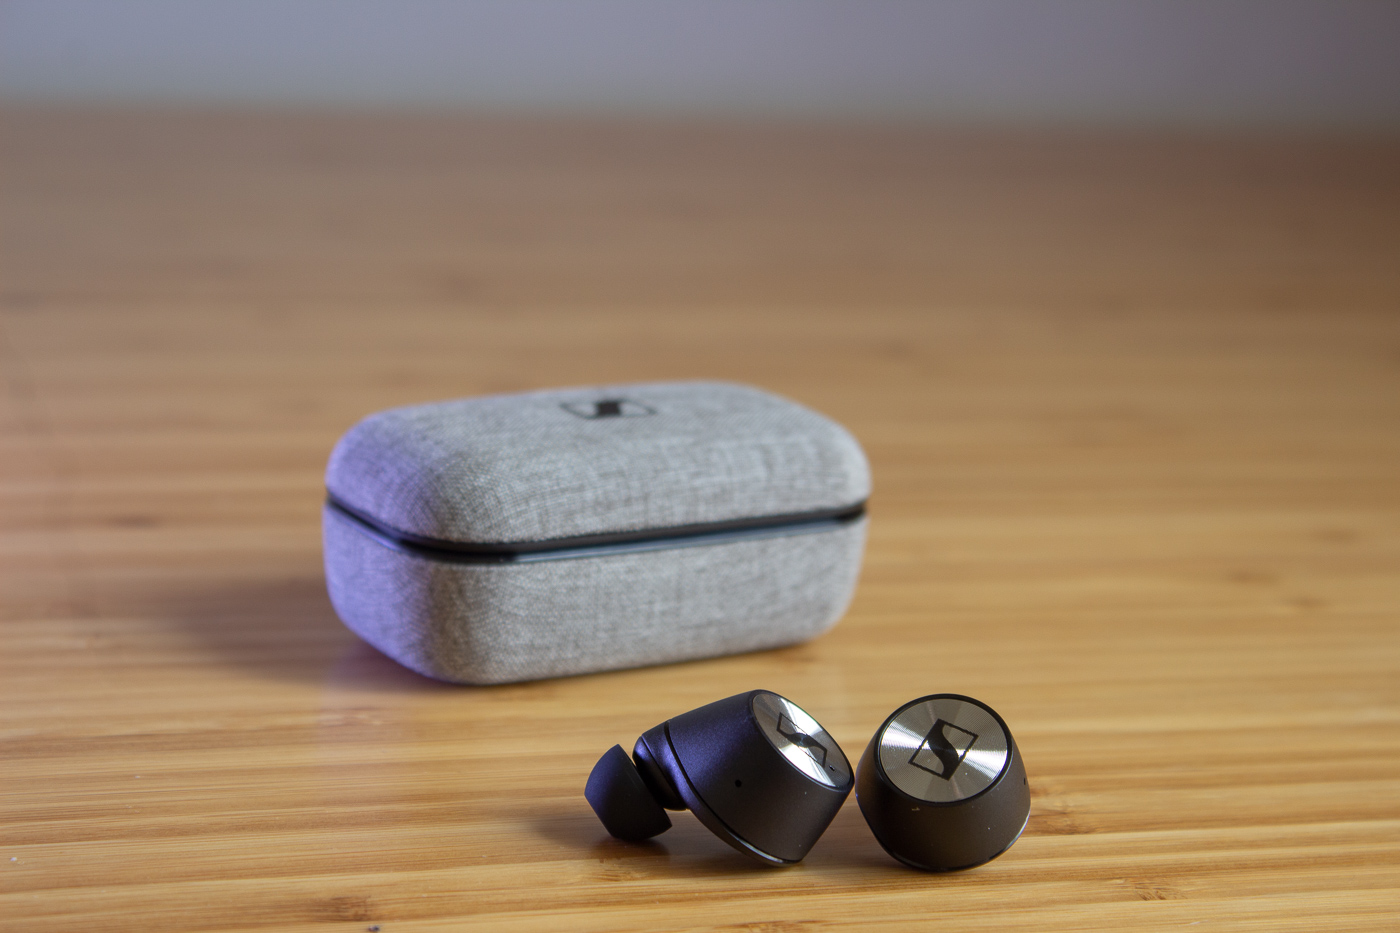
Beats are tried-and-true and great for vibing on hip hop or pop music. But, if you’re recording stuff with more nuance and you want to make sure you’re squeezing the most out of your mixes, the Momentum TW’s are simply unbeatable (TNW’s resident audiophile, Napier Lopez, reviews them here). Coming from a pre-mix session using Neumann’s NDH studio headphones – where my music is accurately flat – it’s like everything’s been dipped in gold and honey to hear it on high-end earbuds calibrated for presence and a massive sound-stage. I exclusively use the Momentum TW’s for post-mix listening, simply because they sound phenomenal, I never have to worry about wires, and they go with me everywhere I go.
As you can see, it’s neither cheap nor simple to come up with a home studio set up for recording vocals. But if you spend your budget on the right gear, fill in whatever gaps you have to with software, and stretch your audio engineering skills as far as they can go: you should be able to record professional-quality vocals in your own studio without having to mortgage the home it’s in.
This post includes affiliate links to products that you can buy online. If you purchase them through our links, we get a small cut of the revenue.
Get the TNW newsletter
Get the most important tech news in your inbox each week.